Welcome to the EGGhead Forum - a great place to visit and packed with tips and EGGspert advice! You can also join the conversation and get more information and amazing kamado recipes by following Big Green Egg to Experience our World of Flavor™ at:
Want to see how the EGG is made? Click to Watch
Facebook | Twitter | Instagram | Pinterest | Youtube | Vimeo
Share your photos by tagging us and using the hashtag #BigGreenEgg.
Share your photos by tagging us and using the hashtag #BigGreenEgg.
Want to see how the EGG is made? Click to Watch
Table Plans

Woody
Posts: 125
I have been enjoying my Large Egg since I picked it up after Christmas.
Like and good egg, it needs a new nest. So I am looking at trying to reduce the weather impact of Souteast Michigan.
I want to eliminate any wood as a horizontal surface though the rest of it will be from pressure treated lumber for the frame and cypress for the outside.
I am leaning toward building a porcelain tile top and was wondering what considerations I need to include.
Woody in Northville, MI
Large BGE with AR R & B Oval Combo w/Extender and Sliding D Grid, Kick Ash Basket, Smokeware Cap, Wok, Grill Grates and Kettle Q
Comments
-
I used granite left over from kitchen (the hole they cut for the cooktop). Looks great and cleans up easy. Also, the snow just slides off.
-
Hey Woody,
I used regular pine, stained with 6-8 coats of spars to seal it. I did use a 16x16 piece of tile in the middle. It's been outside for almost 2 years and holding up well. What area of SE MI are you located in?

-
Nice lookin bulldog...had an English bull almost exactly colored like that years ago.
Brrrr....glad I'm in Okla. -
I don't know if you have seen them, but there are tons of pics here:
http://www.nakedwhiz.com/TableGallery/tables.htm
BTW, I tried to get the user name "Woody" when I joined a while back and it was already taken. Nice to see you finally posting...")
-
I am down in Northville. Just went up to Armstrong Millworks on MLK and picked up the wood for the table. I am looking to start building this weekend.
I guess I just got lucky on the name. My other hobby is woodworking. Still new to the que seen so it seemed a more appropriate handle. That and Woody's cooking sauce has been a favorite for years.
Thanks to the link on the tables. Now I may have to rethink my project.Woody in Northville, MILarge BGE with AR R & B Oval Combo w/Extender and Sliding D Grid, Kick Ash Basket, Smokeware Cap, Wok, Grill Grates and Kettle Q -
Granite makes a great top. Not cheap but will last a lifetime.
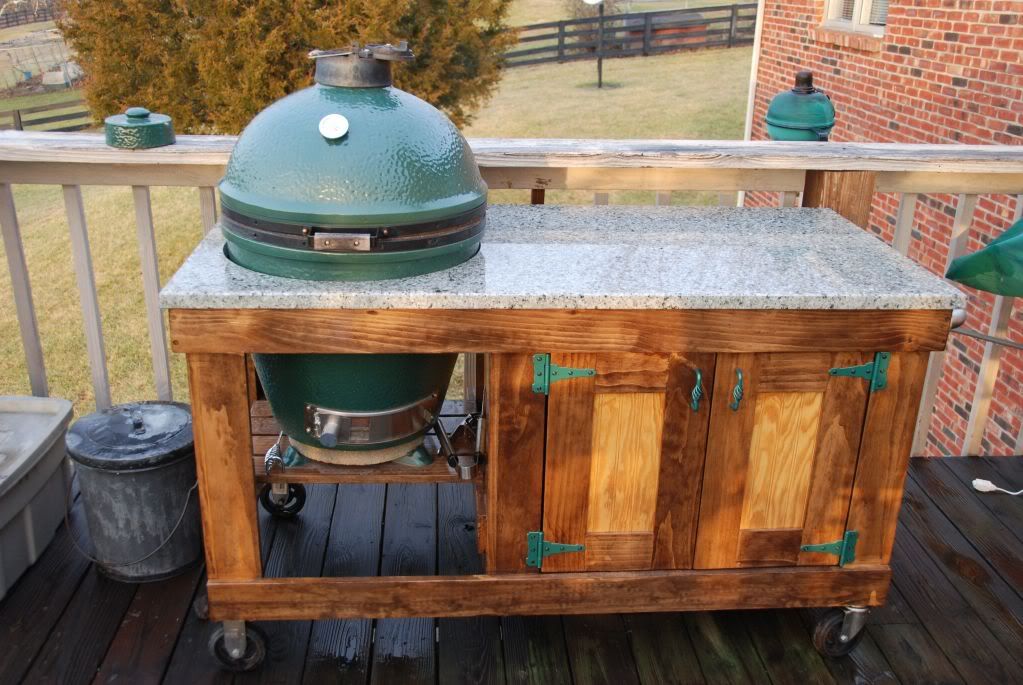
It makes for a great work surface.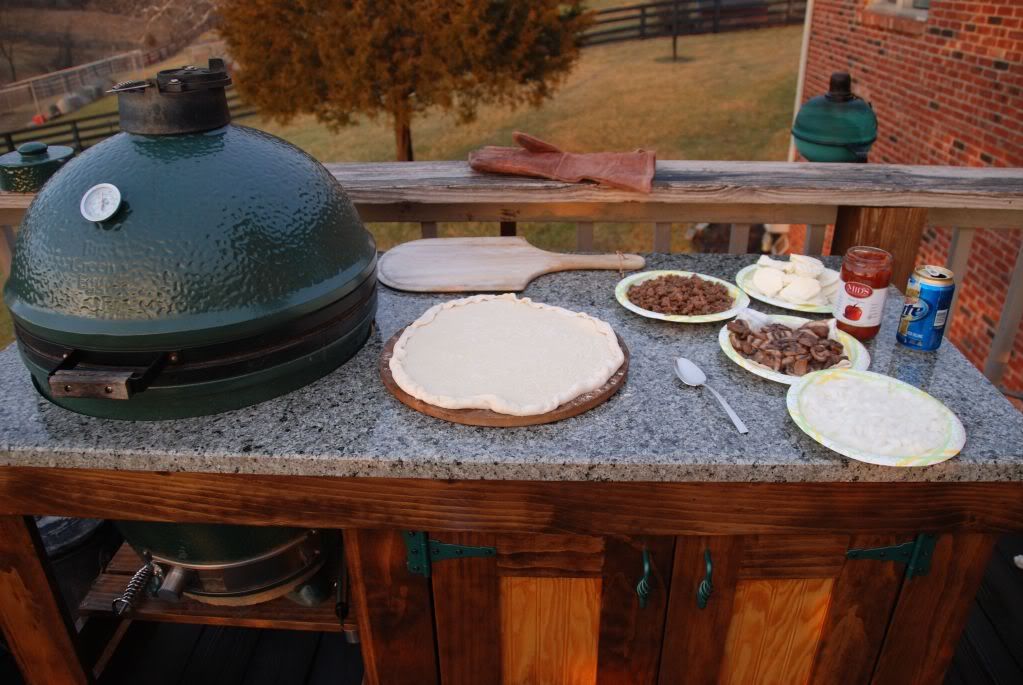
Finished pizza for dinner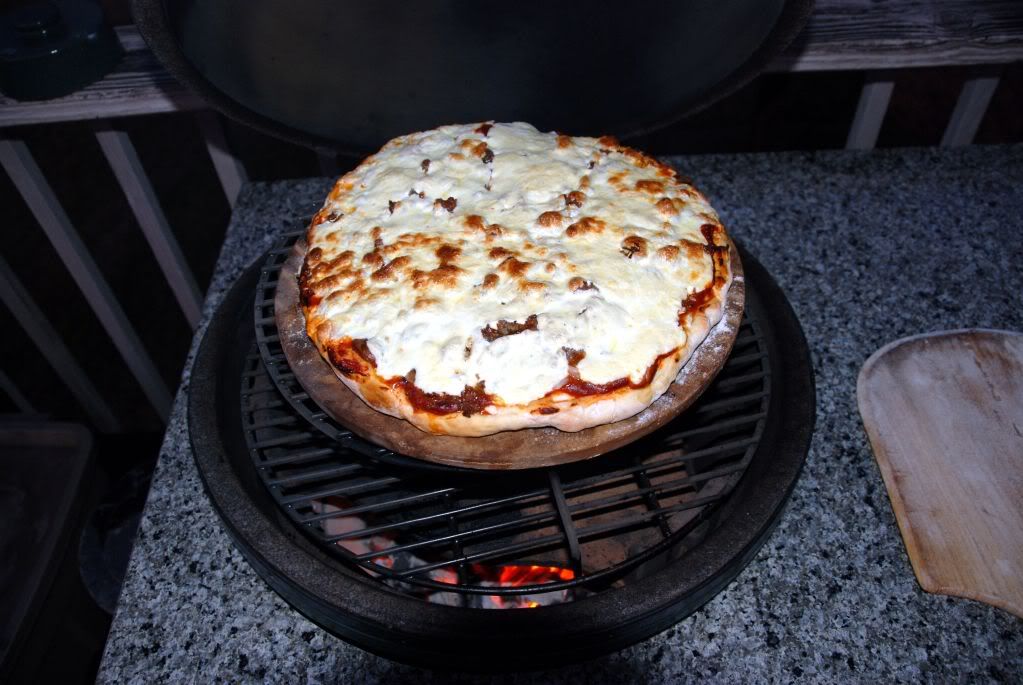
-
That table looks great!
Very similar to what I have drawn up. I am definately re-thinking the granite after seeing that.
Question on your design, my original design has no drawer.
Did you put one behind your doors?
I think it would be nice for keeping track of smaller items like the ash tool, grate, gripper, etc.
What are your thoughts.
Like the green hinges, nice touch!Woody in Northville, MILarge BGE with AR R & B Oval Combo w/Extender and Sliding D Grid, Kick Ash Basket, Smokeware Cap, Wok, Grill Grates and Kettle Q -
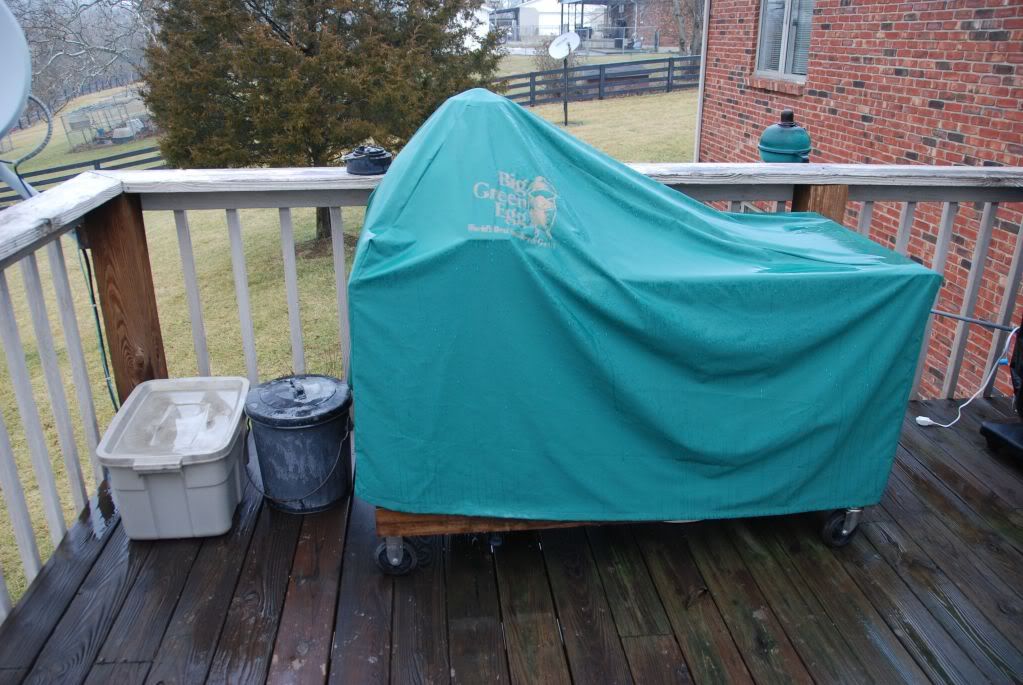
A drawer would be a great addition. Mine doesn't have one, just a shelf to add some storage room. Maybe that will be a future project for me. If you keep the diminsions similar to the BGE plans you can use their cover. It will help w/ your winters. Shop for remnants on the granite to save some $$.
-
That table is awesome. Could I get have the dimensions. I have a friend who has a granite shop her in SW MI. That is the perfect size. Also what is the enlongated handle on the bottom vent. Great idea.
-
The top is 28 x 59. The hole is 21" it's center is 12 3/4 from the left side and 13 1/4 from the front. The slot for the hinge is 9" wide and extends to within 2" inches of the back edge.
The thing you are seeing at the lower vent is the nozzle that attaches a DigiQ II blower to the vent. Having a problen getting a good drawing attached to this note. I will try again when I get time. -
Ok, one more time for the print.

-
Thanks for the drawing, that is helpful. The egg table design I found on line was for 26". Mine will end up being 27" or 28" and I was concerned about the top being too deep for the BGE Cover.
Question, how far from the shelf to the top of the granite?
The BGE table dimensions I find on line show 15" and then a 21" diameter hole. But, you show a cutout for the hinge. Why was that required?
Thank you again.Woody in Northville, MILarge BGE with AR R & B Oval Combo w/Extender and Sliding D Grid, Kick Ash Basket, Smokeware Cap, Wok, Grill Grates and Kettle Q -
Another question for G Fitz: How did you attach the granite to the table (did you have any kind of plywood underlayment)?
Thank you again.Woody in Northville, MILarge BGE with AR R & B Oval Combo w/Extender and Sliding D Grid, Kick Ash Basket, Smokeware Cap, Wok, Grill Grates and Kettle Q -
My original table hat a laminated plywood top. It didn't hold up to the weather, even with several coats of out door urethane. So there is a solid plywood top under the granite and I just used silicone caulk to hold it in place an to keep water out from under it.
the notch is because I wanted to keep the egg as low to the top as i could.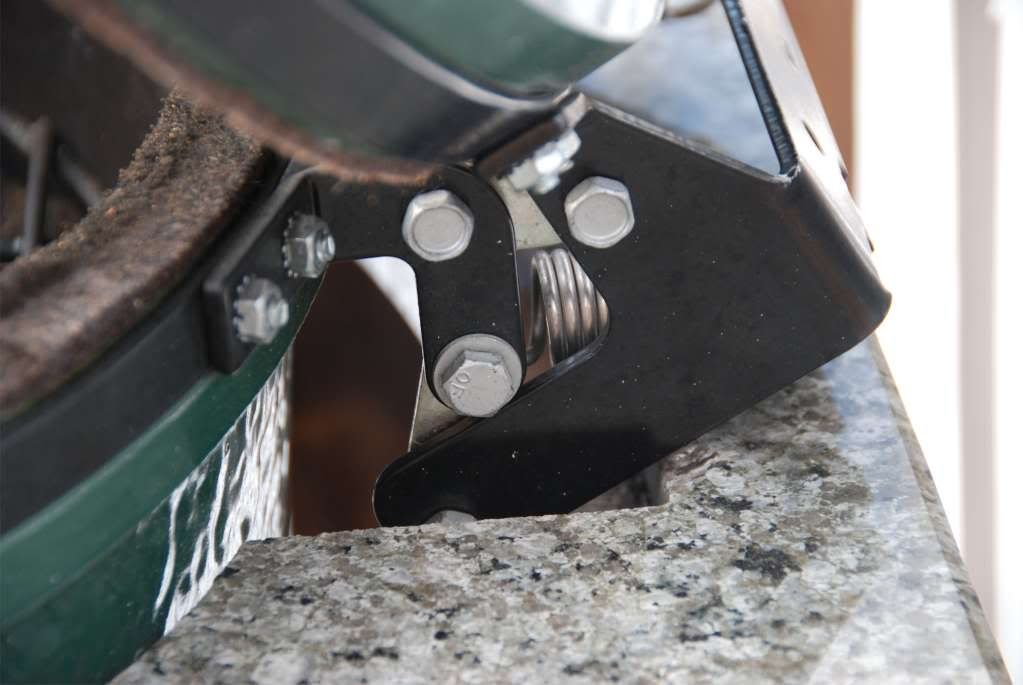
-
Also, The top of the Granite is 18 1/8 from the shelf where the egg sits. And the egg is sitting on a stone and BGE feet for spacers. The egg could sit higher up above the top and the notch would not be required. The shop that cut my stone cut come grooves under the bottom and epoxied in some steel rods for extra strength around the cut out.


Categories
- All Categories
- 184.1K EggHead Forum
- 15.8K Forum List
- 460 EGGtoberfest
- 1.9K Forum Feedback
- 10.4K Off Topic
- 2.2K EGG Table Forum
- 1 Rules & Disclaimer
- 9K Cookbook
- 13 Valentines Day
- 93 Holiday Recipes
- 224 Appetizers
- 520 Baking
- 2.5K Beef
- 88 Desserts
- 167 Lamb
- 2.4K Pork
- 1.5K Poultry
- 33 Salads and Dressings
- 324 Sauces, Rubs, Marinades
- 548 Seafood
- 175 Sides
- 122 Soups, Stews, Chilis
- 44 Vegetarian
- 102 Vegetables
- 313 Health
- 292 Weight Loss Forum