Welcome to the EGGhead Forum - a great place to visit and packed with tips and EGGspert advice! You can also join the conversation and get more information and amazing kamado recipes by following Big Green Egg to Experience our World of Flavor™ at:
Want to see how the EGG is made? Click to Watch
Facebook | Twitter | Instagram | Pinterest | Youtube | Vimeo
Share your photos by tagging us and using the hashtag #BigGreenEgg.
Share your photos by tagging us and using the hashtag #BigGreenEgg.
Want to see how the EGG is made? Click to Watch
Cedar Egg Table
Options

purcellj
Posts: 44
My new Egg table.
Thanks to Naked Whiz for the original plans.
Then I changed just about everything about it. I like things over engineered. Solely relying on 2x4" isn't for me. There are 3 supports under the granite, each capable of handling the full load.
Touch/Visual Surfaces: Cedar 5/4
Structural: 4x4 Cedar Posts with Pressure Treated 2x4 Laterals
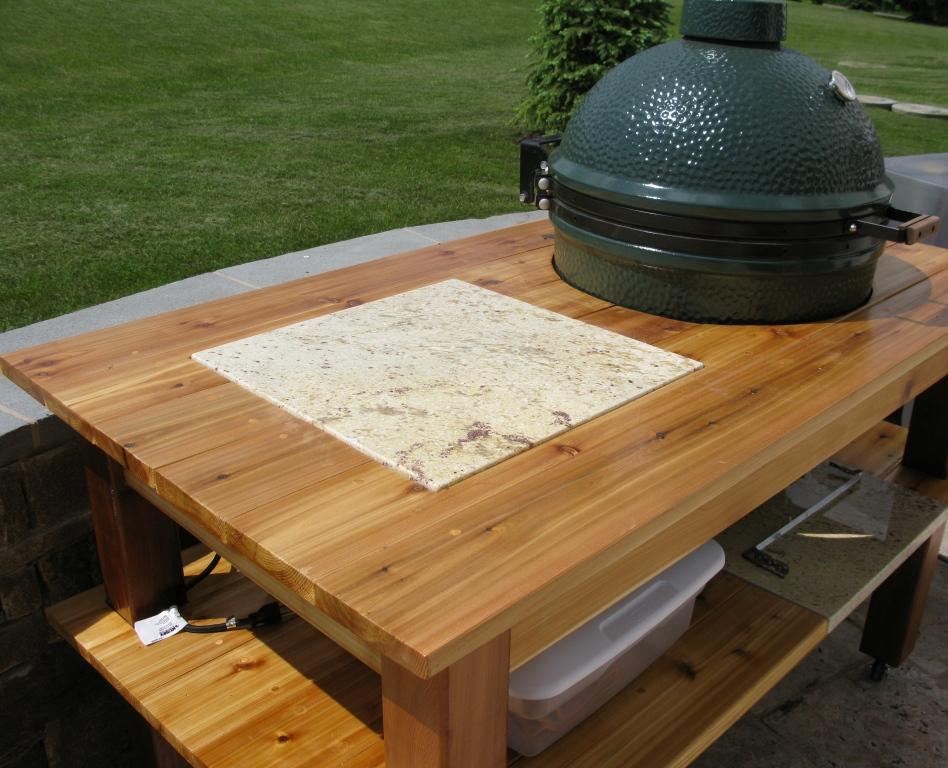
Granite: Antique White
Finish: Marine Spar
Overall Dimensions: 30"x58"
Fasteners: Glued and Screwed, Hidden or Plugged
Wheels: Casters

Close-up of the Granite
Time for Bed
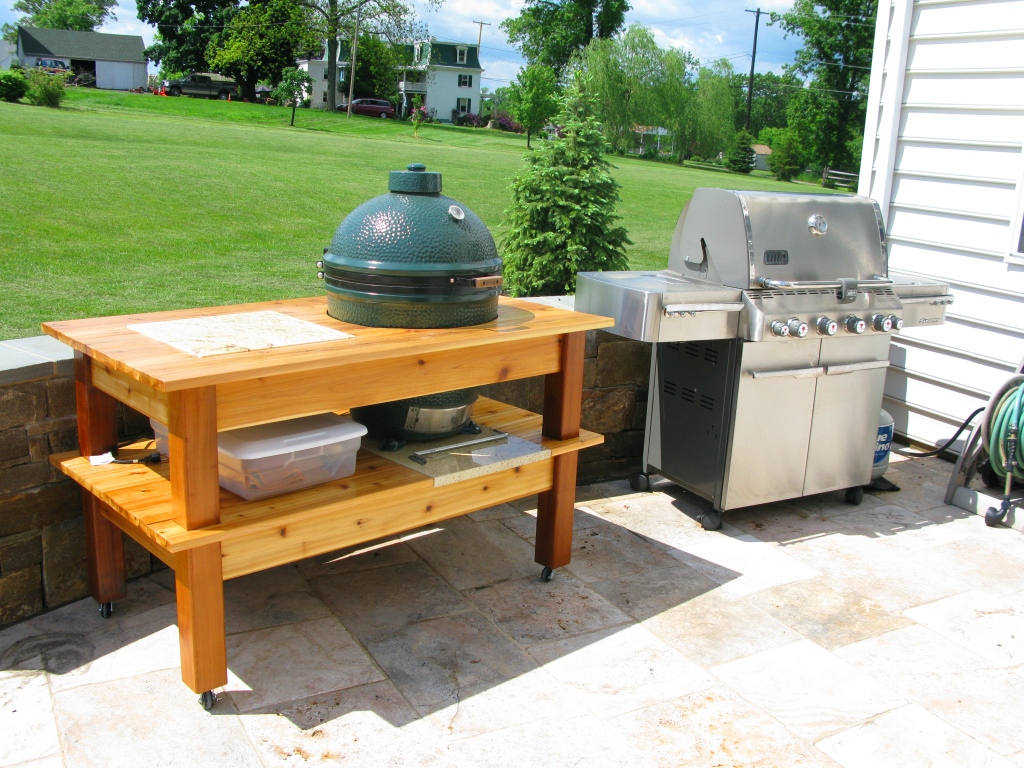
And finally, brothers from different mothers.
Enjoy!
John
Thanks to Naked Whiz for the original plans.
Then I changed just about everything about it. I like things over engineered. Solely relying on 2x4" isn't for me. There are 3 supports under the granite, each capable of handling the full load.
Touch/Visual Surfaces: Cedar 5/4
Structural: 4x4 Cedar Posts with Pressure Treated 2x4 Laterals
Granite: Antique White
Finish: Marine Spar
Overall Dimensions: 30"x58"
Fasteners: Glued and Screwed, Hidden or Plugged
Wheels: Casters

Close-up of the Granite

Time for Bed

And finally, brothers from different mothers.

Enjoy!
John
Comments
-
Very nice table. What size are the castors? and where did you get them. I'm looking for some smallish castors for my table.
Thanks, -
Looks excellent.
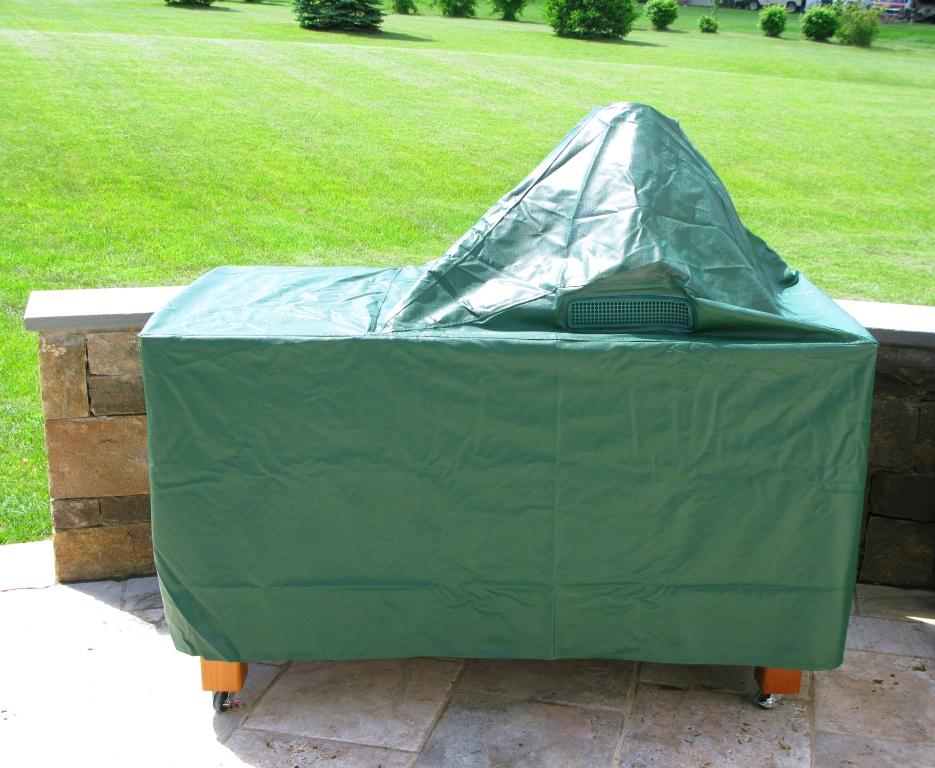
What cover is that?
Ted -
The cover is a BGE XL. I think the fit is perfect.
The casters are either 2" or 2-1/2". I do remember the 3" would not fit the bottom of the 4x4 due to the size of the caster base. The front two casters lock, while the rear 2 do not.
I think the original design with larger wheels is good when you have a rougher surface like a deck. I have a very level and smooth surface, from travertine to asphalt to concrete to the egg away for the winter.
Home Depot has them, typically in the area where they have rubber feet or door hinges.
John -
Thanks for the info. I think I need the cover too.
-
Nice table
-
How are the legs fastened to the frame ?
Do you have a materials list ?
What is overall Height ?
Thanks Tom -
Final Dimensions: 58.5"w x 31.5"d x 34.5h
If I had to do it over again, I would reduce the shelf height about 1.5". I think it would make cooking a little more friendly -- but I'm just being picky.
I don't have a specific material list. All the pressure treated was stuff I had hanging around (probably 3-4 10'). I bought 2-8' 4x4, and 10-8' 5/4x6 deck boards. I think I had 1 deck board left over which I used to retrofit a bottom drawer for the table. ** Warning: I'm very picky at the lumber yard and my waste is very, very low.
The pressure treated is affixed to the deck boards with glue and 1-5/8" deck screws. The pressure treated is toed into posts and L brackets used for 2x4's (using 2-1/2" deck screws).
I will tell you that you can NOT build this without a table saw. The shelf deck boards were trimmed lengthwise to remove the rounded edge (except for outside edges of the front and back boards). Without trimming the overall depth would have probably been 32.5-33.0". The overall effect is a straight edge between the deck boards.
If you start with the naked whiz's plans, be careful because the depth will be off. You need to compensate for the thickness of the 2x4 and deck board. If you don't, you will NOT have room for a 21" circle.
I hope this helps. Let me know if you need more details or pics.
John


Categories
- All Categories
- 182.7K EggHead Forum
- 15.7K Forum List
- 459 EGGtoberfest
- 1.9K Forum Feedback
- 10.3K Off Topic
- 2.2K EGG Table Forum
- 1 Rules & Disclaimer
- 9K Cookbook
- 12 Valentines Day
- 91 Holiday Recipes
- 223 Appetizers
- 516 Baking
- 2.4K Beef
- 88 Desserts
- 163 Lamb
- 2.4K Pork
- 1.5K Poultry
- 30 Salads and Dressings
- 320 Sauces, Rubs, Marinades
- 543 Seafood
- 175 Sides
- 121 Soups, Stews, Chilis
- 35 Vegetarian
- 100 Vegetables
- 313 Health
- 293 Weight Loss Forum