Welcome to the EGGhead Forum - a great place to visit and packed with tips and EGGspert advice! You can also join the conversation and get more information and amazing kamado recipes by following Big Green Egg to Experience our World of Flavor™ at:
Want to see how the EGG is made? Click to Watch
Facebook | Twitter | Instagram | Pinterest | Youtube | Vimeo
Share your photos by tagging us and using the hashtag #BigGreenEgg.
Share your photos by tagging us and using the hashtag #BigGreenEgg.
Want to see how the EGG is made? Click to Watch
Dry Aged Ribeye & new gasket
Options

highpress
Posts: 694
Well my father-in-law is visiting, so i decided i would treat him to the last of our 21 day aged ribeye. I must say, I think they were the best ones yet. I lowered my temp while searing, to about 500-550, and i think it turned out much better. Normally i sear steaks at 650, but last time there was too much char. This time they were perfect...
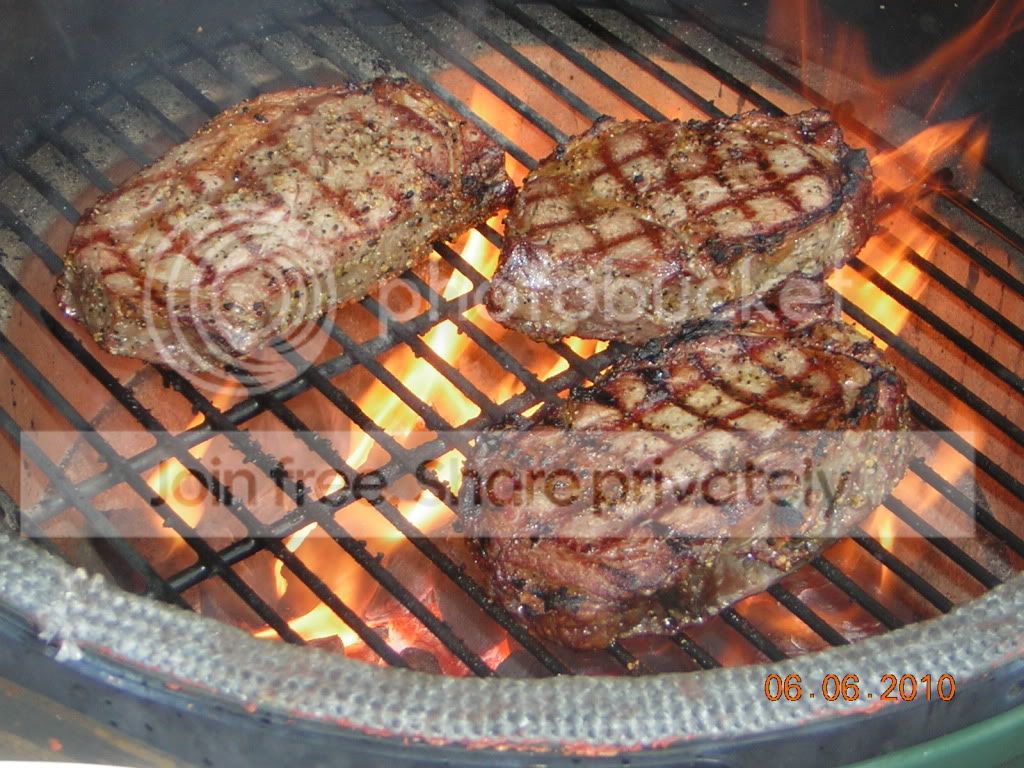
Searing...

Off the egg, then will go back on to roast at 400

Should have taken off about 3 mins earlier... To me this is more "medium" than "medium-rare" which is what i was going for...

Your plate.
About 2 weeks ago i put on a rutland gasket... Here's a couple pics..

Tools of the trade..(the misc hand tools and hammer are to tighten/readjust bands)

Old....

CLeaned, using copper scour pad and acetone

Almost finished...
Ok so for some reason i forgot to take pics of the finished gasket... Once the gasket was completely installed I closed the dome lid and let the egg sit for 24hrs so gasket seal would set-up, then lit a 350* for about an hour or two. Also took a torch to gasket to burn off loose fibers. I think the gasket it fantastic...
Searing...
Off the egg, then will go back on to roast at 400
Should have taken off about 3 mins earlier... To me this is more "medium" than "medium-rare" which is what i was going for...
Your plate.
About 2 weeks ago i put on a rutland gasket... Here's a couple pics..
Tools of the trade..(the misc hand tools and hammer are to tighten/readjust bands)
Old....
CLeaned, using copper scour pad and acetone
Almost finished...
Ok so for some reason i forgot to take pics of the finished gasket...
Once the gasket was completely installed I closed the dome lid and let the egg sit for 24hrs so gasket seal would set-up, then lit a 350* for about an hour or two. Also took a torch to gasket to burn off loose fibers. I think the gasket it fantastic... Comments
-
Jimmy,
your dry aged rib eyes look great - I'm now on day 32 of a rib eye sub-primal for which I intend to go 45 days.
BTW - too late now for your gasket, but for sake of those who may follow - you can get a thicker, and wider coverage like this: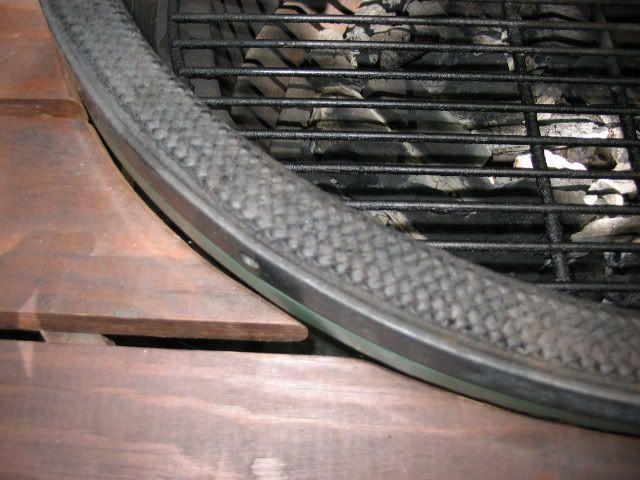
by merely compressing or "bunching" it back into itself like this visual: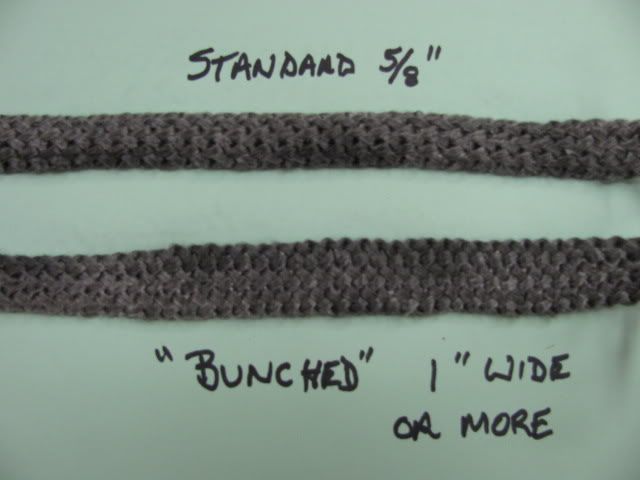 Re-gasketing America one yard at a time.
 -
Thanks to you both for posting the pics of the gasket. Ron, I've gotten my Egg all cleaned up, but have yet to get up the courage to slap down the new gasket. I've been cookin' "nekkid" for a couple of weeks. Eager to get it installed.
Oh and that dry aged beef looked awesome. Mmm. -
Now that is the perfect exterior for a steak....IMO! I don't care for all the charcoal sear. Nicley done! Hope the FIL enjoyed!! There are a couple gasket posts tonight as well....perhaps you can tag this post to them?
-
Ron,
Allthough the pic doesn't show it, i did exactly what you said. I searched the forum before installing and found your previous posts about bunching up the gasket. When i put the gasket on, i bunched it up so it would cover the entire ceramic part of the egg. Turned out quite well. Maybe i'll try to get a shot of the finished gasket close up. I was kind of sloppy with spreading the silicon, but wasn't too worried about to be honest.


Categories
- All Categories
- 182.7K EggHead Forum
- 15.7K Forum List
- 459 EGGtoberfest
- 1.9K Forum Feedback
- 10.3K Off Topic
- 2.2K EGG Table Forum
- 1 Rules & Disclaimer
- 9K Cookbook
- 12 Valentines Day
- 91 Holiday Recipes
- 223 Appetizers
- 516 Baking
- 2.4K Beef
- 88 Desserts
- 163 Lamb
- 2.4K Pork
- 1.5K Poultry
- 30 Salads and Dressings
- 320 Sauces, Rubs, Marinades
- 543 Seafood
- 175 Sides
- 121 Soups, Stews, Chilis
- 35 Vegetarian
- 100 Vegetables
- 313 Health
- 293 Weight Loss Forum