Share your photos by tagging us and using the hashtag #BigGreenEgg.
Want to see how the EGG is made? Click to Watch
New XL Egg and Building my own table

What pushed me over the edge was getting what seemed like a good deal on an XL. Had a promotional coupon to a local store that they allowed to be used on an Egg and then also ran a 'tax free' sale where they just deducted the tax amount from your purchase price. So my XL Egg out the door was $990. Then all my accessories were tax free as well. So far just picked up the table best, conveggtor, flameboss300, ash tool, ash pan, and the XL table cover as I am building my own table to the BGE dimension size.
I didn't want to buy the stand or buy a table through BGE. I knew I wanted to save a bit of money and build my own. I always end up over doing these projects but hey that is half the fun of doing them.
I spent probably a good two weeks searching the internet and here for table builds that I liked and wanted to follow. I ended up finding about four total that I took some of each into my build. (GT_Egg, Toxarch, jimithing, marainwa) I then drew up some of my own plans and got started. Please ignore some of the dimensioning that is off when I snapped these pics of the plans as I was still working them out.

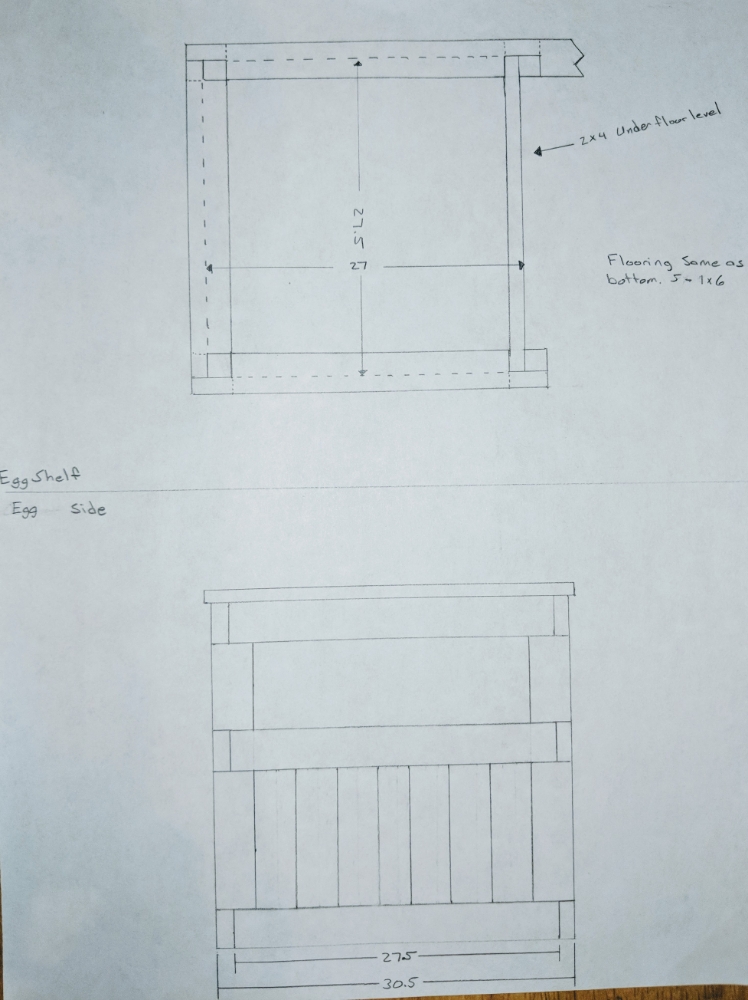


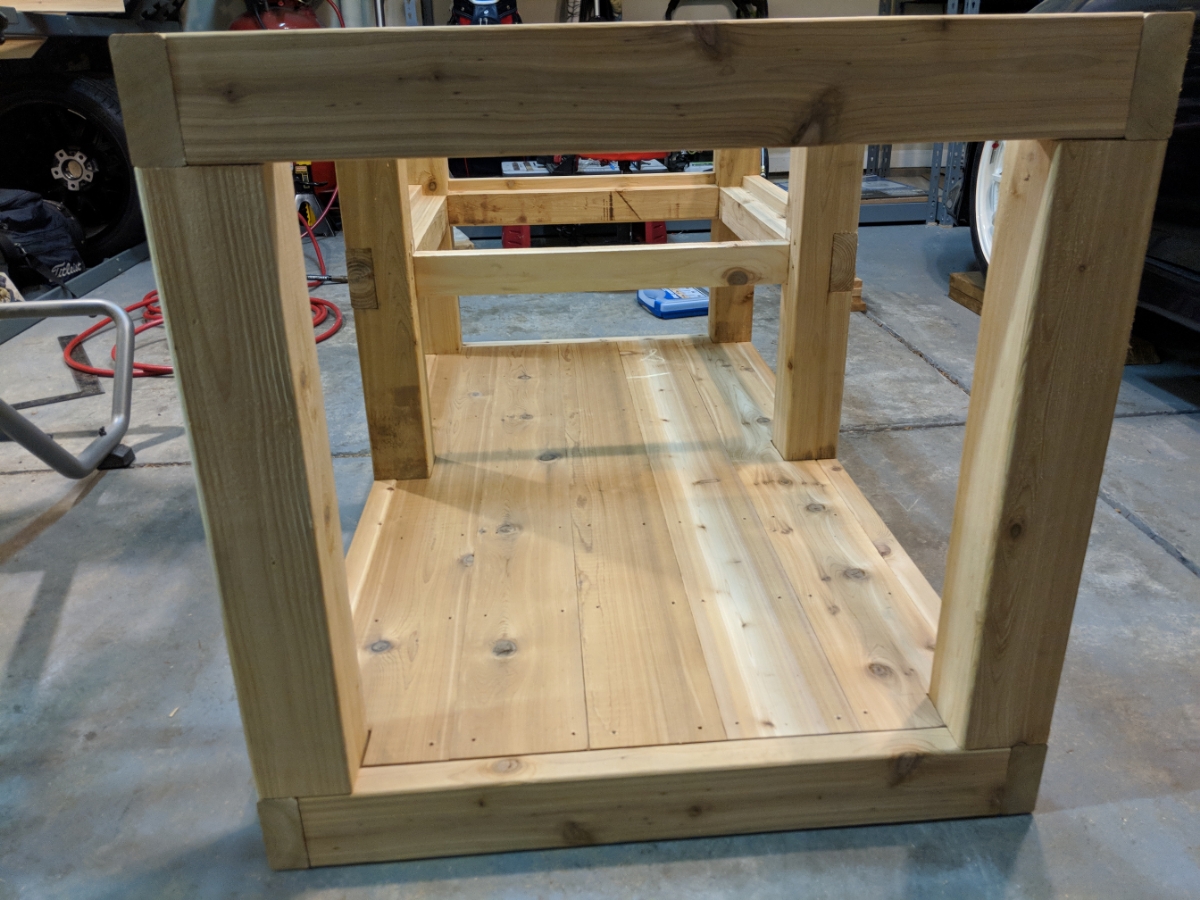
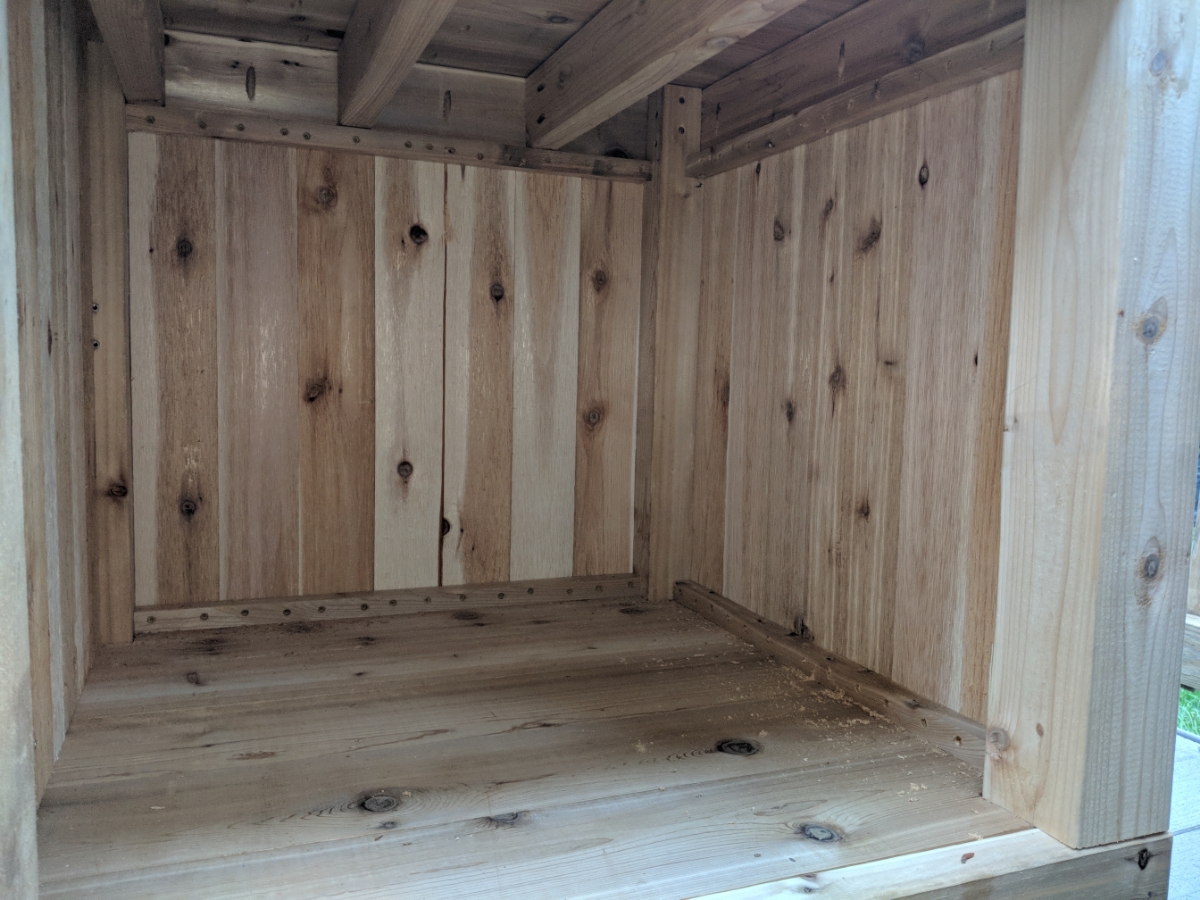
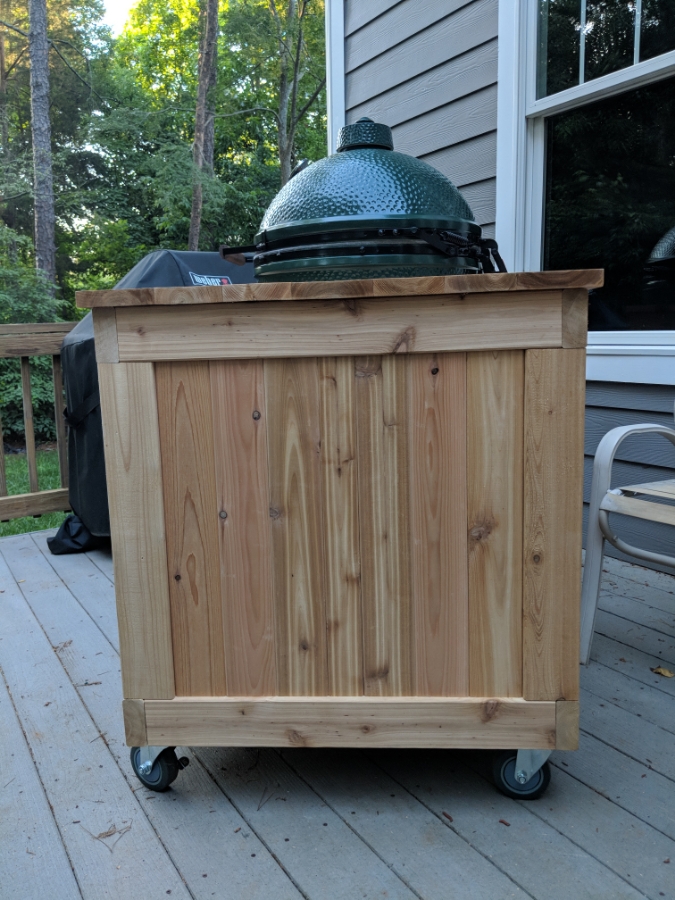
Decided to build it all out of cedar. Going to leave it unfinished as I want it to naturally grey over time.


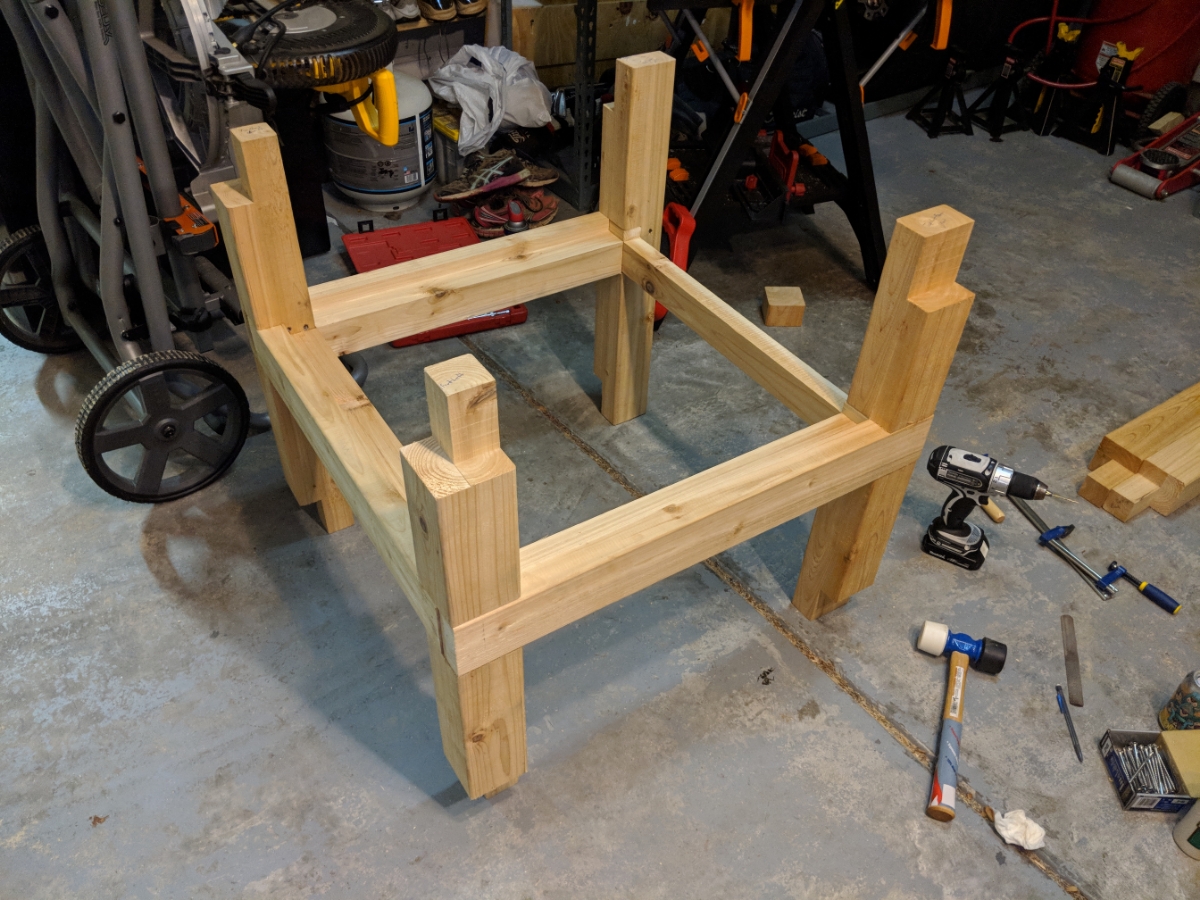
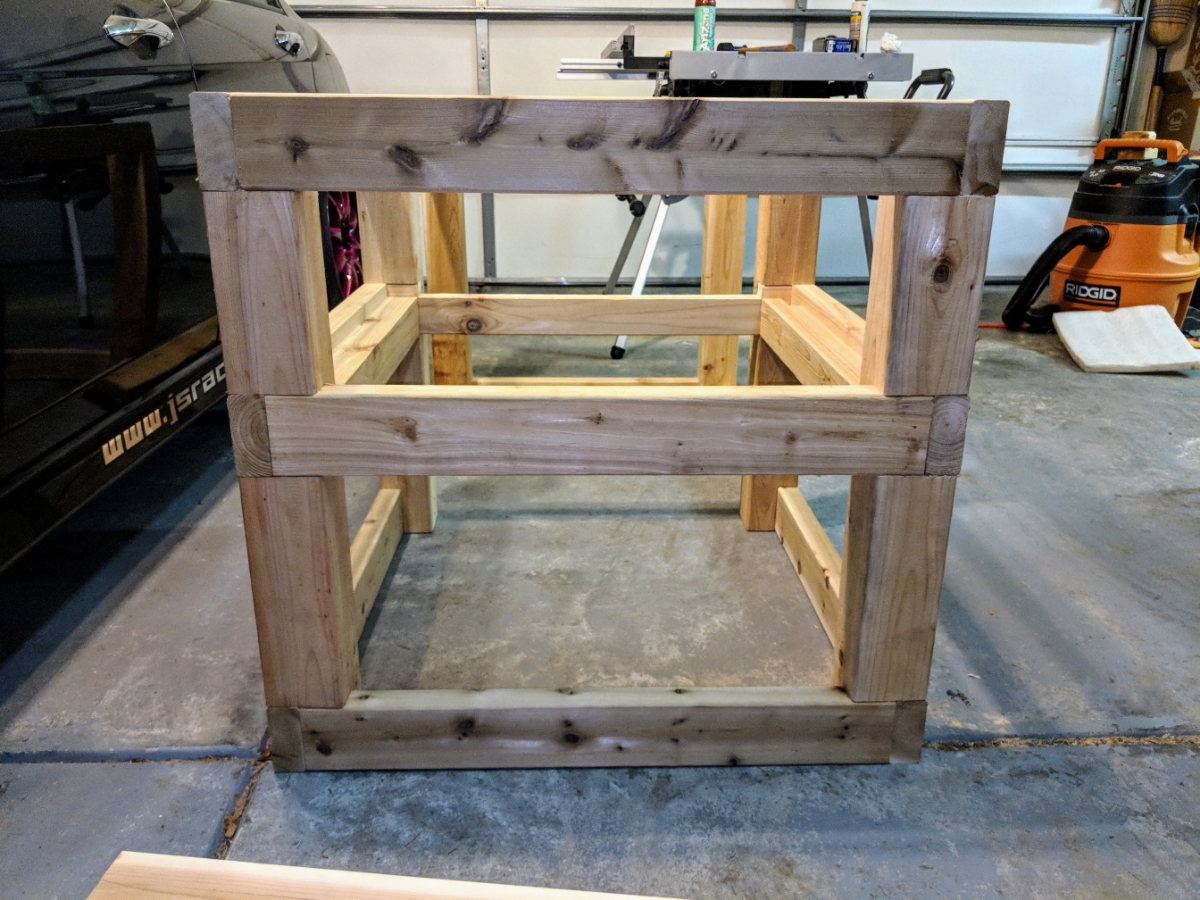
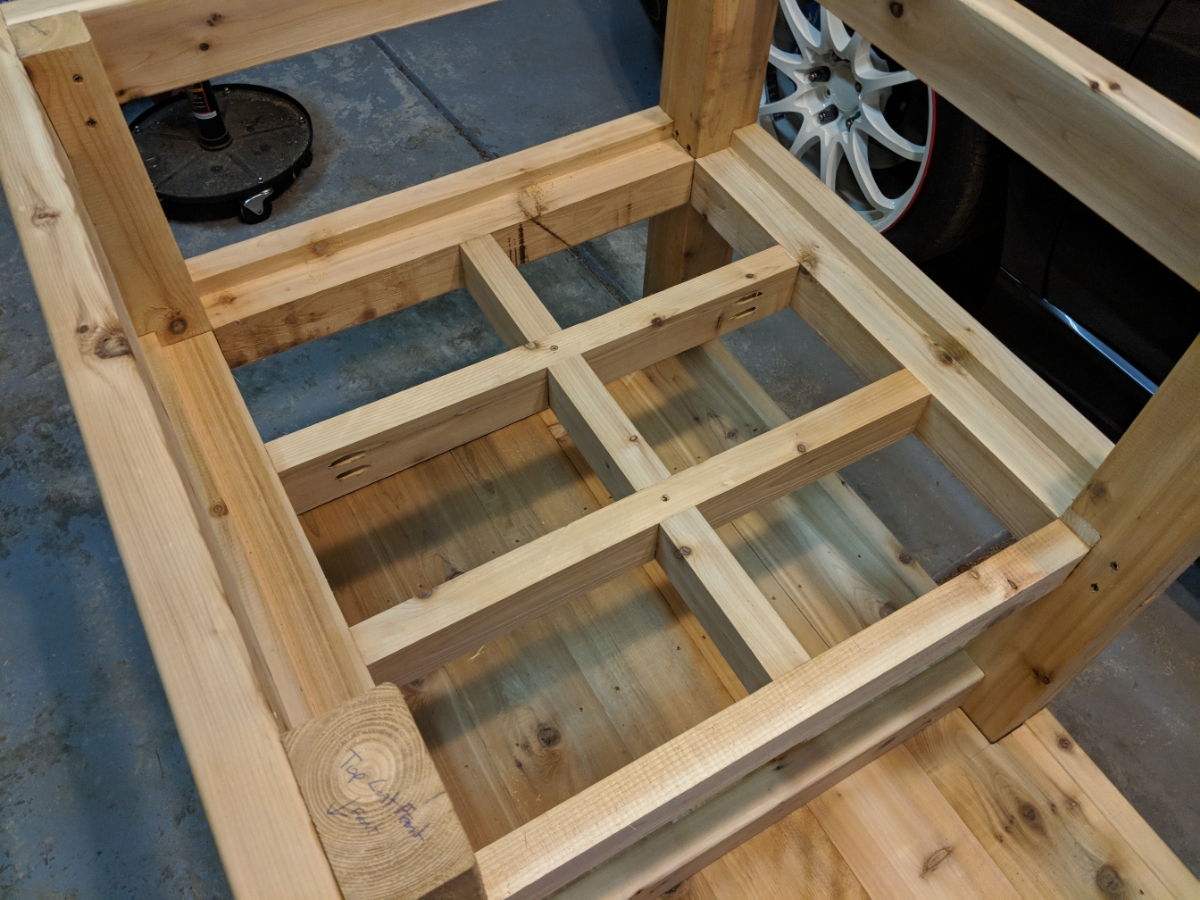
With the weight of the XL I wanted to beef the shelf up a bit so made the shelf out of a 4x4 frame as well. It is all glued and screwed together.
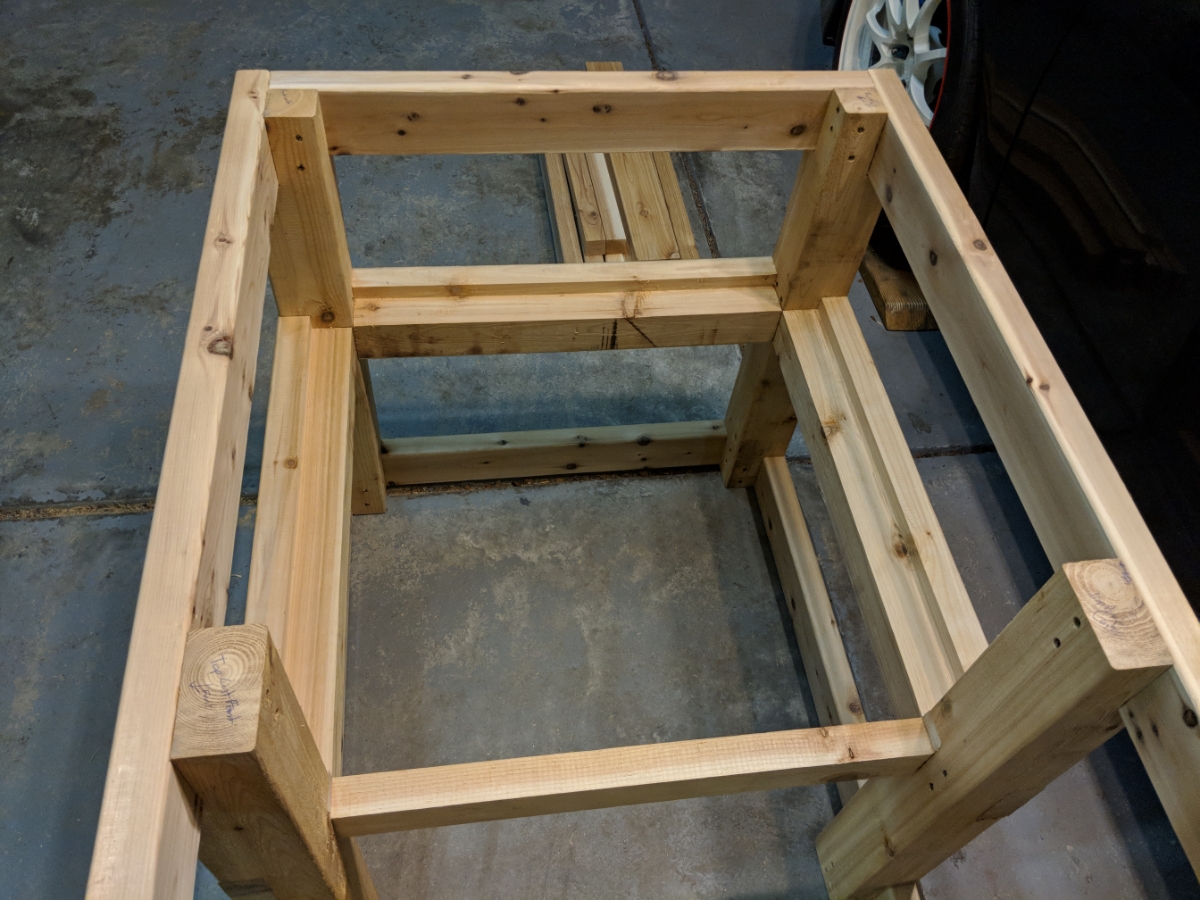
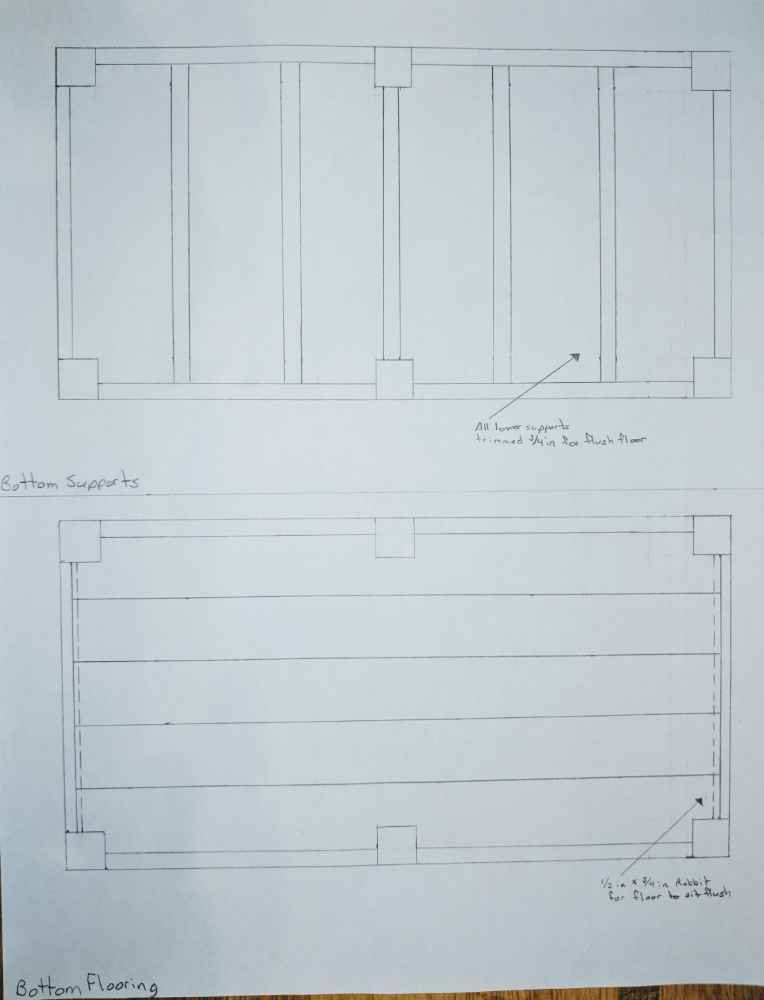
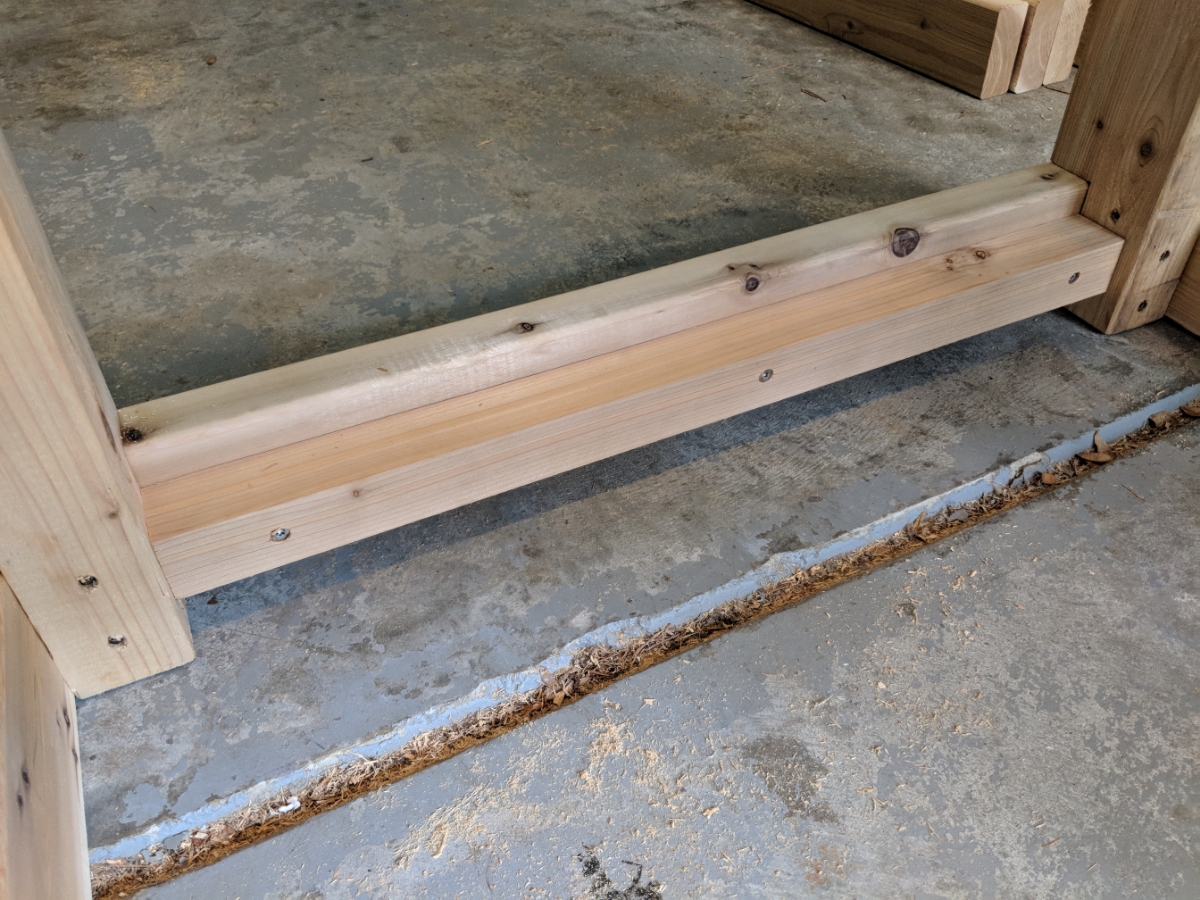
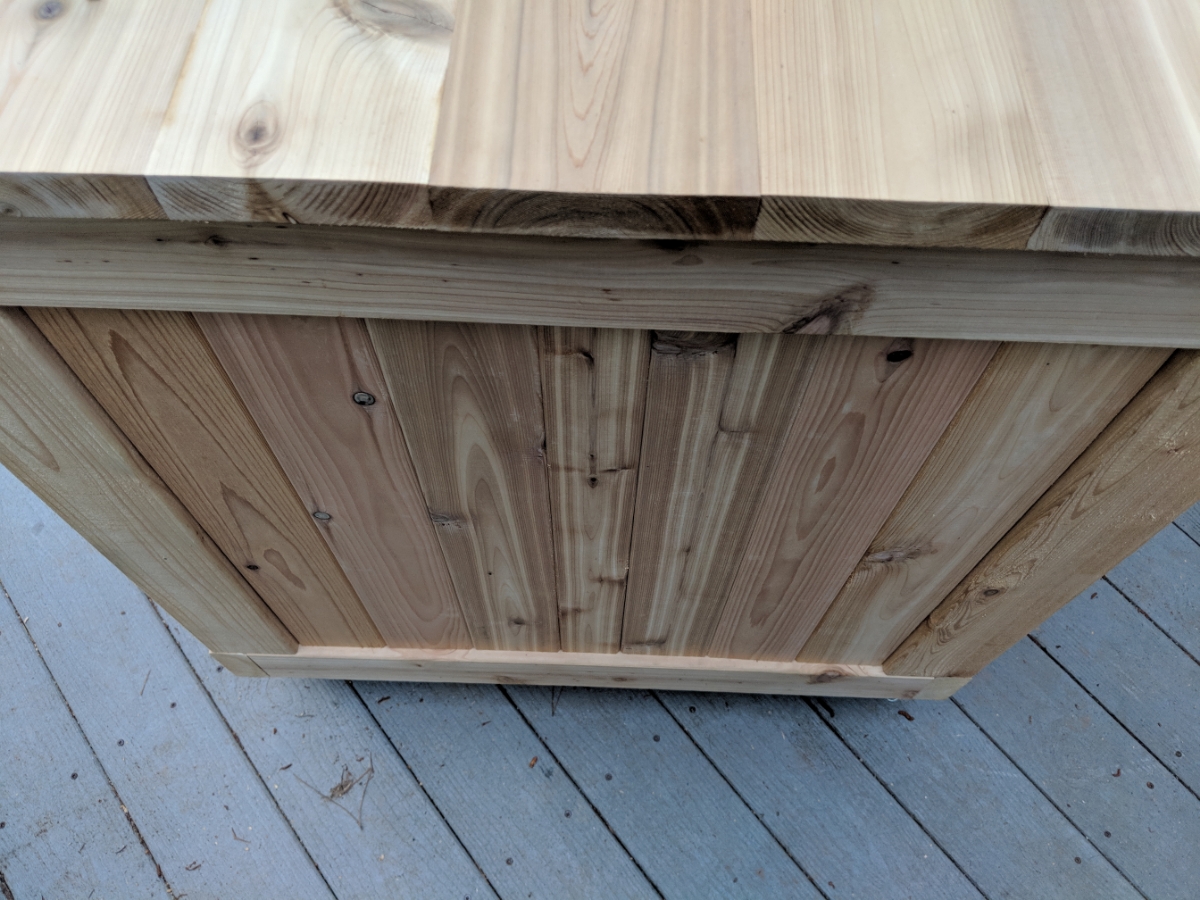
Ripped down some 2x4 by 7/8 so I could recess the floor.

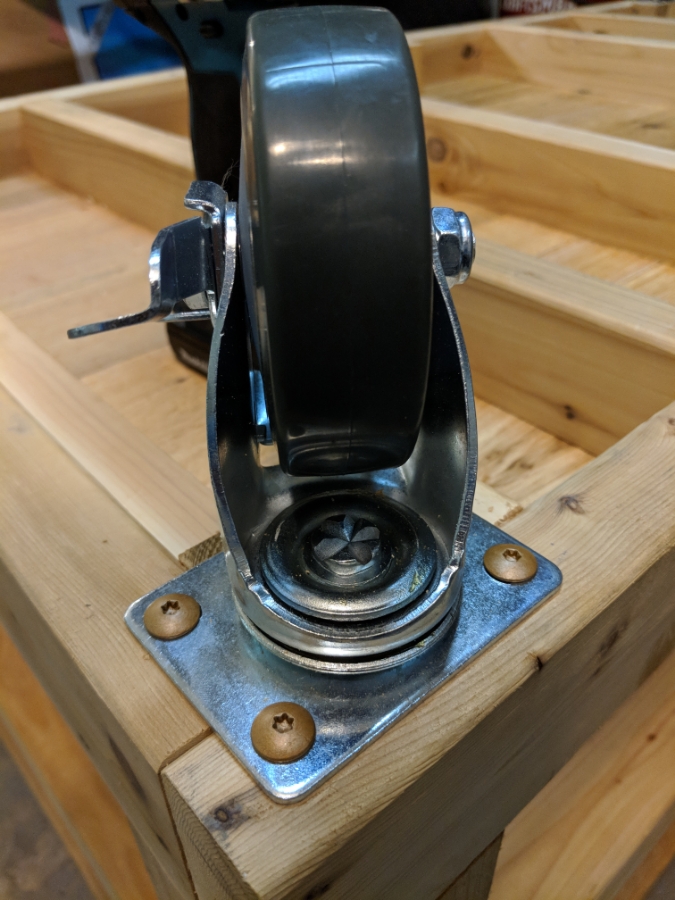
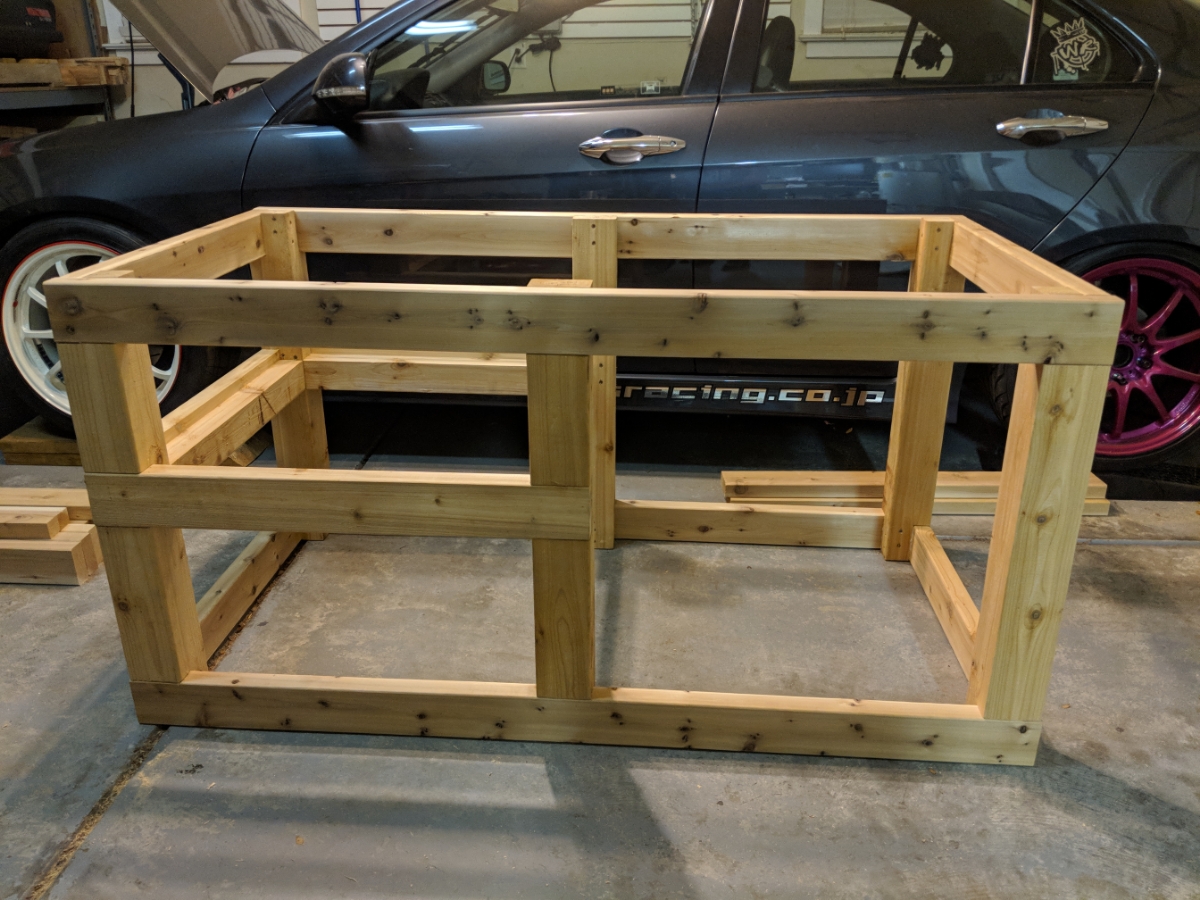
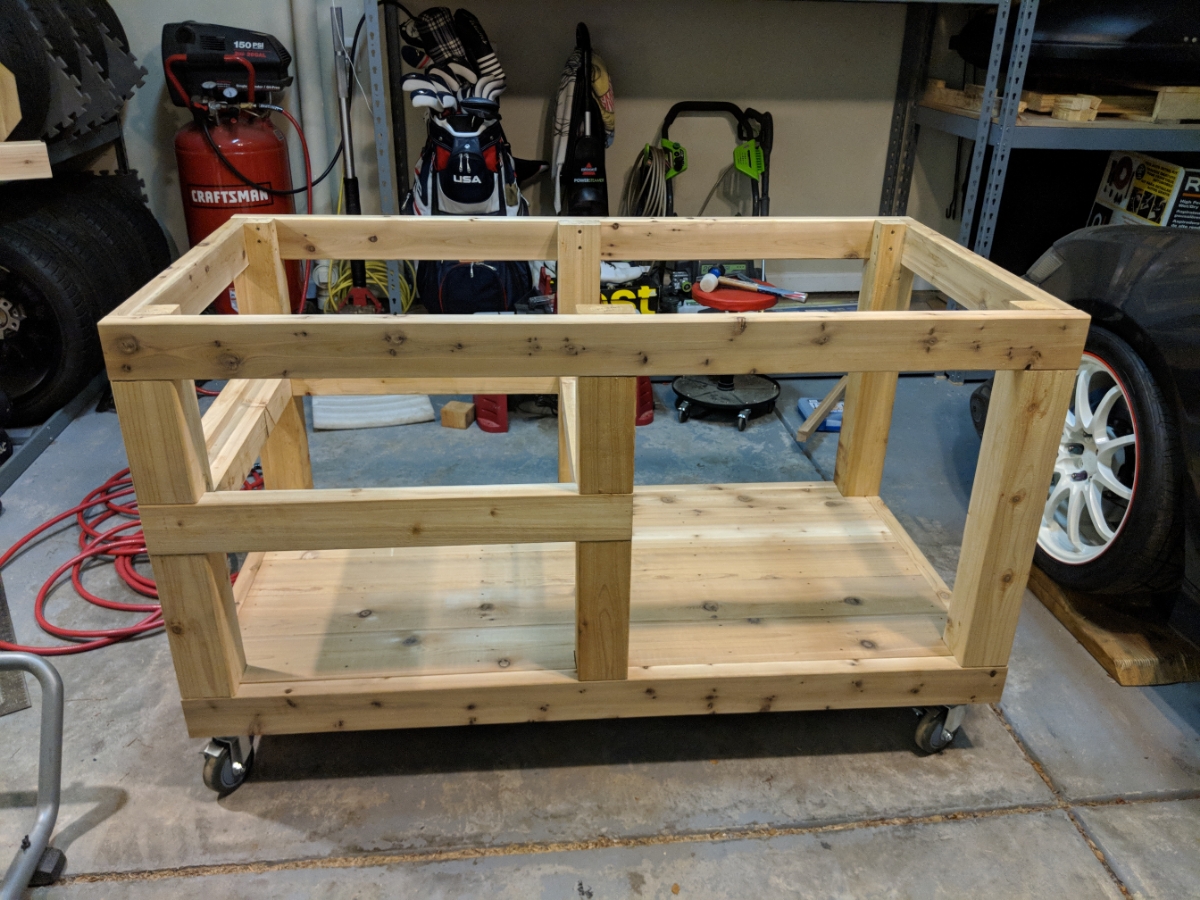
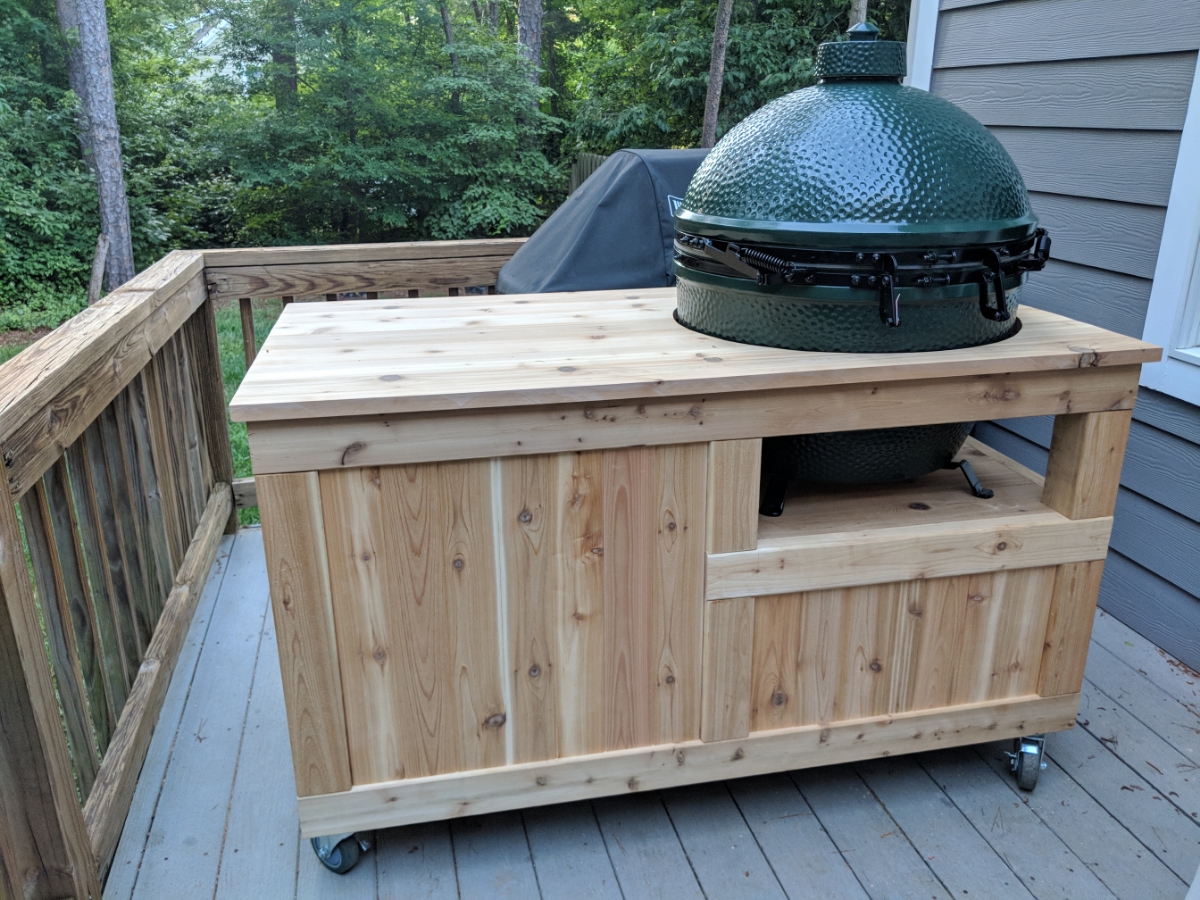
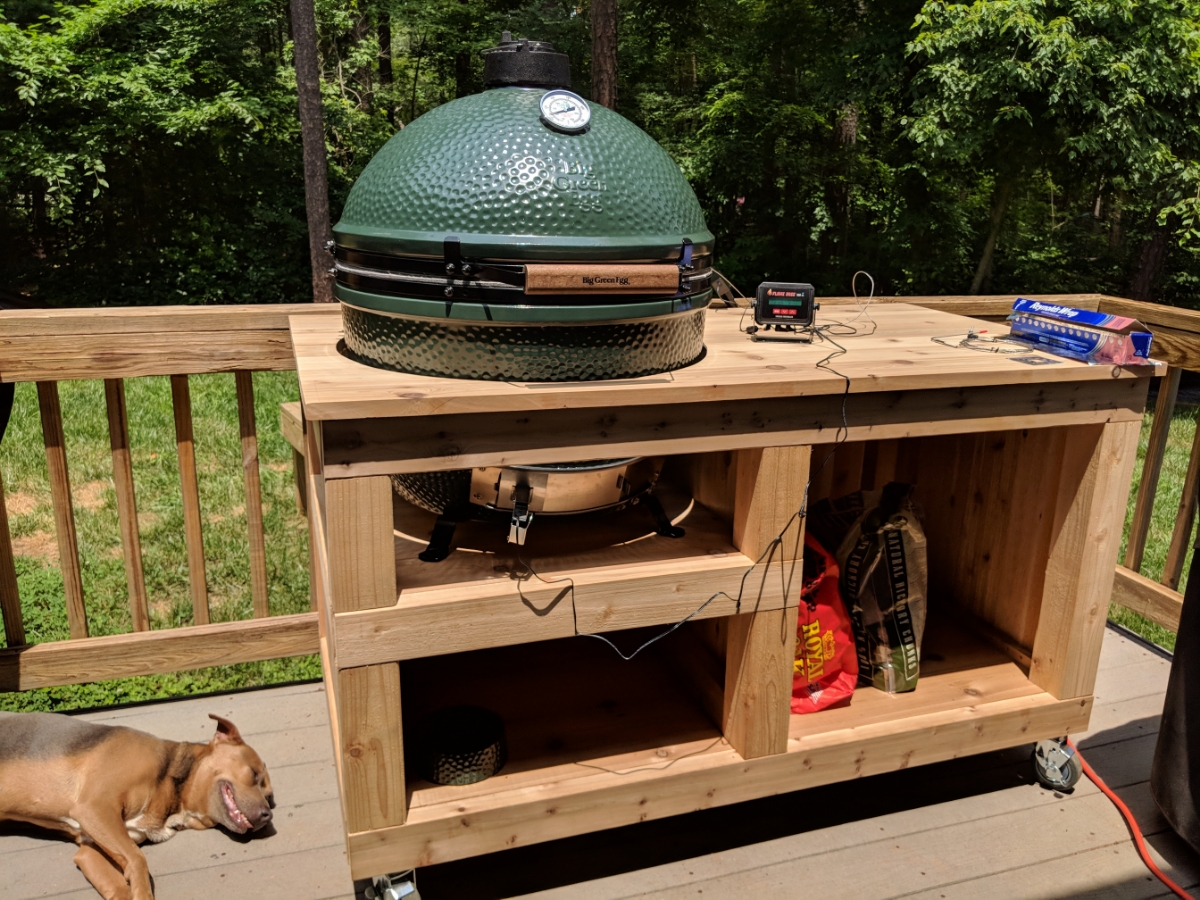
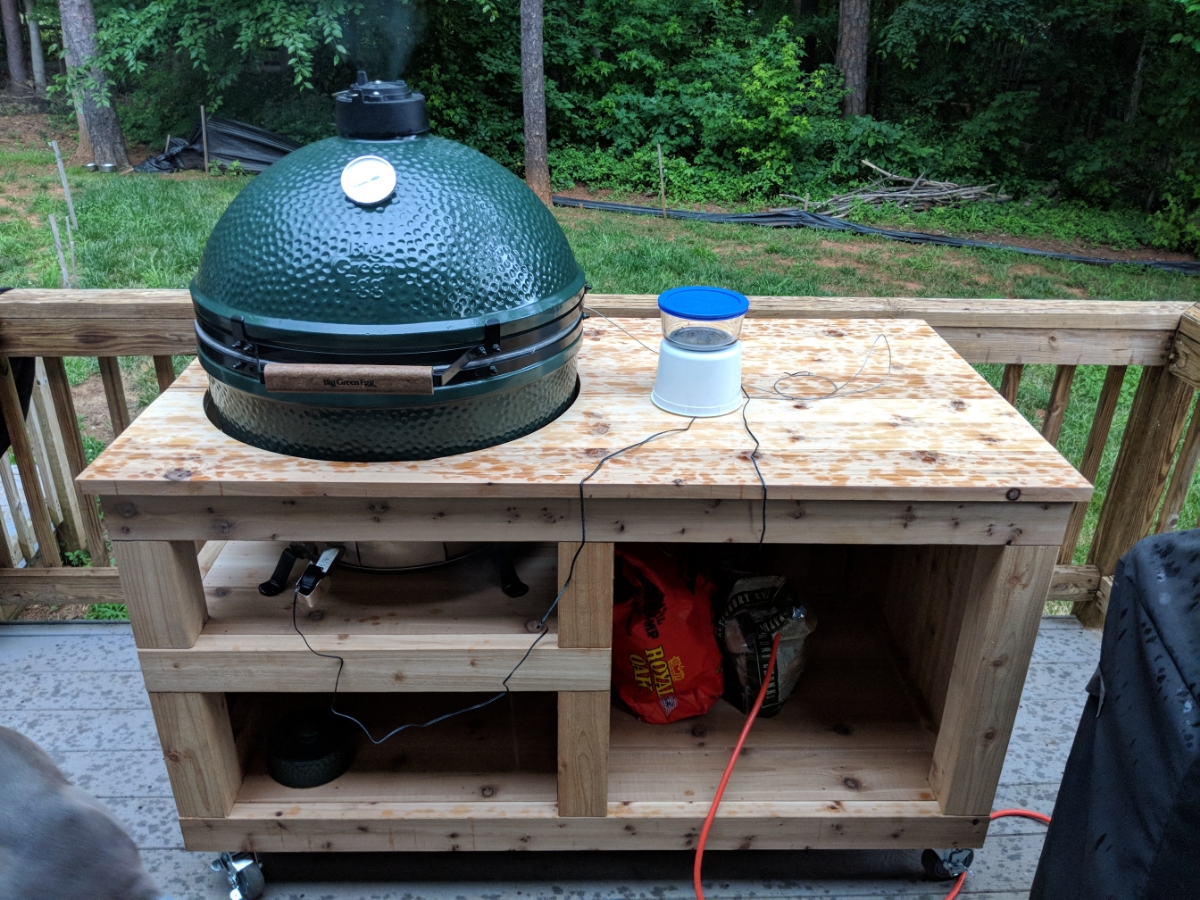
Finished last night with a rolling frame.
If anyone wants anymore detail on the build it can be found here.
https://acurazine.com/forums/home-garden-37/cccoltsicehockeys-home-projects-thread-939967/page11/
Comments
-
Awesome job. What kind of top are you going to put on it?South of Nashville - BGE XL - Alfresco 42" ALXE - Alfresco Versa Burner - Sunbeam Microwave
-
It will just be 5/4x6in cedar deck boards ripped down to remove the rounded edge they come with. I wanted to do a granite insert on the side above the cabinet but it just isn't in the budget at the time. I didn't want to wait for it to be in the budget and not be able to use the Egg.SonVolt said:Awesome job. What kind of top are you going to put on it?
Debating on just staining the top and sealing it then so at least if I drip anything on it that it doesn't leave a mark. -
I'd definitely go granite if you can swing it. I'd call around town and ask for "remnants" that match the size you need. You can sometimes score very very good deals because they're just sitting around wasting space in their shop.South of Nashville - BGE XL - Alfresco 42" ALXE - Alfresco Versa Burner - Sunbeam Microwave
-
table looks great, a good sealer is a good choice to help with clean up. I did a concrete top, a lot cheaper than granite and a good solid surface if you want to look into that, I can provide my lessons learned if you go that way. just make plans to add a table nest or something to create an air gap to make it safe, don't just sit it on a paver and create a heat sync to burn you table down.
2 Large Eggs - Raleigh, NC
Boiler Up!!
-
Kent8621 said:
table looks great, a good sealer is a good choice to help with clean up. I did a concrete top, a lot cheaper than granite and a good solid surface if you want to look into that, I can provide my lessons learned if you go that way. just make plans to add a table nest or something to create an air gap to make it safe, don't just sit it on a paver and create a heat sync to burn you table down.
How did you create the "mold" (or whatever it's called) for your concrete top? Do you use steel flats for structural support and corrugated sheet steel to hold the concrete and lumber on the sides until it dries?South of Nashville - BGE XL - Alfresco 42" ALXE - Alfresco Versa Burner - Sunbeam Microwave -
I used a melamine coated plywood, you have to support it pretty well but it provides a good smooth surface to use as a form. I put mine on my egg table frame, it made it harder to vibrate it but good support for it. I think the plywood was $40 at Lowes for an 8' sheet and I cut the vertical supports out of that and screwed them to the board then used a latex sealant to seal the seams ups. I used a old gift card to set the rounding in the sealant and it makes a good scraper up also.
2 Large Eggs - Raleigh, NC
Boiler Up!!
-
Any ideas on the average cost of a 2ftx2ft piece of granite?SonVolt said:I'd definitely go granite if you can swing it. I'd call around town and ask for "remnants" that match the size you need. You can sometimes score very very good deals because they're just sitting around wasting space in their shop. -
Honestly, some places would just give you that, at least most places around here would. You'd then pay maybe $40+ for polishing the edges. If they did charge you for such a small remnant it wouldn't be much. There's always scraps leftover for sink cutouts and end pieces. Just make you sure you don't call and say "what's your price per foot", be specific that you're looking for "remnants/scraps". You can even find them out back in their waste dumpsters.
You may have better luck calling the smaller fabricators on the outskirts of town. Some of the larger ones that have contracts with local builders may be harder to deal with.South of Nashville - BGE XL - Alfresco 42" ALXE - Alfresco Versa Burner - Sunbeam Microwave -
Guess I ran into exactly what you were saying. First two places I called won't even take on any job even using scraps that would bring in less than $300. Both said they have enough work not to bother with small jobs. If I could get something for $100 or less I could fit it in the budget.
-
are you adding supports under the egg to help support it in the middle?
2 Large Eggs - Raleigh, NC
Boiler Up!!
-
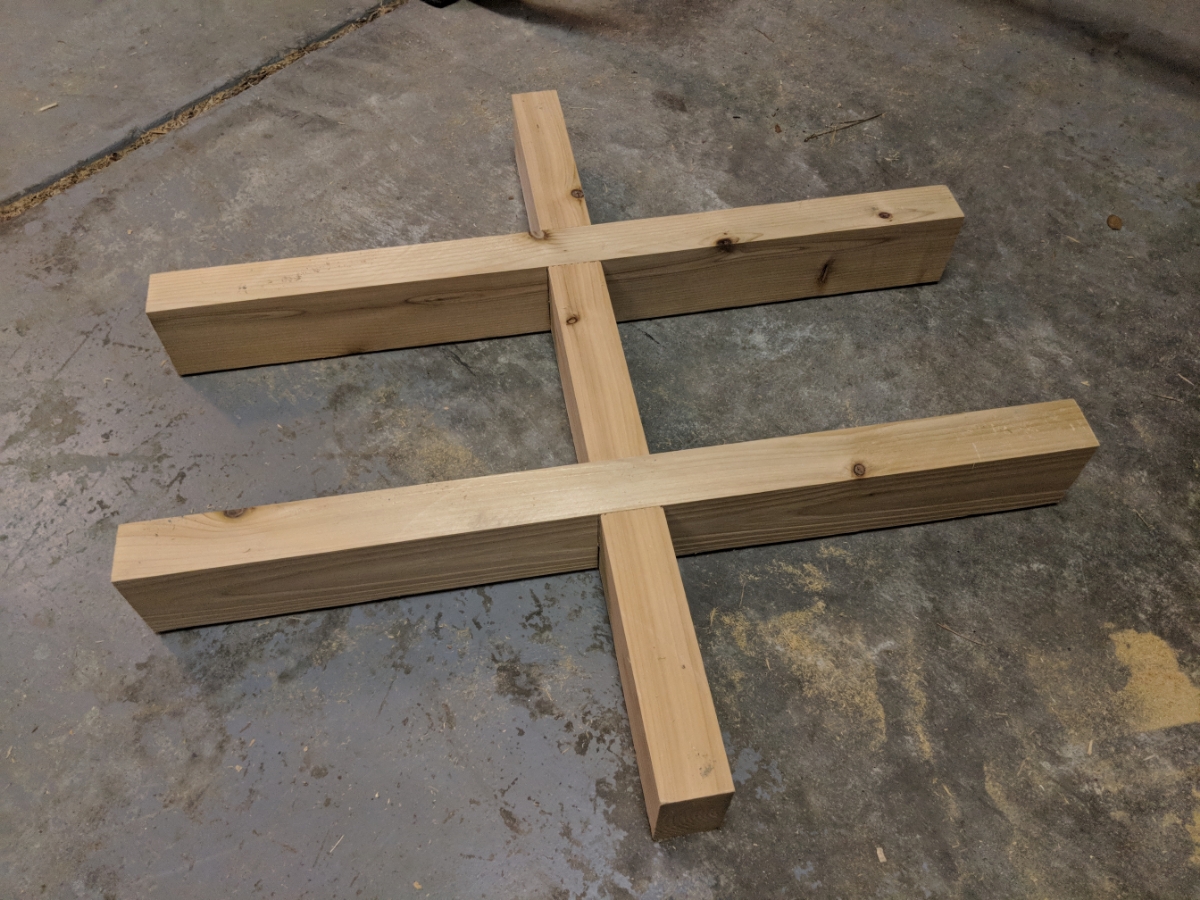
Yes I will be adding 2 - 2x4 front to back and then 1 - 2x4 side to side. I will use lap joints to connect them where that pass over each other. I am thinking that plus the 7/8in thick top boards should be a strong enough shelf.
-
Another big and final update on this project.
So Thursday and Friday morning I had to get a lot done before delivery.
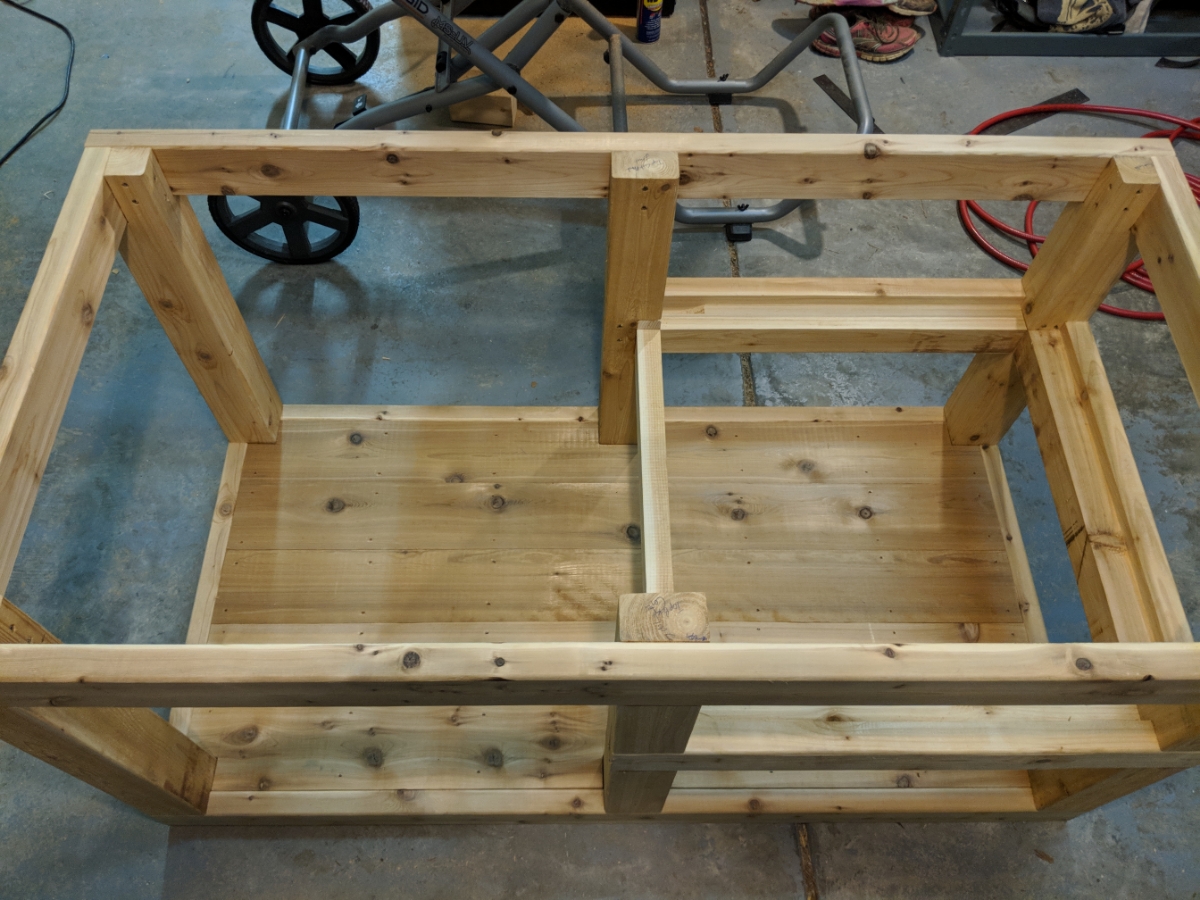
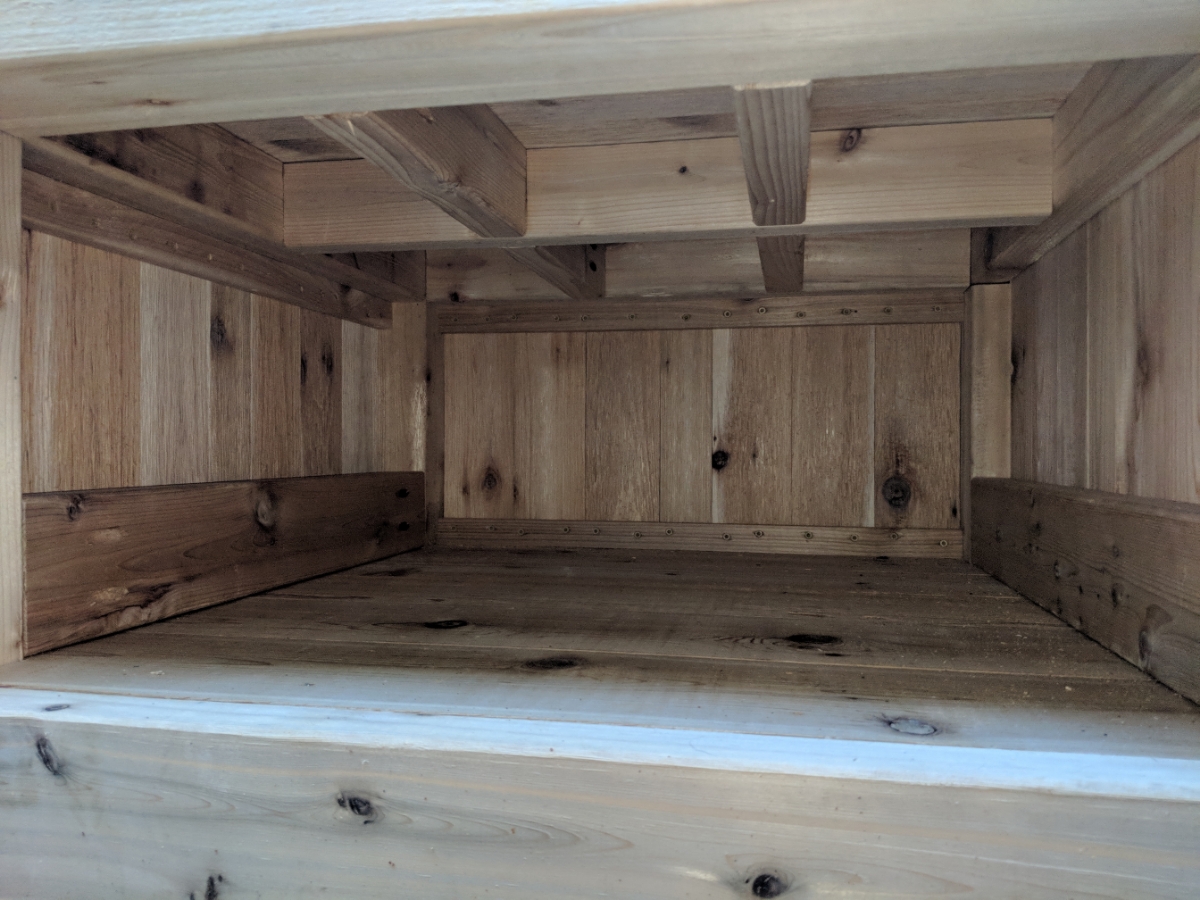
Started with building the main support structure in the middle of the shelf for the egg. Made some more lap joints to add strength. Then connected the piece with 2 pocket screws at each end.
Then installed the two lower boards that I will eventually mount the drawer slides to.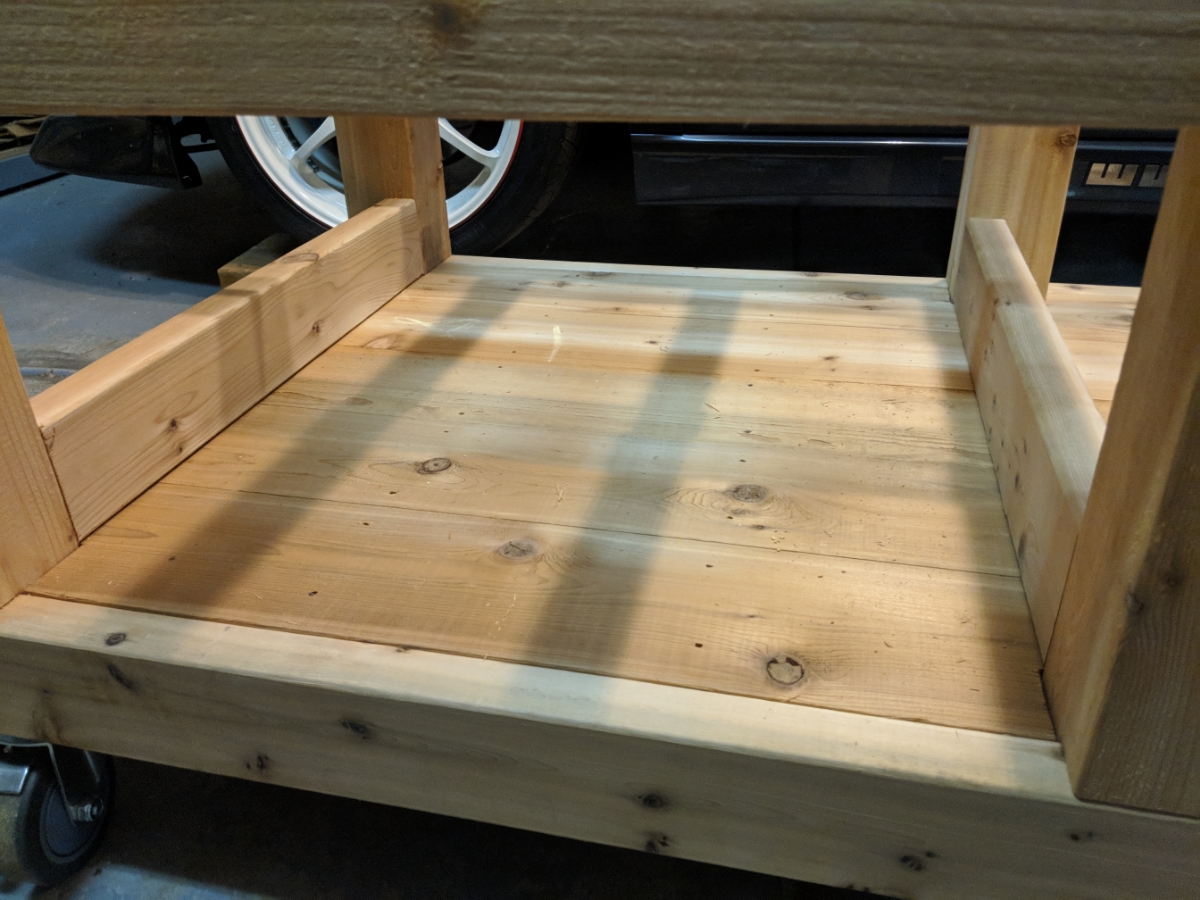

Then I installed the shelf floor. I used glue and brad nails to help hold it down while the glue dried.
Middle wall for the side cabinet. I used stainless steel deck trim screws for this.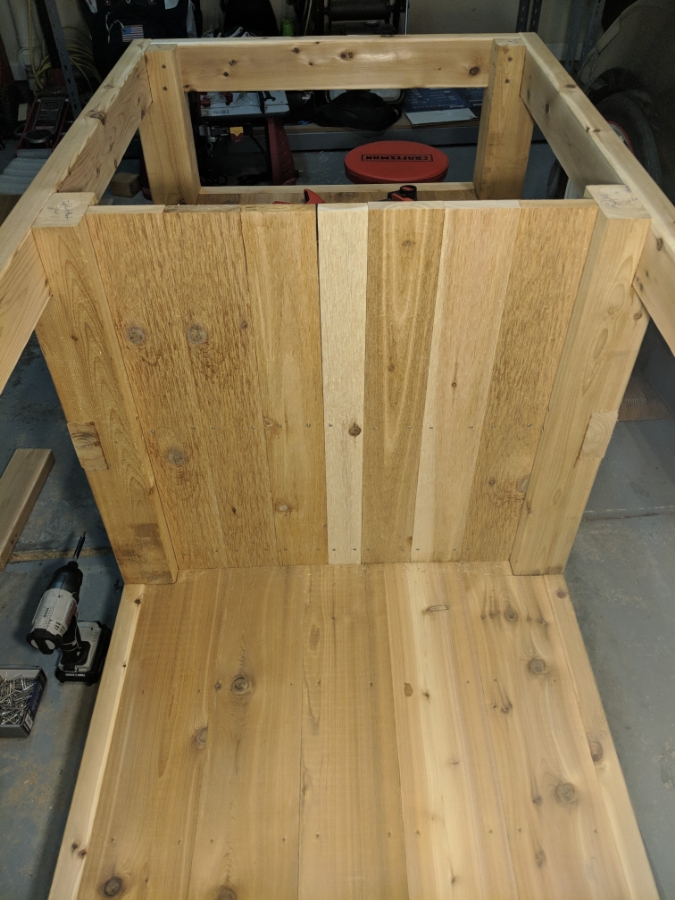

It was after this while I was cutting a board for something I realized I had an issue. I had now worked on three wood projects in a row and had never emptied my shop vac/poor mans dust collection system. This leaves you with no suction at all pretty much. Forgot to take a picture of how full it was but lets just say it was packed tight.
An entire trash bag full and that didn't even empty the thing fully.
This filter need replaced but it will have to do for the rest of the project. Knocked it all off and kept on going.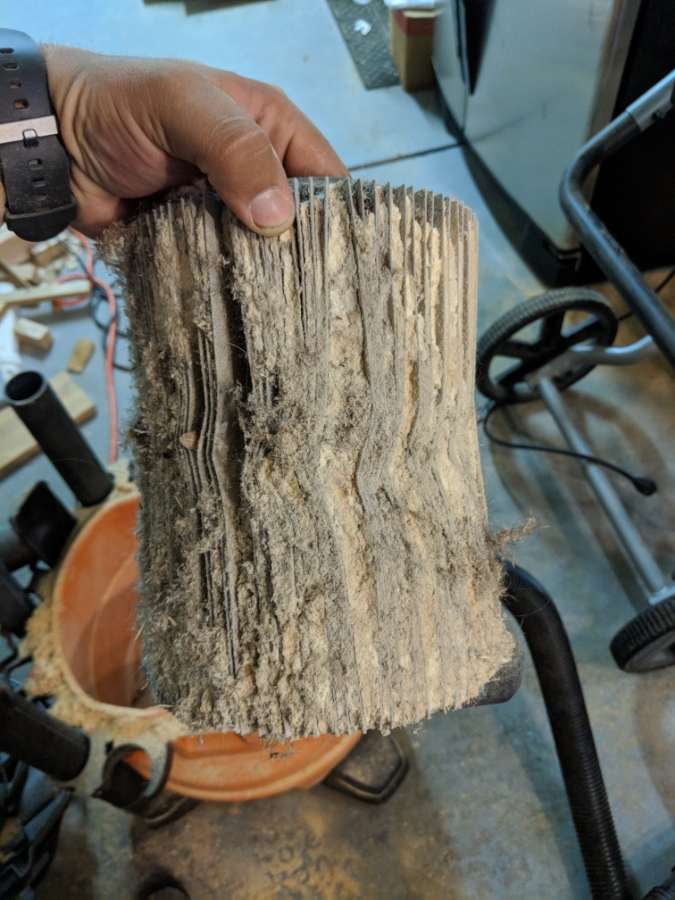
Spread out all my top boards so I could pick the sections I wanted to be used for my table top. It was at this time I realized by pure luck I had selected two boards that were cut from on top of each other out of the same tree so they had basically an identical knot location. I would use these as the front and back edge boards for my table top. Then I got them trimmed to length.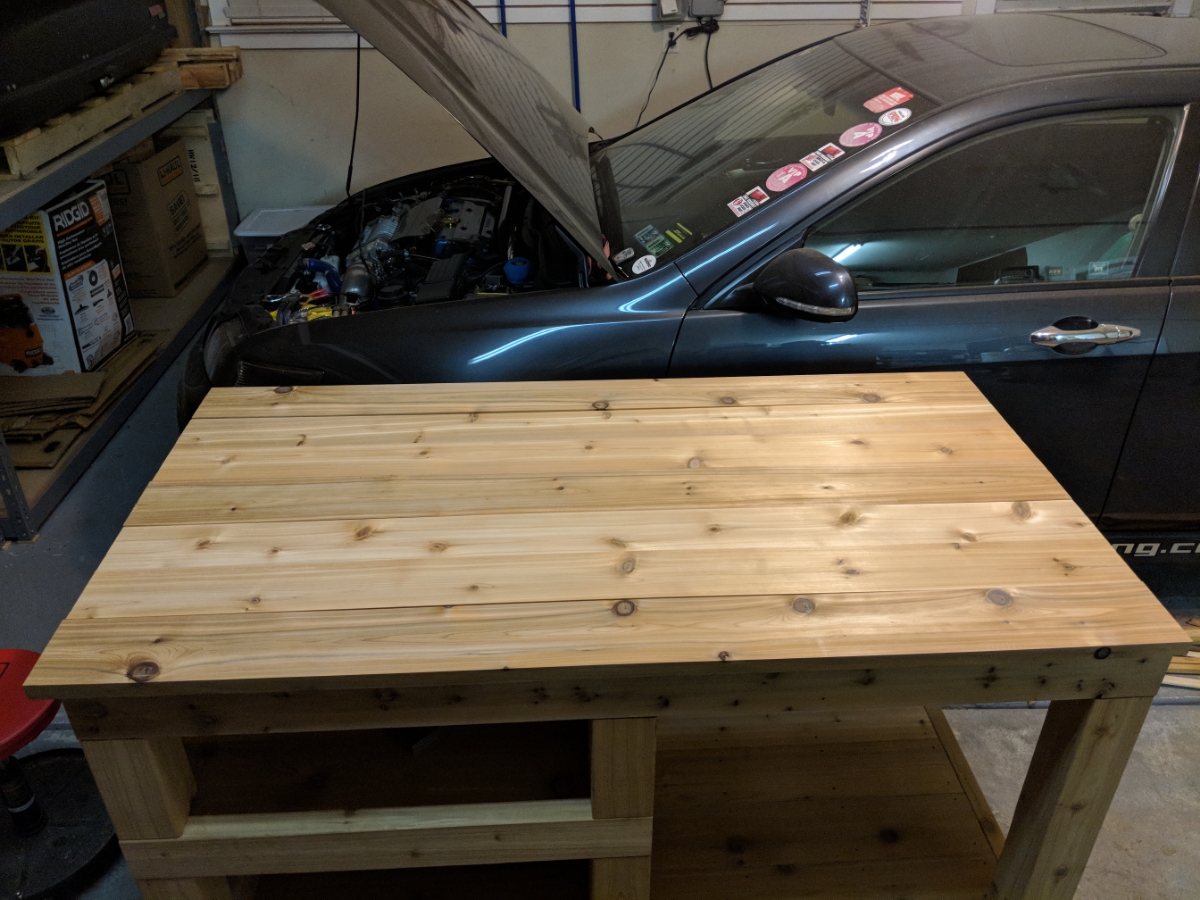
Joining the top together. I was able to do a group of 3 and a group of 4 with the two clamps I had. I ended up deciding againt buying 36in clamps as the cheapest I found locally were $41 each and I don't know what right now I would ever use them for again.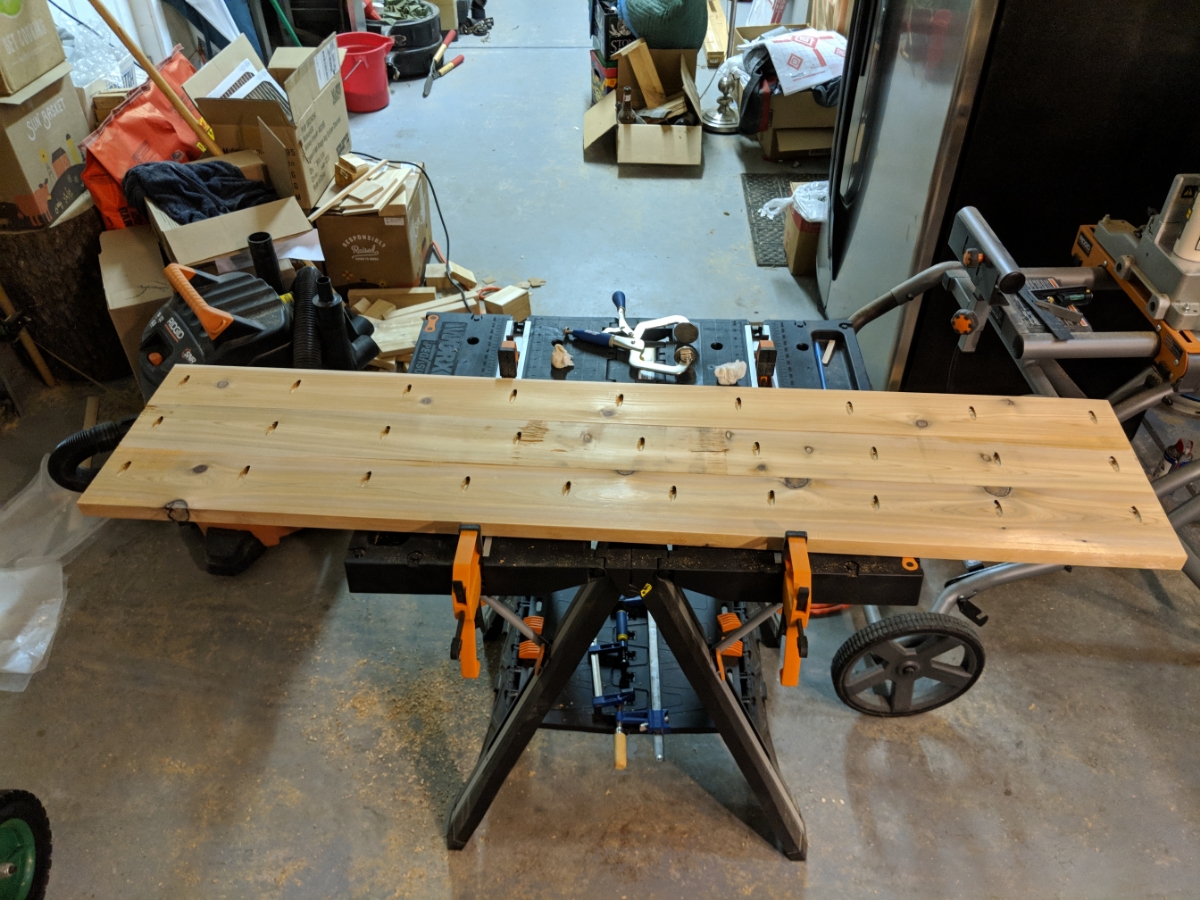

Full top glued and screwed together.
-
Next morning I got to sanding the top smooth once it had dried. Started with 80 grit on the really bad seems, then 100, 120, 180, and finally 240. Nice and smooth. I was very thankful to finally have a day with no rain cause I really did not want all that dust in my garage.

One of the moments of truth. Can I cut a circle using a jig on my first ever attempt.
Made a support so it wouldn't fall as I finished the cut.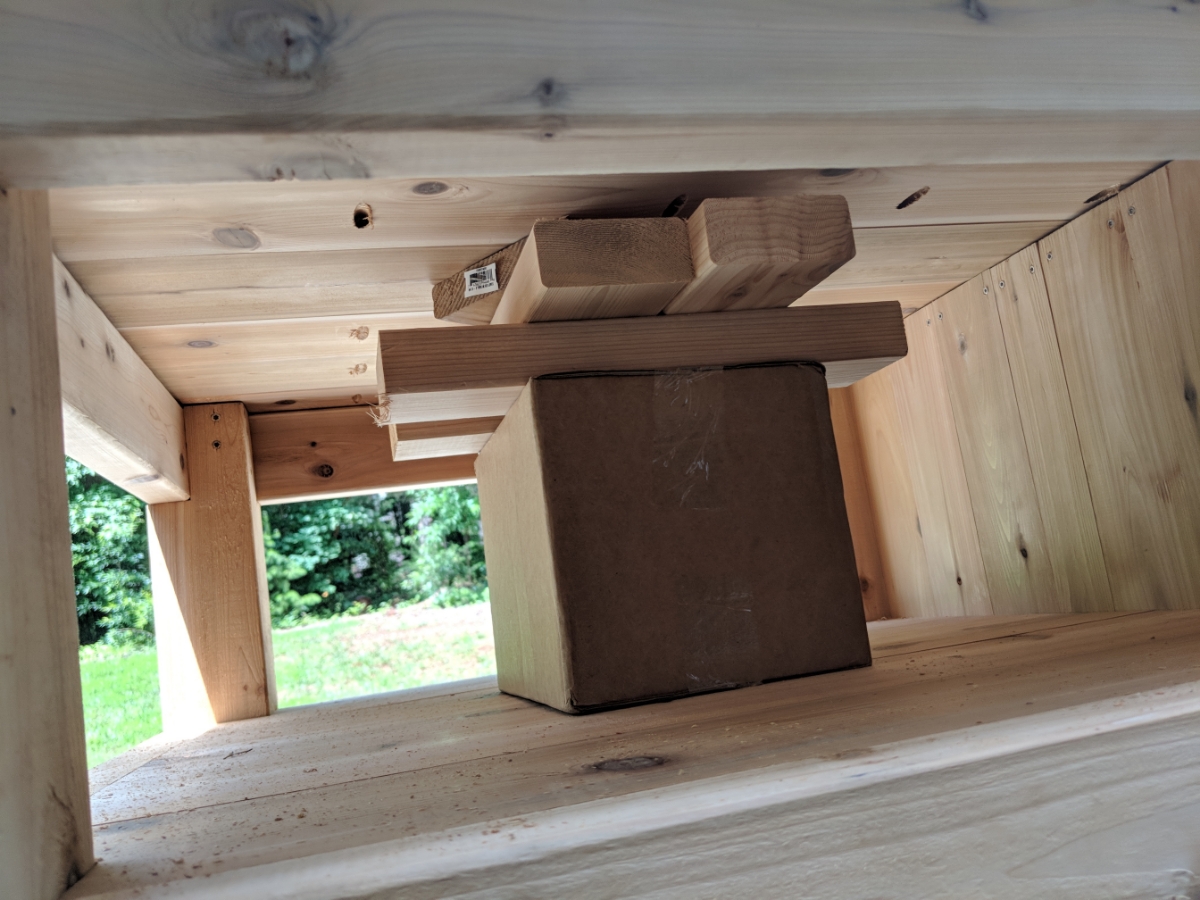
Not as smooth as I would have liked. Finishing the cut at the front was a really stupid idea. Also lowered the bit a hair too far at the end and let the holder hit the surface. Nothing though that couldn't later be sanded out.
 Super close shave

I was using pocket screws to hold the table top down on the cabinet side cut hadn't drill the holes ahead of time on the egg side and turned out I couldn't fit the kreg system in the space I had left. So I ended up installed some wood blocks to bolt the top down. Not sure completely but I believe no using the pocket screws and using these blocks instead later causes me a problem due to lack of anything in the middle of the side. Also didn't want to use glue incase I decide someday to go poured concreate top or granite instead or even just make a new wood top.

The delivery guys were super cool as I had about 10 screws to go to get the table completed enough for them to install the top and they had no problem waiting. They also helped me carry it out back to my deck from the garage.
It was however, at this time once they left, that I realized that the entire thing was put together wrong. There were long screws used where short ones should go. This meant there was probably short screws used where long ones sould be. The worst part about all this is that the screws are color coded. It turns out the short ones which are mostly used for decorative things and to hold the front handle on were used to hold the hinge system on. ;what: Screws that had 5 less threads were used to mount the hinges that hold the heavy lid. Well I took the entire thing apart and put it back together correctly. I then called the store and informed them what their team was doing that was putting these things together and that it might be a safety issue they should probably fix.
All corretly back together.

-
On to the side panels. Made sure to use setup a template so I made all boards exactly the same size.

Then installed the mounts for the sides.


First side complete. I had gone back and forth on leaving them fully flat but in the end went with the chamfer edge to provide a little detail.


Finished up the rest of them.
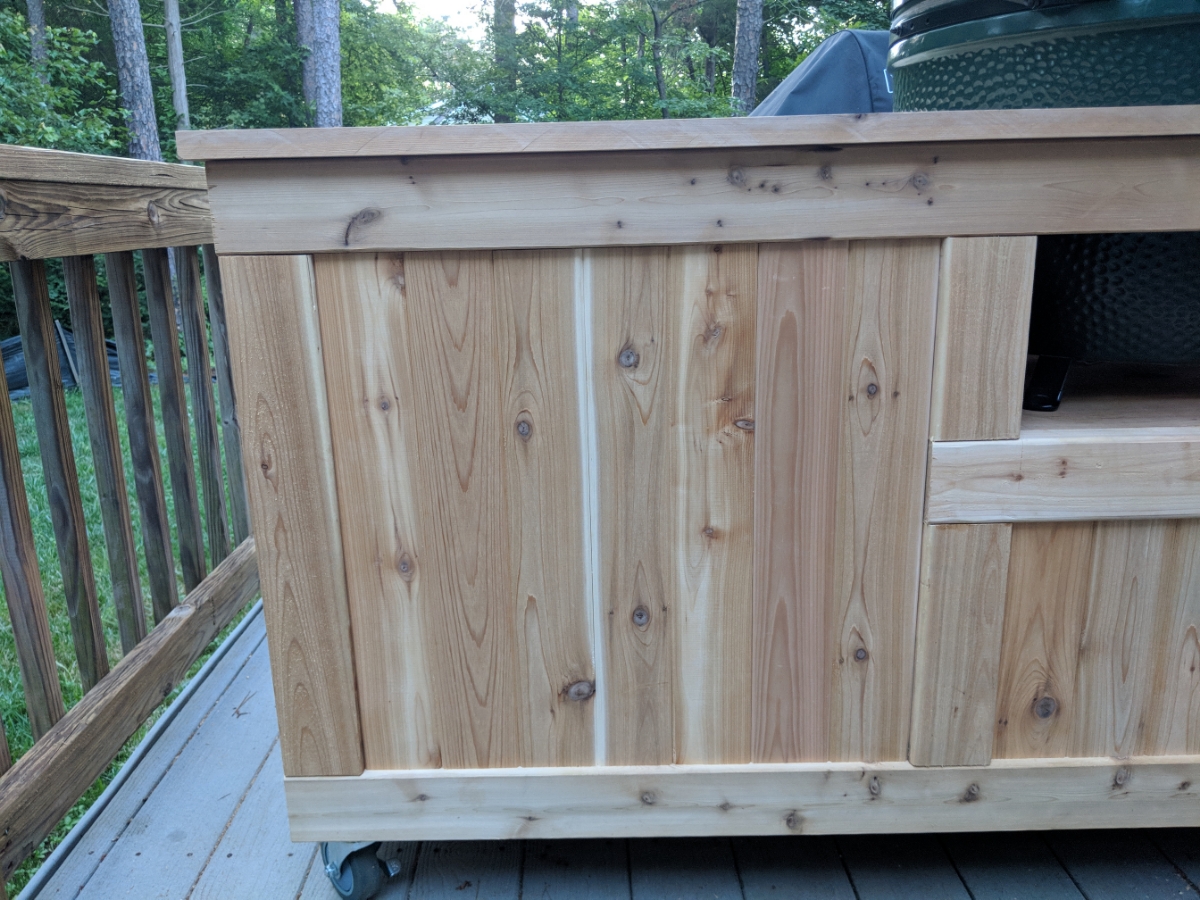

It is honestly pretty hard looking straight at it to even see the chamfer but this shot shows it pretty well.
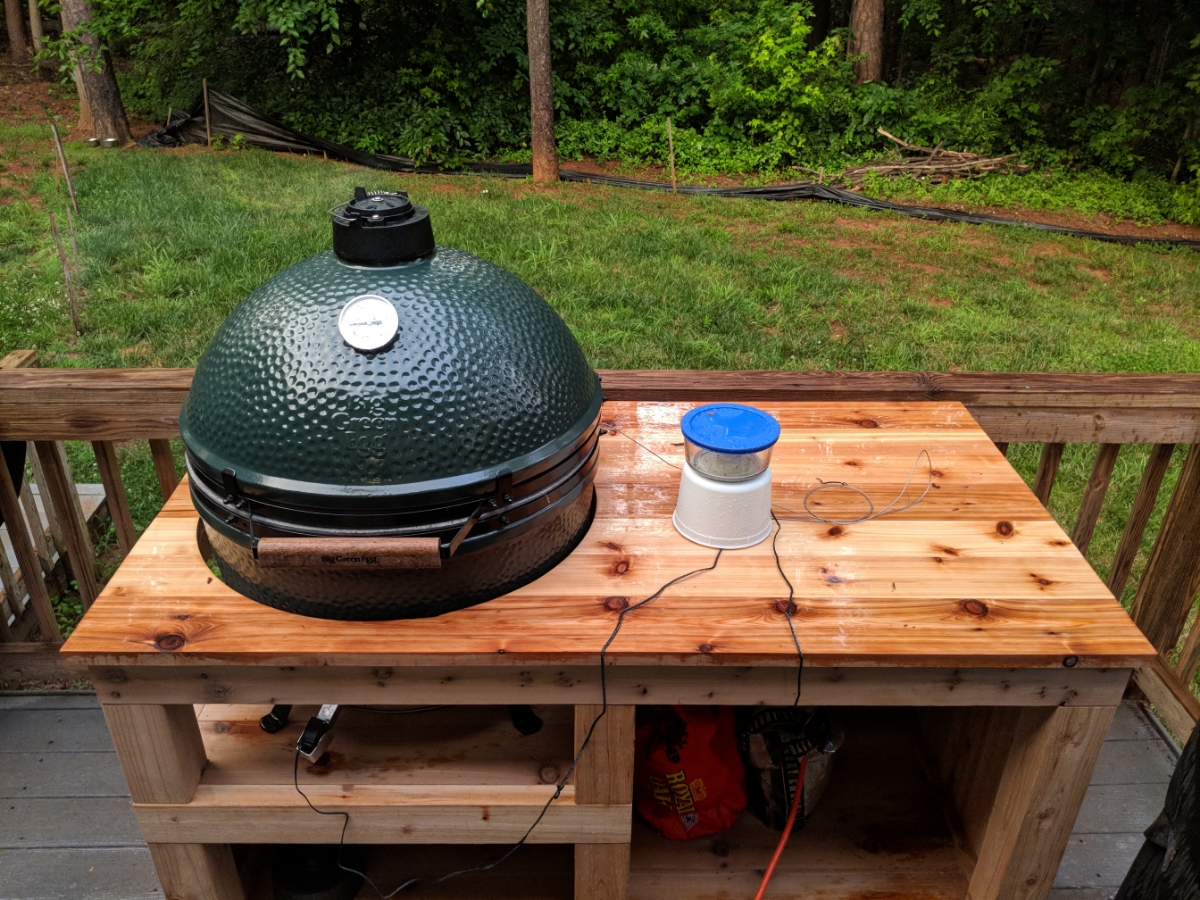
Even will follwing Green Egg plans they give for table design dimension and egg wise placement apparently their cover doesn't fit it. Their tables they sell much have the egg at a different location than

-
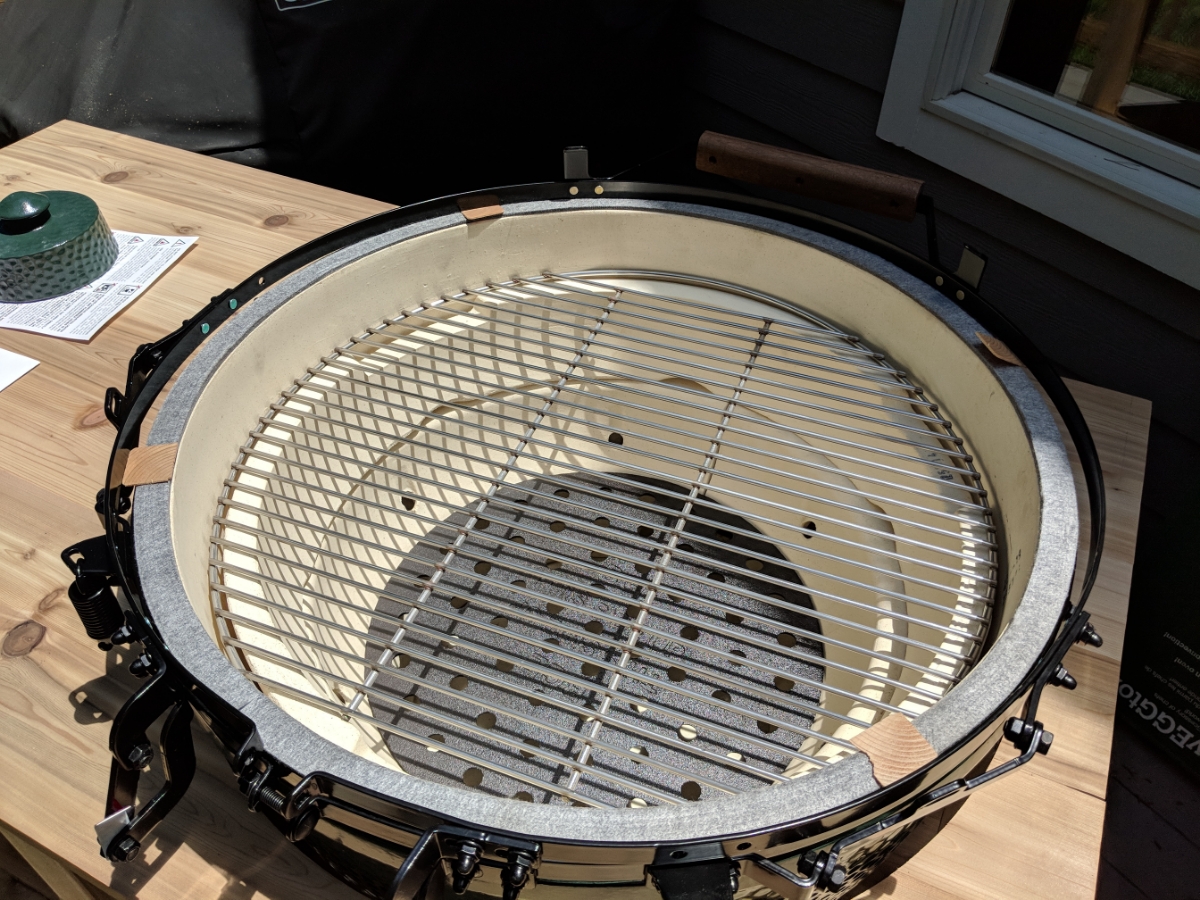
Now on to the inaugural cook on the new Egg.
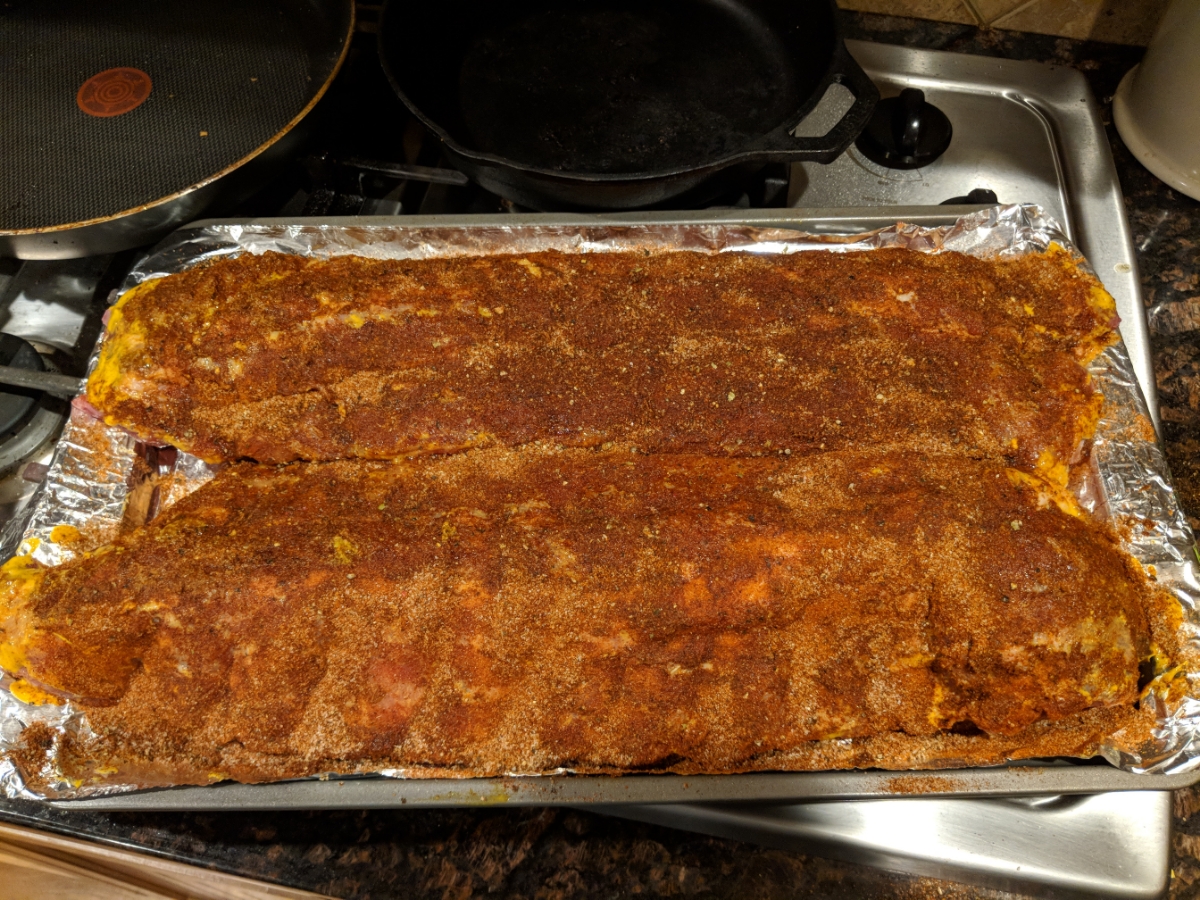
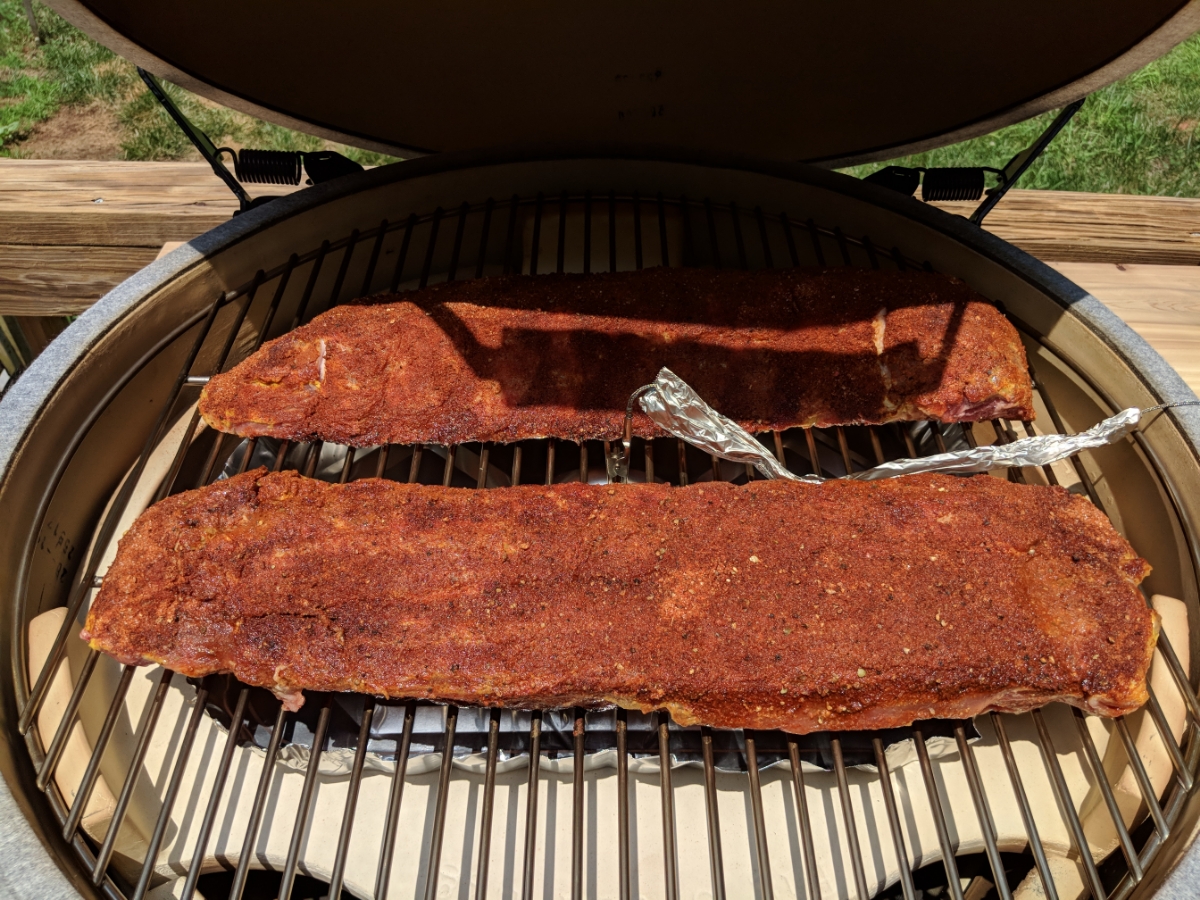
Didn't shop around for ribs at all. Just on the way home from a cookout at a friends on Saturday I stopped at the grocery store and picked up the only two packs they had left out.
Put some mustard down first followed and then coated them in a rub recipe suggested to me by a friend. I wrapped them in foil then and put them in the fridge for the night. I had planned to start them exactly 12hrs later but life didn't cooperate and it ended up being 14hrs.
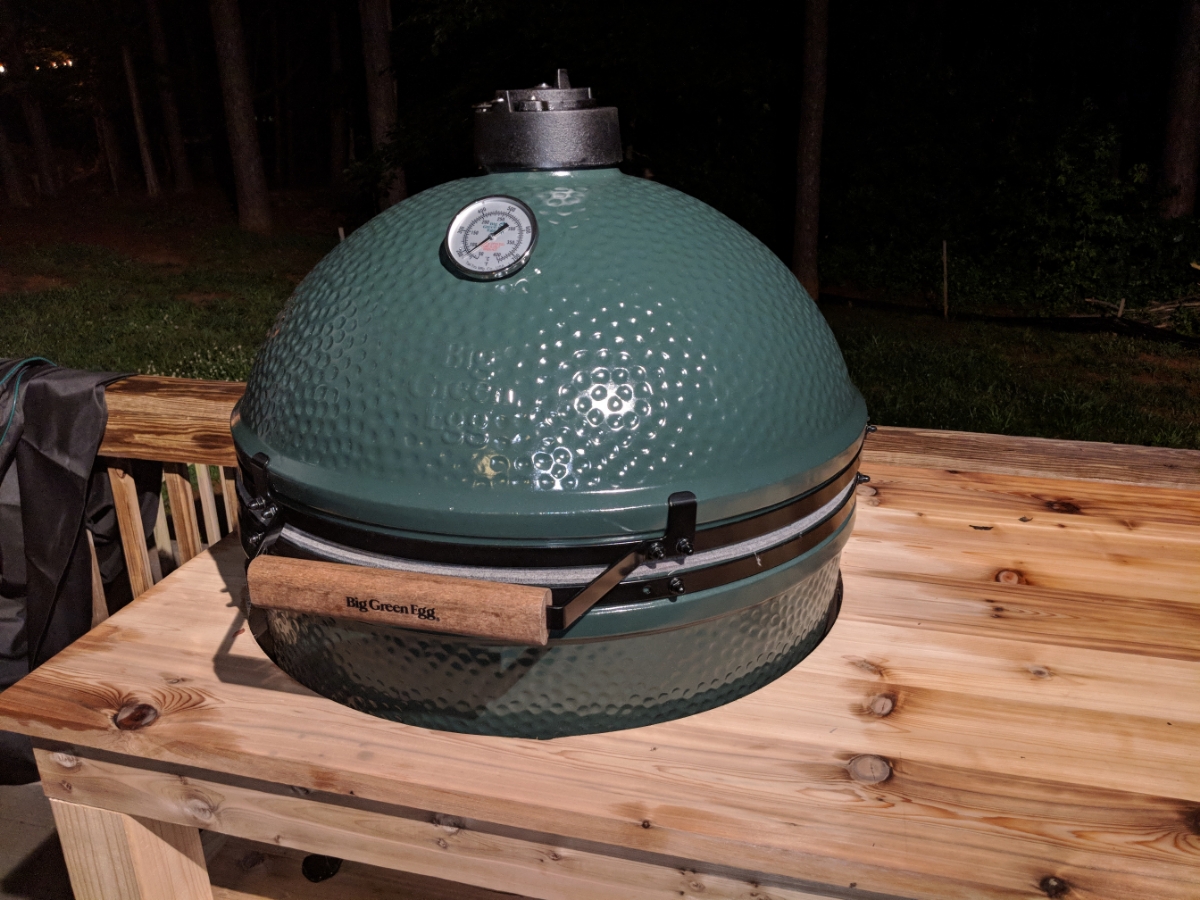
Got the ribs out of the fridge to warm up a bit while I started the Egg
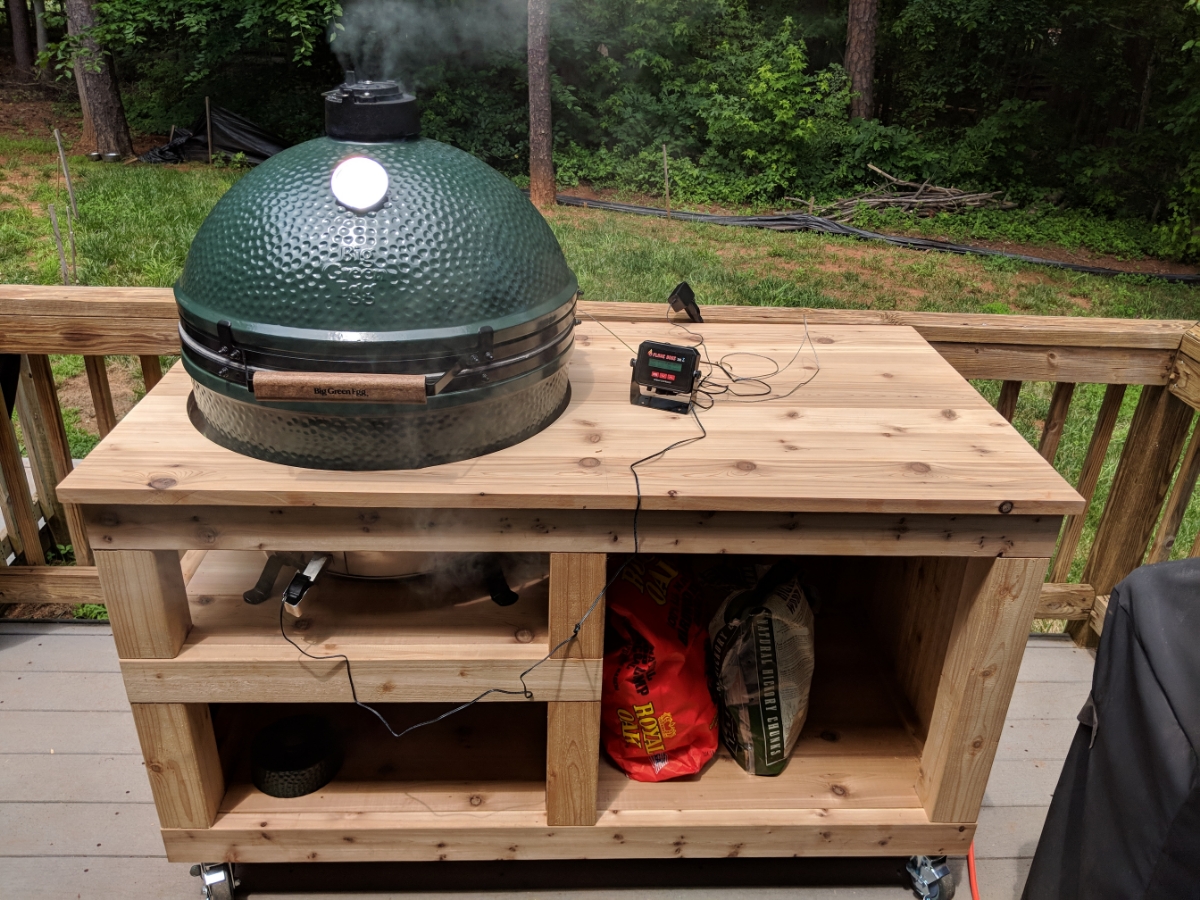
Starting my Egg for the first time. I used 5 pieces of Hickory and 2 pieces of Apple wood for this cook.

Egg going good while it gets up to temp. Wood be cooking at 225 for this cook doing the 3-2-1 method.
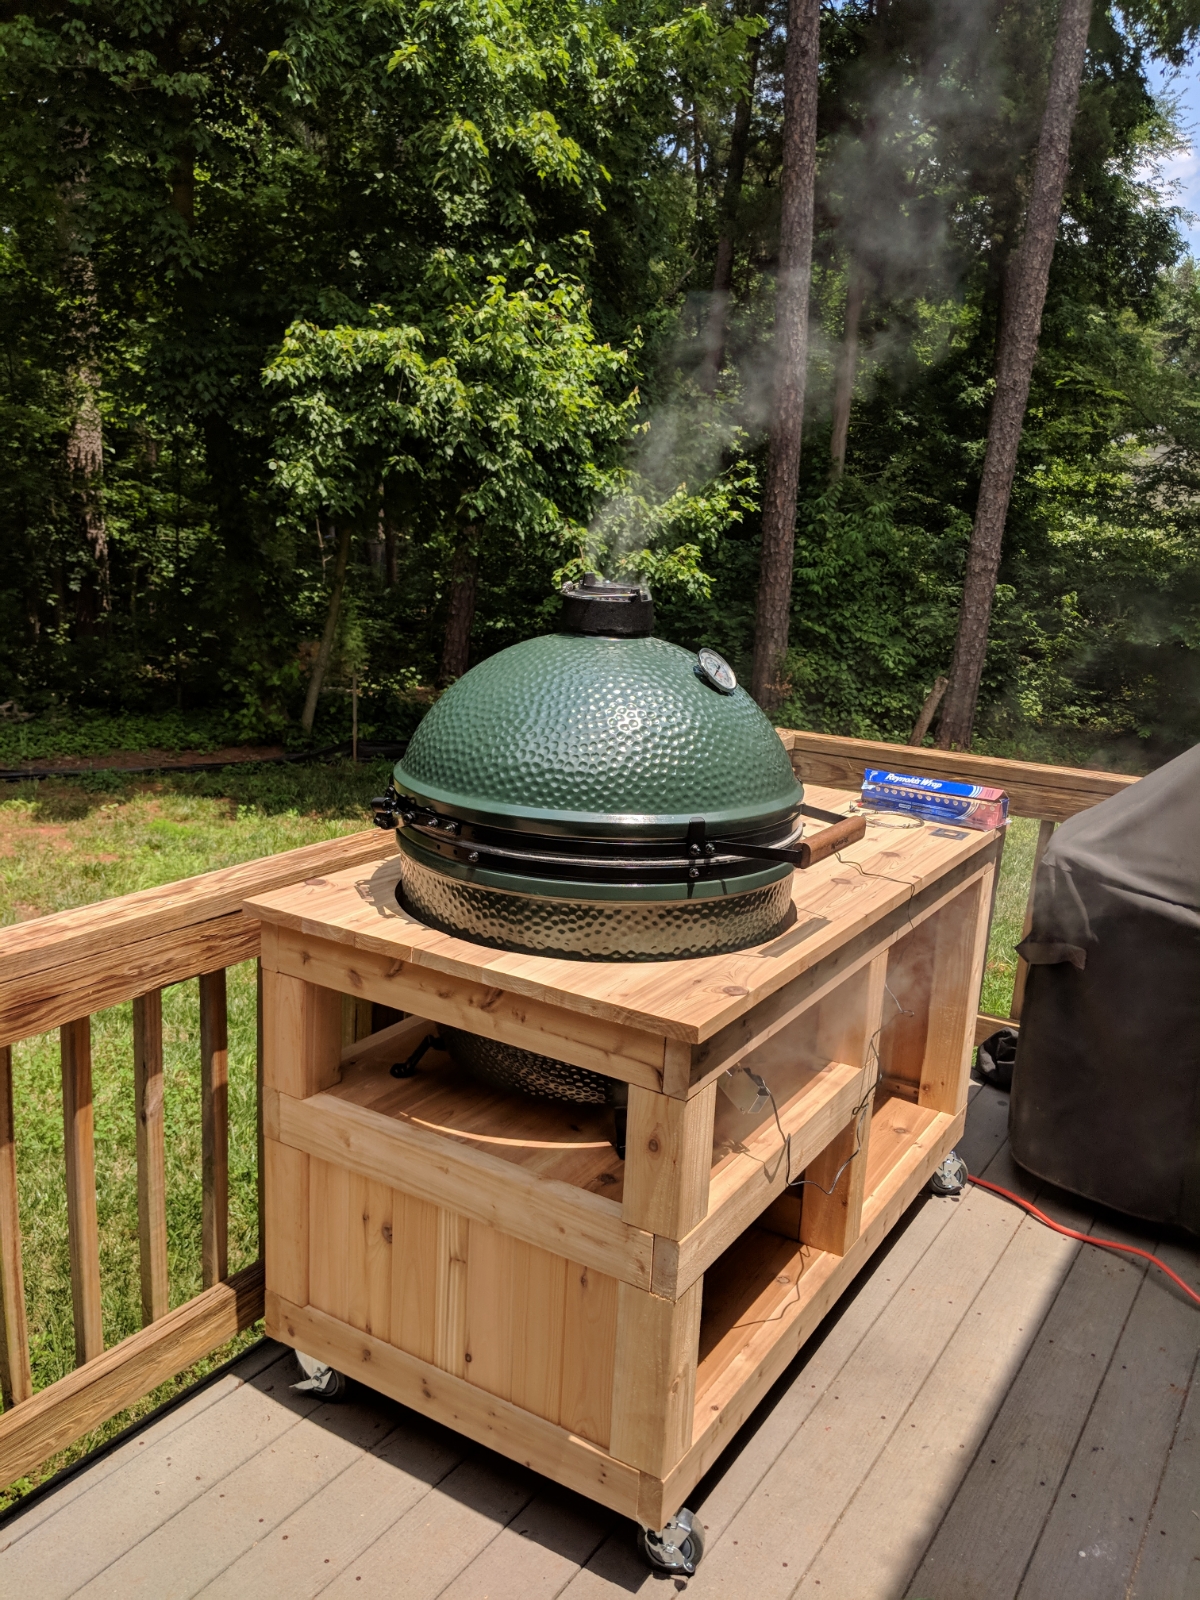
Flame Boss 300 all setup.
And we begin...
3hrs in time for a wrap

Honey, brown suger, and a little bit of whisky
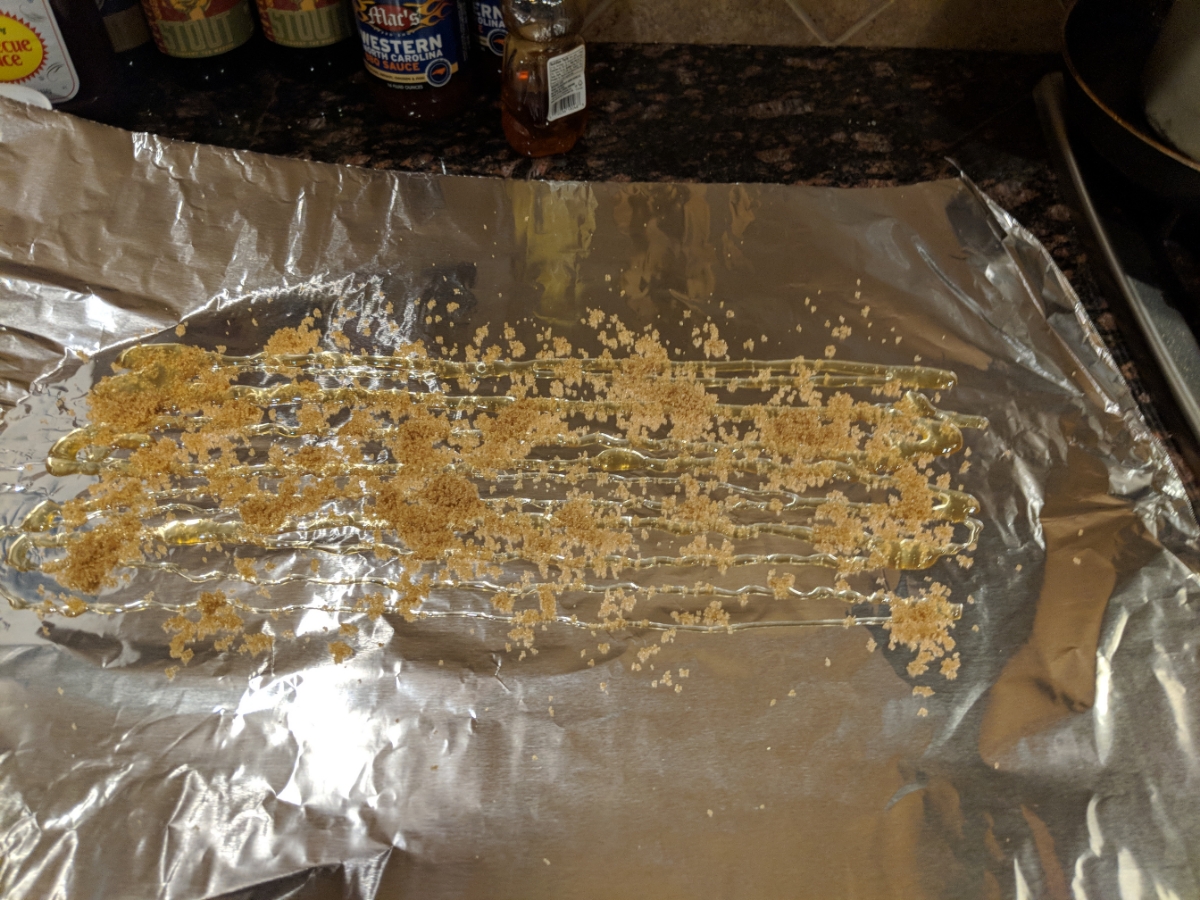
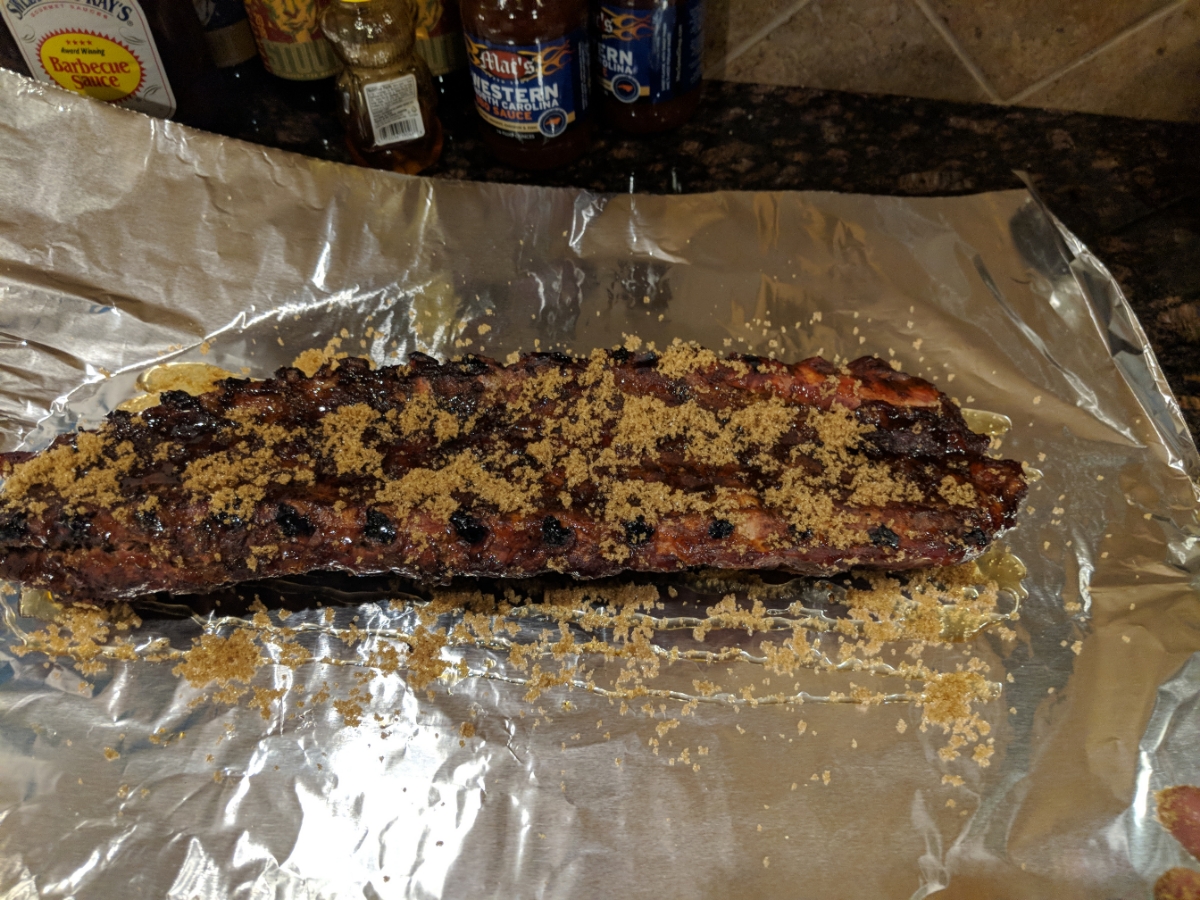
Wrapped up and back on for 2hrs more.

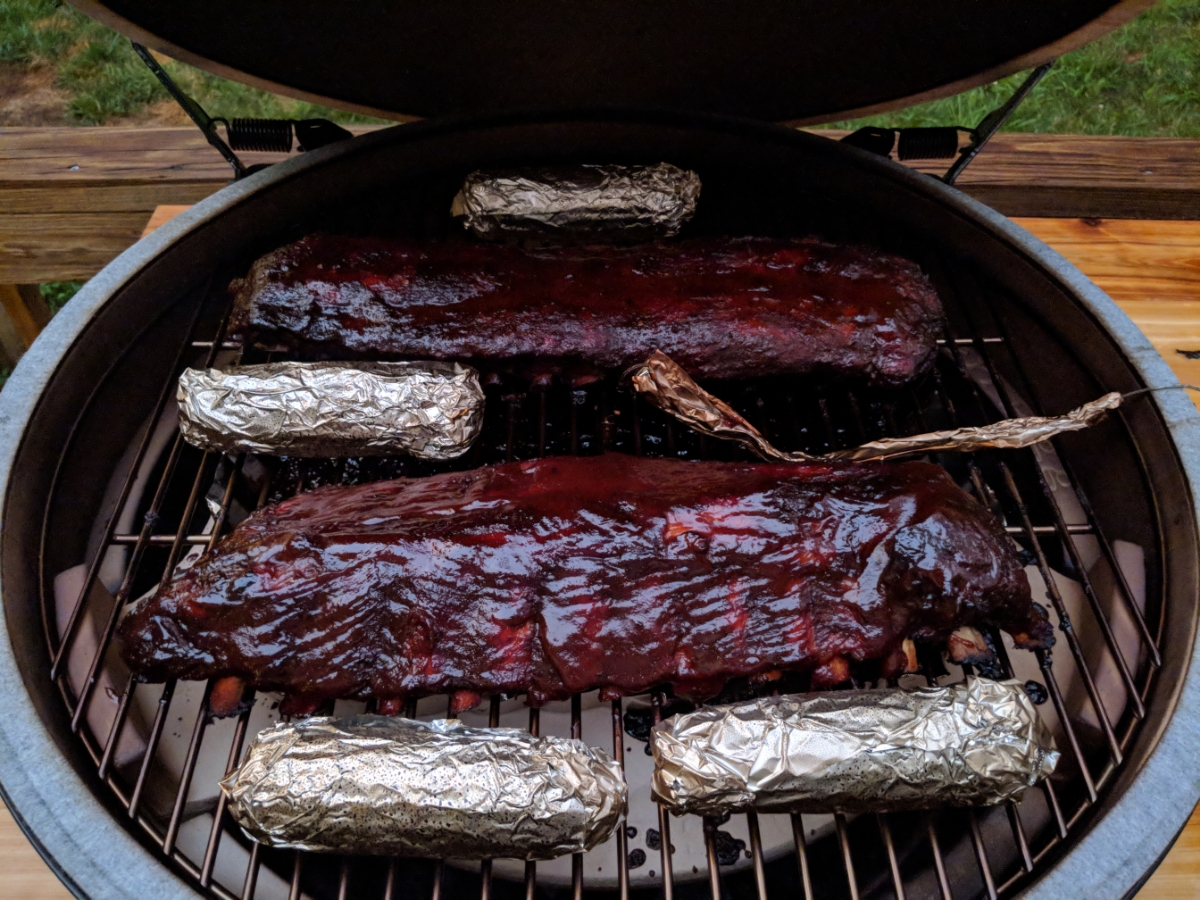
Unwrapped and back on for the last hour
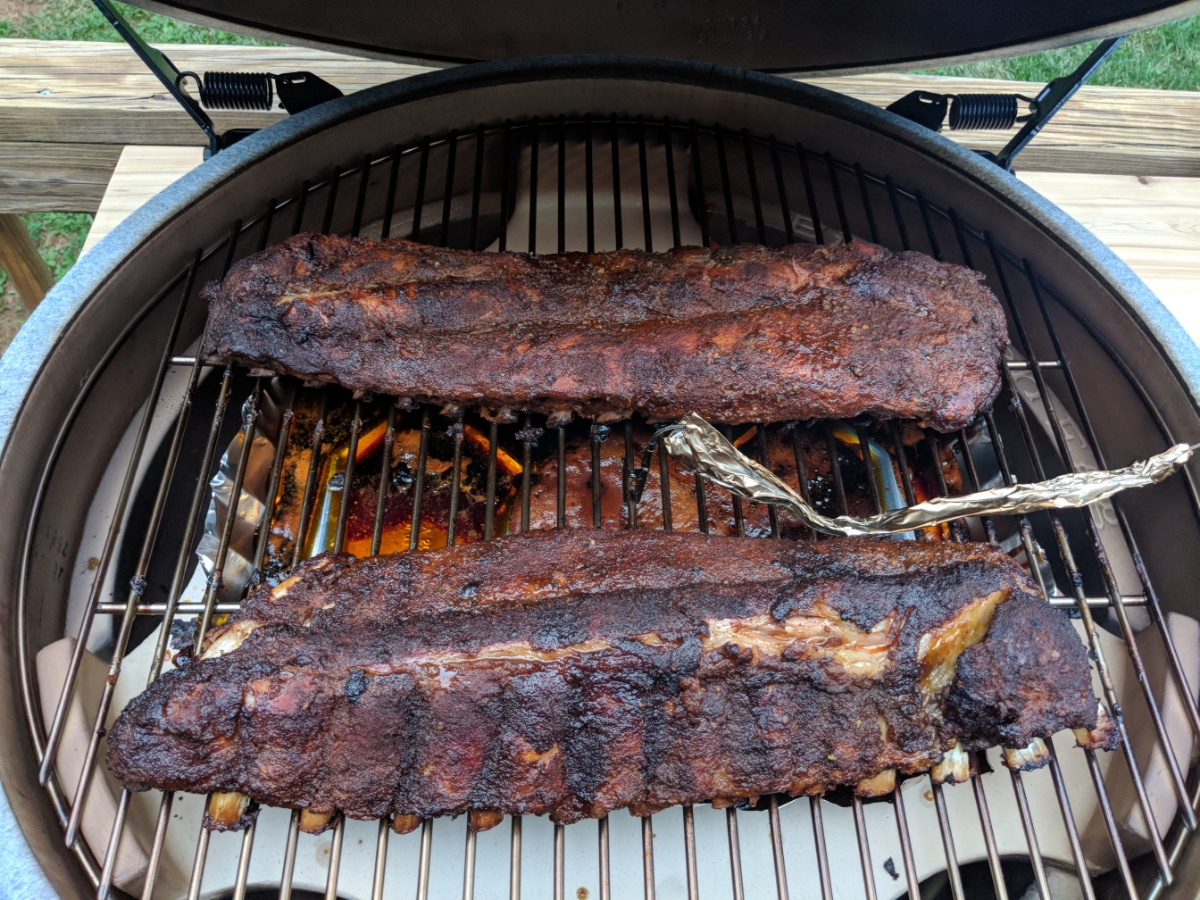
Sauced up and also placed some corn on the cobb on the grill at this point as well.

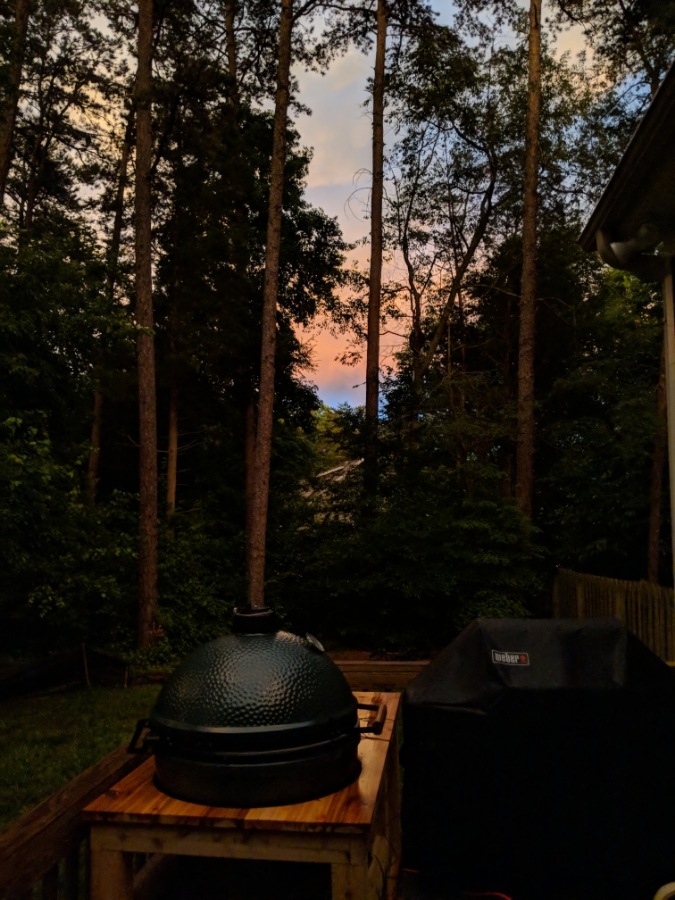
Of course at this point it had to start to rain.
The wood looked really good all wet (I am sure someone will make a joke out of this comment so calling it out now)
The sky was a beautiful orange blue after the storm
Flame Boss still keeping a perfect 225.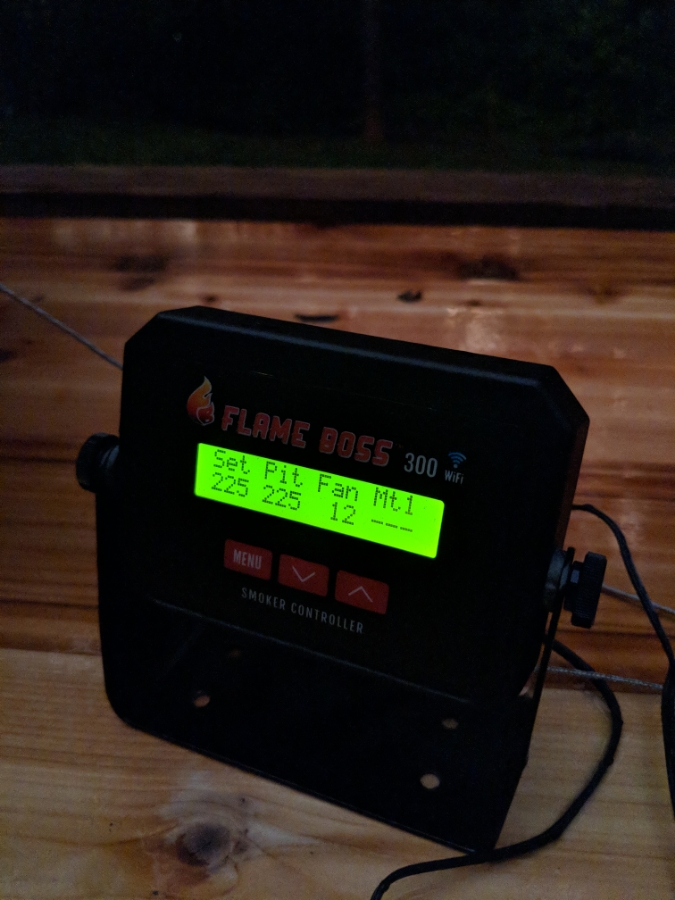
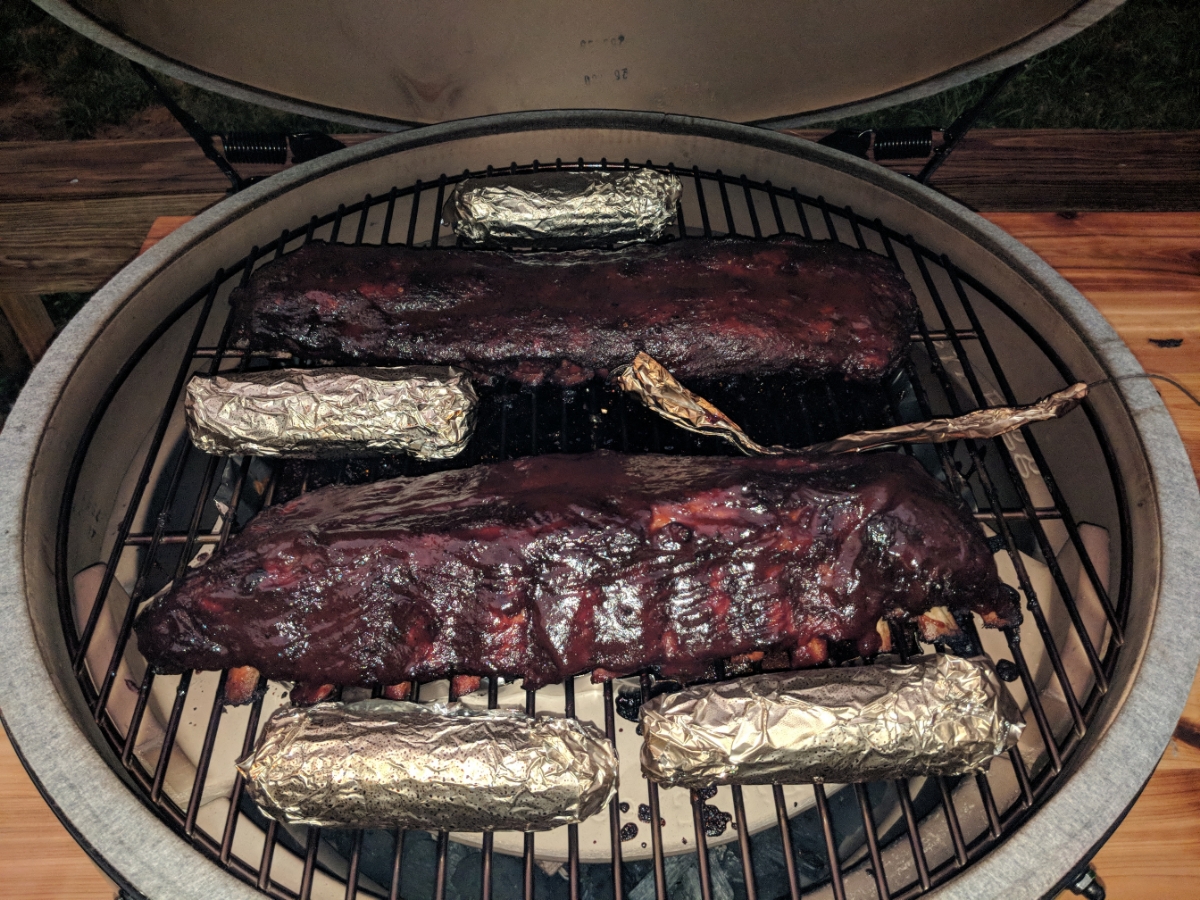
Saucing them a second time after 30min
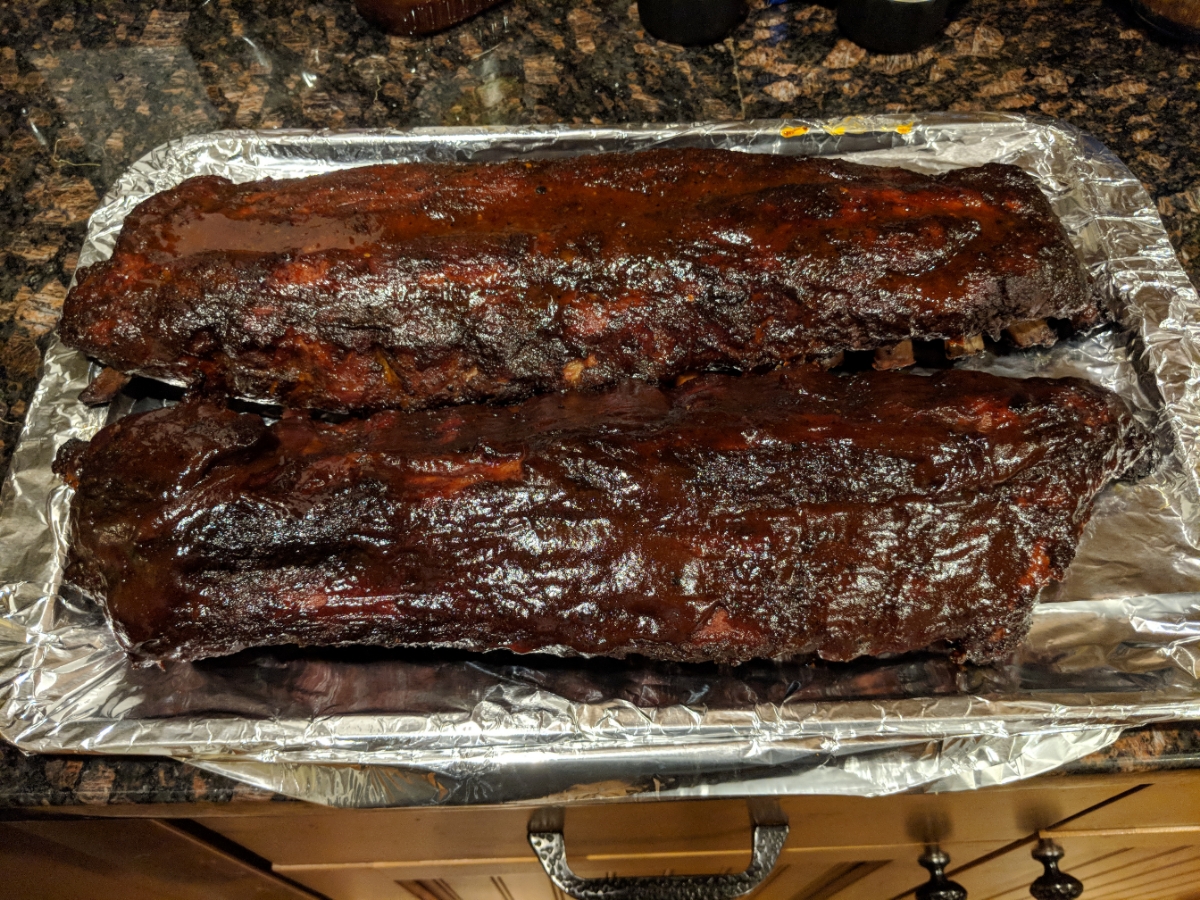
All finished. Time to eat!

Forgot to take a picture of the corn right away but here is one from my plate.

8.5lbs of ribs leaves a few left overs for this week.

The heat from the Egg dried the wood out near the egg very quickly. Just about an hour after it stopped raining.
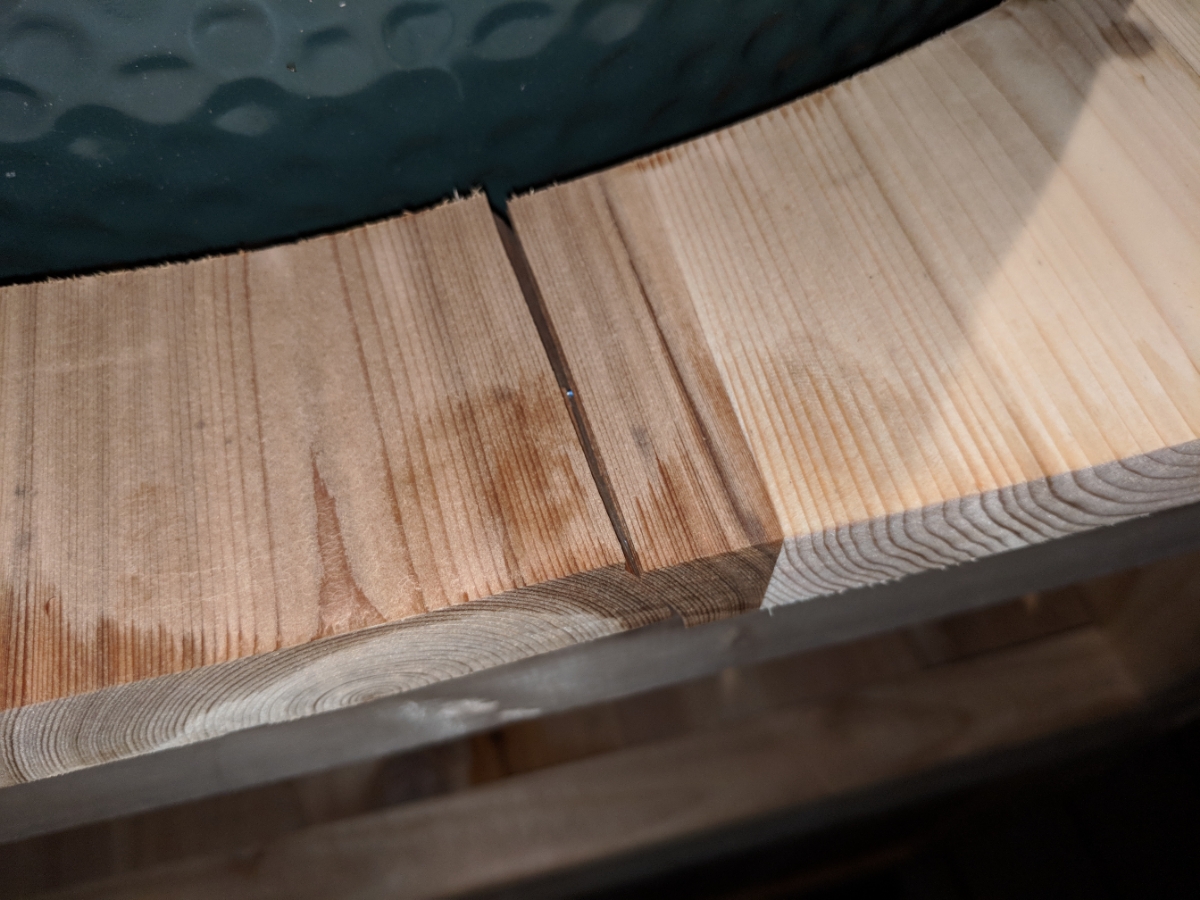
The first cook was not without issues though. I noticed that my table top was a casualty. It sadly cracked already. I imagine from the heat but not 100% sure.
-
Thanks for documenting your design/build/first cook so well! Also, welcome to the club!I'm anxious to see how your table is going to deal with the normal expansion/contraction that wood experiences. That first crack may be just an indicator of further problems.
“Reality is that which, when you stop believing in it, doesn't go away.” ― Philip K. Diçk -
Yeah we shall see. Hopefully things don't get too bad. I wanted a smooth work top so there is no gaps around those boards. There are a few small gaps for expansion on the floors and walls of the build. The top is also the only thing that isn't glued down as to allow for future replacement if needed.HeavyG said:Thanks for documenting your design/build/first cook so well! Also, welcome to the club!I'm anxious to see how your table is going to deal with the normal expansion/contraction that wood experiences. That first crack may be just an indicator of further problems. -
Can always slap a slab of granite on top of the whole thing down the road if the cracks start bothering you.South of Nashville - BGE XL - Alfresco 42" ALXE - Alfresco Versa Burner - Sunbeam Microwave
-
Welcome!Large Egg with adjustable rig, Kick Ash Basket, Minimax and various Weber's.
Floyd Va -
Killer all the way around. Clearly not your first build BRAVO!
-
-
-
Yeah definitely a possible solution down the road. Especially cause it will have let me spread the cost of that onto another year.SonVolt said:Can always slap a slab of granite on top of the whole thing down the road if the cracks start bothering you. -
Thank you. Used to build a lot of subwoofer enclosures and full car stereos growing up.pgprescott said:Killer all the way around. Clearly not your first build BRAVO!
My first wood build was last fall. I needed beer before the smoker")


Categories
- All Categories
- 184.1K EggHead Forum
- 16.1K Forum List
- 461 EGGtoberfest
- 1.9K Forum Feedback
- 10.5K Off Topic
- 2.4K EGG Table Forum
- 1 Rules & Disclaimer
- 9.2K Cookbook
- 16 Valentines Day
- 118 Holiday Recipes
- 348 Appetizers
- 521 Baking
- 2.5K Beef
- 90 Desserts
- 167 Lamb
- 2.4K Pork
- 1.5K Poultry
- 33 Salads and Dressings
- 322 Sauces, Rubs, Marinades
- 548 Seafood
- 175 Sides
- 122 Soups, Stews, Chilis
- 44 Vegetarian
- 103 Vegetables
- 315 Health
- 293 Weight Loss Forum