Share your photos by tagging us and using the hashtag #BigGreenEgg.
Want to see how the EGG is made? Click to Watch
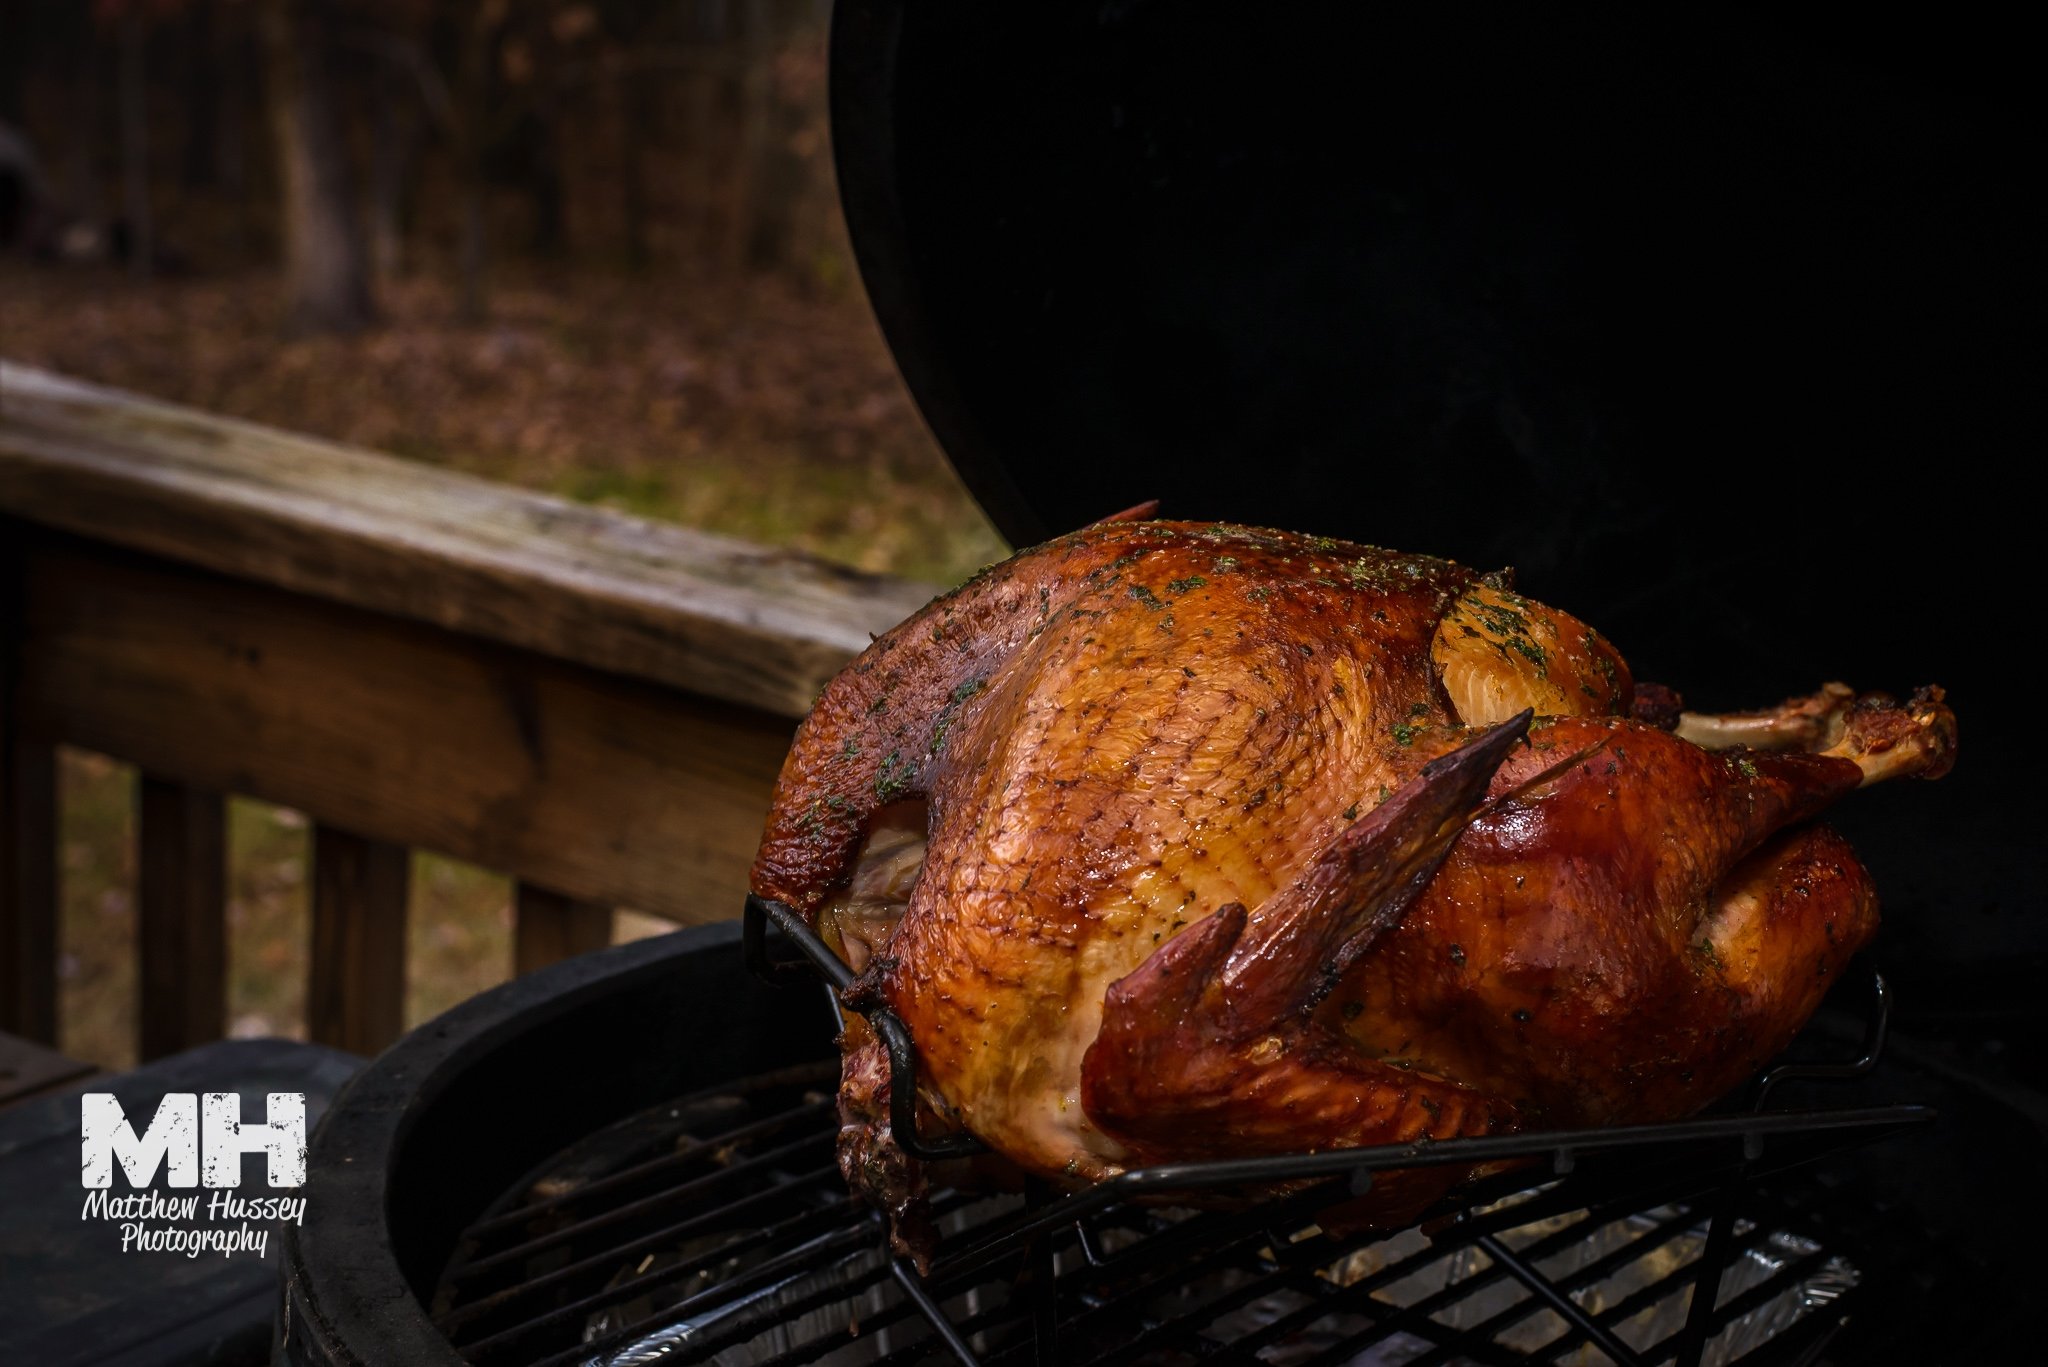
Thanksgiving Turkey - Wet vs. Dry Brine?

Hoping I can find some good debate on this topic. I have always wet brined my turkeys and been happy with the results. My only compliant is I've had some difficulty getting the skin crispy. I have been reading more and more lately about dry brining and the benefits it has.
Where does everyone stand on this? Wet, or Dry brine smoked turkey? Thanks.
Comments
-
Wet brining is still a good technique, so no need to change that practice. The key to crispy skin is to have it dry. Stick your hand up under the skin to loosen it from the meat and hang the bird in the frig overnight to thoroughly dry the skin.Cincinnati, Ohio. Large BGE since 2011. Still learning.
-
You can also sprinkle a little corn starch on it and it will crisp right up.
Central Valley CA One large egg One chocolate lab "Halle" two chiuahuas "Skittles and PeeWee" -
Wet brine, dry thoroughly, then rub skin with olive oil has always worked well for me. Crispy skin and super moist.
-
But if you are going to brine, rinse, dry and then air dry in the fridge for a day...why not just dry brine in the fridge for 2 days and be done. I was skeptical as well but tried it last year on the advice posted on this forum and it was great. It was as good as any bird I have ever soaked in brine. Just took less space in fridge because no container is needed full of brine. Or no cooler in the garage to mess with. At least give it a try before you dismiss it.OhioEgger said:Wet brining is still a good technique, so no need to change that practice. The key to crispy skin is to have it dry. Stick your hand up under the skin to loosen it from the meat and hang the bird in the frig overnight to thoroughly dry the skin.Thank you,DarianGalveston Texas -
Photo Egg said:
But if you are going to brine, rinse, dry and then air dry in the fridge for a day...why not just dry brine in the fridge for 2 days and be done. I was skeptical as well but tried it last year on the advice posted on this forum and it was great. It was as good as any bird I have ever soaked in brine. Just took less space in fridge because no container is needed full of brine. Or no cooler in the garage to mess with. At least give it a try before you dismiss it.OhioEgger said:Wet brining is still a good technique, so no need to change that practice. The key to crispy skin is to have it dry. Stick your hand up under the skin to loosen it from the meat and hang the bird in the frig overnight to thoroughly dry the skin.
What did you use for your dry brine? Can you use a rub? -
Dry brine camp for me. No need to induce more water.
------------------------------
Thomasville, NC
My YouTube Channel - The Hungry Hussey
Instagram
Facebook
My Photography Site -
I dry brine. It's easier, cleaner and I find the flavor to be better (more turkey flavor)XL, Small, Mini & Mini Max Green Egg, Shirley Fab Trailer, 6 gal and 2.5 gal Cajun Fryers, BlueStar 60" Range, 48" Lonestar Grillz Santa Maria, Alto Shaam 1200s, Gozney Dome, Gateway 55g Drum
-
I'm in the Modernist Cuisine Camp, and inject a gradient brine. Works much faster, keeps your skin dry, and is cleaner using only a pint or two, taking up less fridge real estate minus a bucket.
5% kosher, 3% white sugar.BrandonQuad Cities
"If yer gonna denigrate, familiarity with the subject is helpful." -
Both work well. Choose one or both. If cooked well, the bird will turn out great.Sandy Springs & Dawsonville Ga
-
cbmontgo said:Photo Egg said:
But if you are going to brine, rinse, dry and then air dry in the fridge for a day...why not just dry brine in the fridge for 2 days and be done. I was skeptical as well but tried it last year on the advice posted on this forum and it was great. It was as good as any bird I have ever soaked in brine. Just took less space in fridge because no container is needed full of brine. Or no cooler in the garage to mess with. At least give it a try before you dismiss it.OhioEgger said:Wet brining is still a good technique, so no need to change that practice. The key to crispy skin is to have it dry. Stick your hand up under the skin to loosen it from the meat and hang the bird in the frig overnight to thoroughly dry the skin.
What did you use for your dry brine? Can you use a rub?I based mine on this but did a longer air dry in the fridge.
Dry-Brined Turkey (a.k.a. The Judy Bird)
o One 12- to 16-pound turkey (frozen is fine)
o Kosher salt
o Herbs and/or spices to flavor the salt (optional -- see suggestions in step 1)
o Melted butter for basting (optional)
1. Wash the turkey inside and out, pat it dry and weigh it. Measure 1 tablespoon of salt -- we used Diamond Crystal -- into a bowl for every 5 pounds the turkey weighs (for a 15-pound turkey, you'd have 3 tablespoons). You can flavor the salt with herbs and spices if you like -- try smoked paprika and orange zest, bay leaf and thyme, or rosemary and lemon zest. Grind together with the salt in a spice grinder, small food processor, or mortar and pestle.
2. Sprinkle the inside of the turkey lightly with salt. Place the turkey on its back and salt the breasts, concentrating the salt in the center, where the meat is thickest. You'll probably use a little more than a tablespoon.
3. Turn the turkey on one side and sprinkle the entire side with salt, concentrating on the thigh. You should use a little less than a tablespoon. Flip the turkey over and do the same with the opposite side.
4. Place the turkey in a 2 1/2-gallon sealable plastic bag, press out the air and seal tightly. (If you can't find a resealable bag this big, you can use a turkey oven bag, but be prepared for it to leak.) Place the turkey breast-side up in the refrigerator. Chill for 3 days, turning it onto its breast for the last day. Rub the salt around once a day if you remember.
5. Remove the turkey from the bag. There should be no salt visible on the surface and the skin should be moist but not wet. Place the turkey breast-side up on a plate and refrigerate uncovered for at least 8 hours.
6. On the day it is to be cooked, remove the turkey from the refrigerator and leave it at room temperature at least 1 hour. Preheat the oven to 425° F.
7. Pat it dry one last time and baste with melted butter, if using. Place the turkey breast-side down on a roasting rack in a roasting pan; put it in the oven. After 30 minutes, remove the pan from the oven and carefully turn the turkey over so the breast is facing up (it's easiest to do this by hand, using kitchen towels or oven mitts).
8. Reduce the oven temperature to 325° F, return the turkey to the oven and roast until a thermometer inserted in the deepest part of the thigh, but not touching the bone, reads 165° F, about 2 3/4 hours total roasting. Note that because a dry-brined turkey cooks more quickly than one that hasn't been brined, it's best to check the temperature early with this recipe -- it may be done faster than you think!
Remove the turkey from the oven, transfer it to a warm platter or carving board; tent loosely with foil. Let stand at least 30 minutes to let the juices redistribute through the meat. Carve and serve.
Thank you,DarianGalveston Texas


Categories
- All Categories
- 184K EggHead Forum
- 15.8K Forum List
- 459 EGGtoberfest
- 1.9K Forum Feedback
- 10.4K Off Topic
- 2.2K EGG Table Forum
- 1 Rules & Disclaimer
- 9K Cookbook
- 13 Valentines Day
- 93 Holiday Recipes
- 224 Appetizers
- 520 Baking
- 2.5K Beef
- 88 Desserts
- 167 Lamb
- 2.4K Pork
- 1.5K Poultry
- 33 Salads and Dressings
- 324 Sauces, Rubs, Marinades
- 548 Seafood
- 175 Sides
- 122 Soups, Stews, Chilis
- 44 Vegetarian
- 102 Vegetables
- 313 Health
- 292 Weight Loss Forum