Welcome to the EGGhead Forum - a great place to visit and packed with tips and EGGspert advice! You can also join the conversation and get more information and amazing kamado recipes by following Big Green Egg to Experience our World of Flavor™ at:
Want to see how the EGG is made? Click to Watch
Facebook | Twitter | Instagram | Pinterest | Youtube | Vimeo
Share your photos by tagging us and using the hashtag #BigGreenEgg.
Share your photos by tagging us and using the hashtag #BigGreenEgg.
Want to see how the EGG is made? Click to Watch
Chicago Pizza (Heavy Pics)
Options

gsgentry
Posts: 128
OK Zippy, you asked for it and here it is!!!
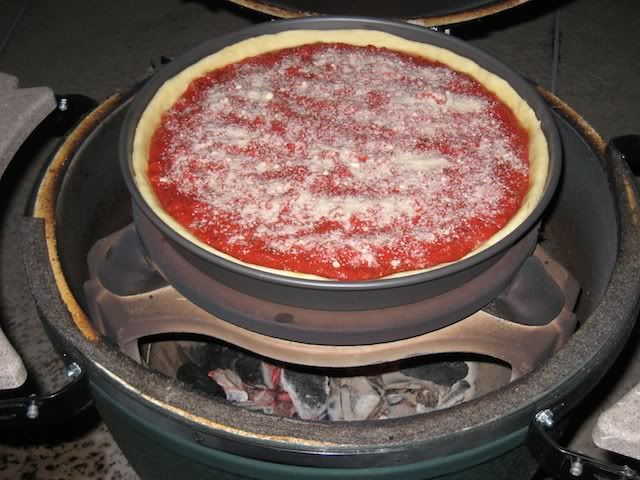
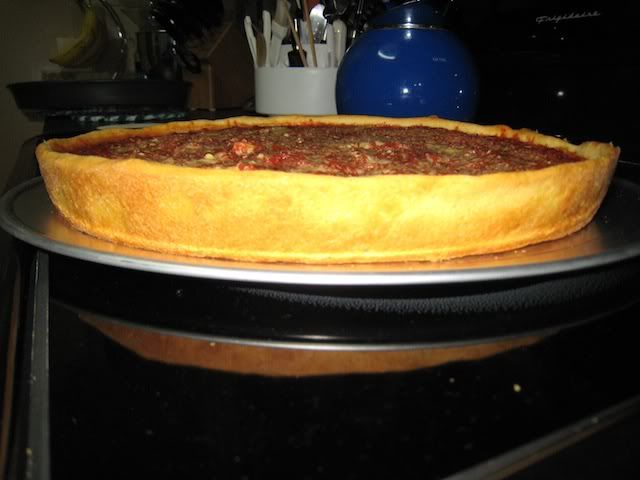
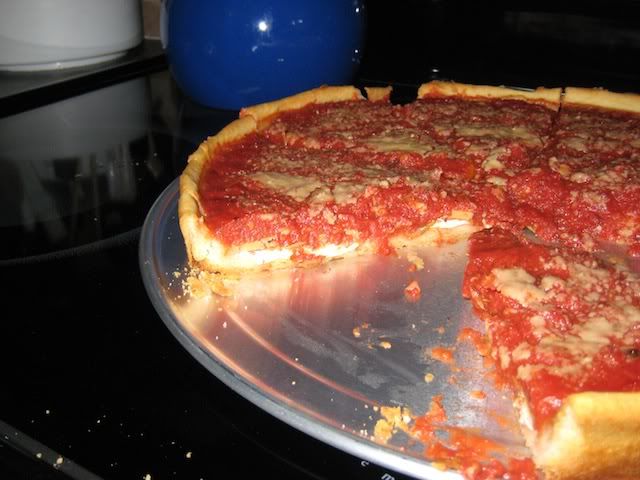
I cooked up a Chicago Style pizza on the egg last night for dinner. I have spent a couple of weeks playing with the recipe and I finally received my pan this past week, so it was time!!! It was pretty amazing!!!! About 40 minutes on the egg at 450.
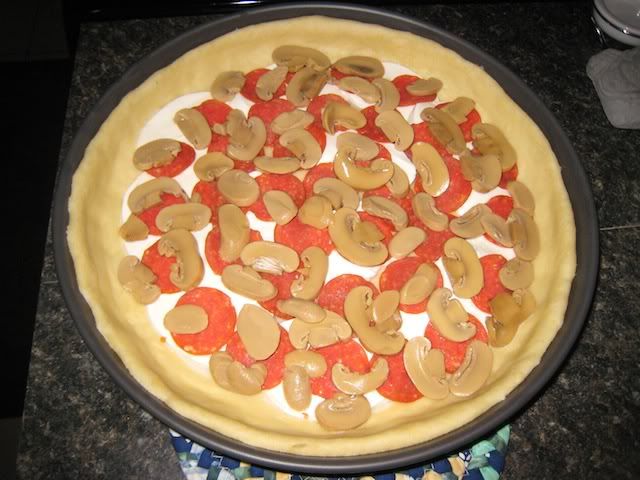
I sure will also be glad when these darn canned mushrooms are gone.
Enjoy!!
I cooked up a Chicago Style pizza on the egg last night for dinner. I have spent a couple of weeks playing with the recipe and I finally received my pan this past week, so it was time!!! It was pretty amazing!!!! About 40 minutes on the egg at 450.
I sure will also be glad when these darn canned mushrooms are gone.
Enjoy!!
Comments
-
Nice!
-
that looks great.
-
Looks great! Do the spacers between the pizza stone and plate setter help prevent burning of the crust?
-
Jasper,
Using the Egg feet to raise the stone allows the stone to heat up much faster. You should have gotten the feet with your egg. If you didn't, ask your dealer for a set. (Often Dealers forget to include these when they sell you an Egg with Eggnest.) -
Thanks Tim, yes I did get the feet I was just wondering if I should be using them, or something similar, with my next pizza cook, which is tonight!
")
-
Perfect! Good Luck.
Maybe we can meet up at Toronto Fest June 5th. RU going?
Hint Hint...NiEGGara Fest is Sept 18th. -
I'm totally in for the TO fest! Possibly for the NiEGGara Fest.
-
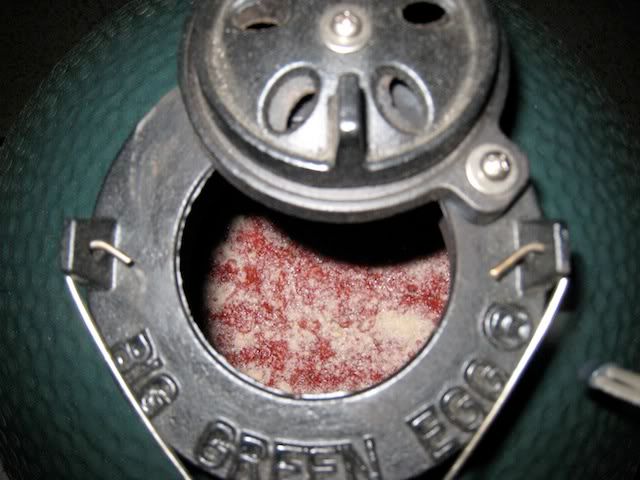
That looks mighty fine. Is that what a melted gasket looks like?Dave San Jose, CA The Duke of Loney
-
Was curious about time/temp for a deep dish. Thanks for the info and great lookin pie.
-
Yepper... That is a melted gasket with some cut away!!! :laugh:
I have a new Nomex one that will be going on this weekend!! -
man i love a deep dish pizza. i have not made one i a year or so but after those pictures i may have to do one soon. :laugh:
i could not tell from your pictures. but does your pan have the push oout bottom? i never went in search of a pan i just stole one of the wife's cake pans. and i love the picture of your pizza out of the pan.
here is my ddep dish slide show
just click on the picture")
happy eggin
TB
Anderson S.C.
"Life is too short to be diplomatic. A man's friends shouldn't mind what he does or says- and those who are not his friends, well, the hell with them. They don't count."
Tyrus Raymond Cobb
-
That looks like the crust I have been seeking. Can you share the recipe?
Mine comes out too "bready" ... yours looks more crisp. -
Looks great Greg. I have had Deep Dish in Chicago but never tried to make it. I may have to try it soon. Are those pans readily available or did you have to order it from a specialty house?
-
Great looking pizza Greg, those pizza's sure play hell on gaskets
Ross -
Man! That turned out nice.Please share your recipe and where you bought your pan and who manufactured it.
-
Looks awesome. Do you mind sharing your dough recipe?
-
ANy way to get your Chicago Crust Recipe?
Looks Awesome!!!! -
That looks great! how about the dough recipe? were did you get the pan?
-
No, I am not using a Springform pan... I actually bought this one specifically for doing Chicago Pizzas. Here is the link where I bought mine from...
http://www.akitchen.com/store/ppanhc2in.html
I chose the 14" one for doing mine. I will post the recipe here in a few as well. -
Here is my Chicago Pizza Recipe!!! This recipe is for the 14" pan that I referenced earlier which can be bought here http://www.akitchen.com/store/ppanhc2in.html If I had to do it again, I would probably buy this one... http://www.akitchen.com/store/AL-SRPS14.html because of the straight sides.
If you are using a large, smaller or any other size pan, you would have to adjust the recipe a little. Feel free to shoot me a message and I will be happy to adjust the numbers for you. Just let me know if the pan is stright-sided or tapered and the diameter, and depth of the pan.
I am now weighing the ingredients in grams instead of measuring them based on some info I read on another site.
288.9g - All Purpose Flour
96.3g - Semolina Flour
181g - Water
2.3g - Active Dry Yeast (Not Rapid Rise or Instant Yeast)
1.9g - Salt
23.1g Olive Oil
69.3g - Corn Oil
3.9g - Butter/Margarine (Melted then cooled)
1.9g - Sugar
2.89g - Cream of Tartar
In a bowl, mix the All Purpose Flour and Semolina Flour to make a blend. Proof yeast by taking all of your water and placing it in the microwave to get it up to 105-110 degrees. Add Active Dry Yeast and stir. Wait about 10 minutes then pour into the Kitchen Aid Mixer bowl. Add 75% of the flour blend, salt, sugar and cream of tartar. Mix for a few minutes. Now add remaining flour blend, oils and butter then continue to mix with C-Hook. After several minutes you will probably need to add some additional All Purpose Flour. Do this slowly, adding only a tablespoon at a time and then allowing a minute or so to absorb. This will be a very odd and dryish dough compared to a NY Pizza. The final dough should look like a brain so to speak. You will know what I mean when you get to this point. Place bowl in sealable container and put in fridge for 24 hours.
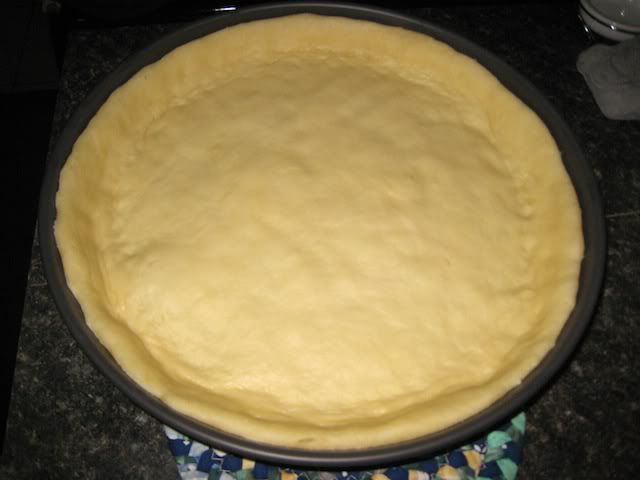
After 24 hours, remove from fridge and place dough on counter for at least 2 hours, possibly up to 3 to warm up. With a paper towel, take some Crisco shortening and rub only the bottom of your pan. If you do the sides, it generally makes it more difficult for the dough to stick. (This is what I was told from a buddy who makes these all the time) Place the dough in the pan and start spreading it with your fingers. Try to work your way to the sides evenly as possible. Once you have the bottom covered evenly, now press the dough up the sides approx. 1.5-1.75". (Given you have a 2" deep pan).
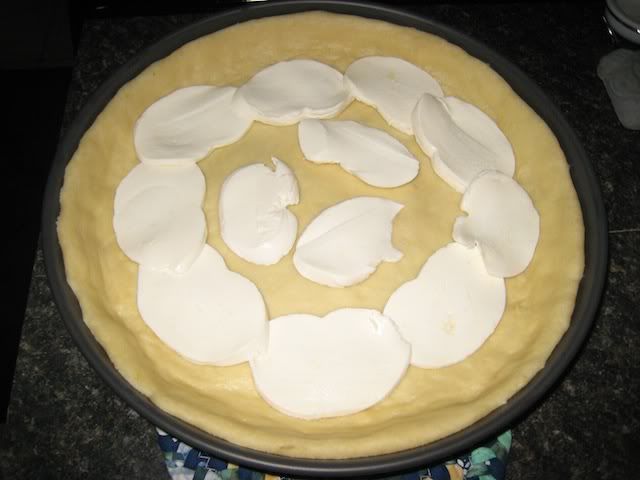
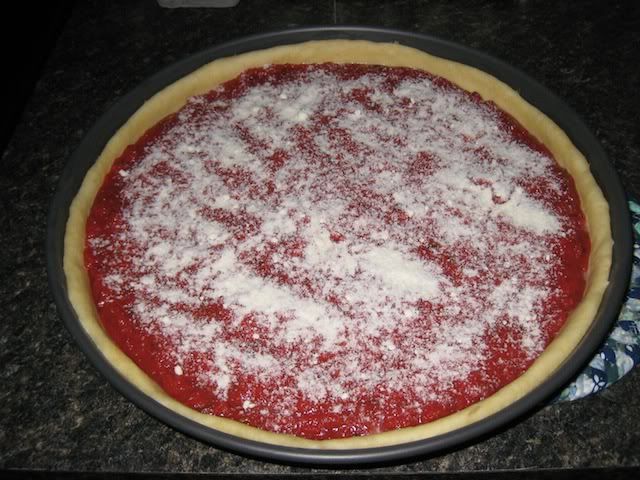
Once done, through pan with dough only on egg at 450 for about 3 minutes to pre/par bake it. Bring pan back inside and place your cheese first, then your toppings then sauce at the end. You can top with a little parmesan if you desire.
Place pan back on the egg for 20 minutes at 450. Rotate pan and allow to cook another 15-20 minutes. As soon at the top edges start to brown, it is probably done. Allow to cool for a few minutes and then pizza can can shaken out of the pan carefully as it should not be sticking at all. This can be tricky so be careful.
ENJOY!!!! -
Looks fantastic - I use that recipe, too (scaled smaller, since I use a 12" pan), and "brains" are a good way to describe the dough. I'm glad I saw pictures before I made my first one or I would have tried and overworked the dough to get it smooth.
-MEgging in Crossville, TN -
Do you have the Bakers Percentage for this dough recipe by chance?
-
Looks great.
-
Big Papa... Yes, here you go...
100% - All Purpose/Semolina Blend
47% - Water
0.6% - Active Dry Yeast (Not Rapid Rise or Instant Yeast)
0.5% - Salt
6% Olive Oil
18% - Corn Oil
1% - Butter/Margarine (Melted then cooled)
0.5% - Sugar
0.75% - Cream of Tartar
Total 174.35%
Thanks! -
Awesome looking pie my friend. I think I'm about to order me one of those deep dish pans.


Categories
- All Categories
- 182.7K EggHead Forum
- 15.7K Forum List
- 459 EGGtoberfest
- 1.9K Forum Feedback
- 10.3K Off Topic
- 2.2K EGG Table Forum
- 1 Rules & Disclaimer
- 9K Cookbook
- 12 Valentines Day
- 91 Holiday Recipes
- 223 Appetizers
- 516 Baking
- 2.4K Beef
- 88 Desserts
- 163 Lamb
- 2.4K Pork
- 1.5K Poultry
- 30 Salads and Dressings
- 320 Sauces, Rubs, Marinades
- 543 Seafood
- 175 Sides
- 121 Soups, Stews, Chilis
- 35 Vegetarian
- 100 Vegetables
- 312 Health
- 292 Weight Loss Forum