Welcome to the EGGhead Forum - a great place to visit and packed with tips and EGGspert advice! You can also join the conversation and get more information and amazing kamado recipes by following Big Green Egg to Experience our World of Flavor™ at:
Want to see how the EGG is made? Click to Watch
Facebook | Twitter | Instagram | Pinterest | Youtube | Vimeo
Share your photos by tagging us and using the hashtag #BigGreenEgg.
Share your photos by tagging us and using the hashtag #BigGreenEgg.
Want to see how the EGG is made? Click to Watch
Intro, table built, question
Options

eggtopia
Posts: 91
Hello All,
I just discovered this site, great info here.
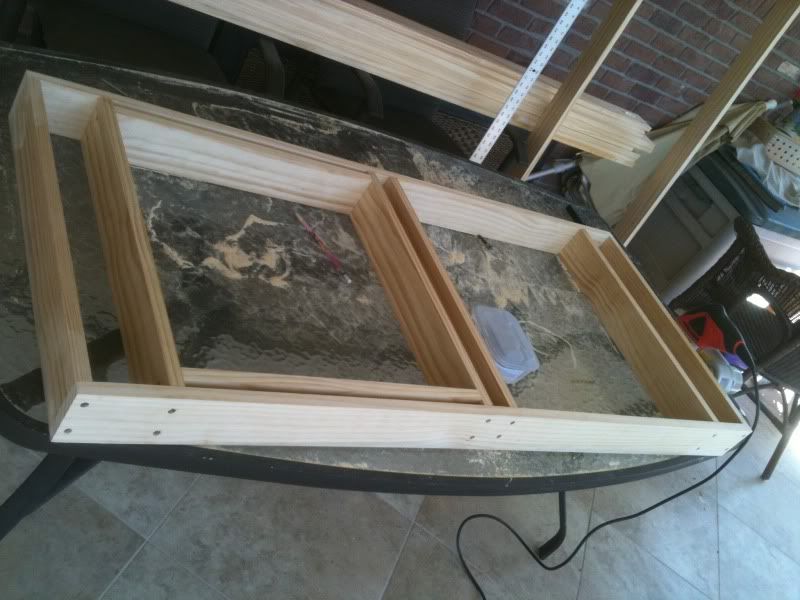
I don't have an egg yet, but will be getting one soon. I decided to build the table first in order to have a place to put it without buying the "nest" and shelves. pictures follow:
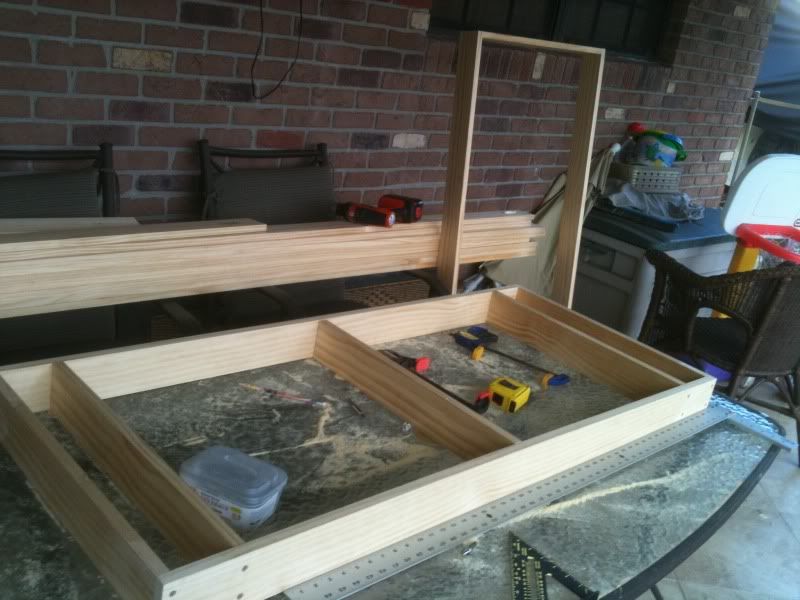
Like my workbench? My wife doesn't.
I have a design question. I would like the egg to nestle down lower than most of the pictures I see. Ideally I'd like the egg seam to be about 2.5" above the top surface of the table. It is purely for aesthetic reasons. It seems like the new hinge makes this difficult. Does anyone have a solution to getting the egg lower? I'm thinking maybe to notch out the back where the hinge is. Any thoughts?
Since the pictures were taken I've applied 5 coats of urethane. [img size=150][/img]
I just discovered this site, great info here.
I don't have an egg yet, but will be getting one soon. I decided to build the table first in order to have a place to put it without buying the "nest" and shelves. pictures follow:
Like my workbench? My wife doesn't.
I have a design question. I would like the egg to nestle down lower than most of the pictures I see. Ideally I'd like the egg seam to be about 2.5" above the top surface of the table. It is purely for aesthetic reasons. It seems like the new hinge makes this difficult. Does anyone have a solution to getting the egg lower? I'm thinking maybe to notch out the back where the hinge is. Any thoughts?
Since the pictures were taken I've applied 5 coats of urethane. [img size=150][/img]
Comments
-
You got it. Just leave a void for the hinge to open/lower itself into.
Welcome")
-
Great looking table!
What kind of wood is that? And where did you get it? -
Good looking table.
I like the idea of recessing the egg down a bit. If I were in your shoes, I'd get a large sheet of cardboard, cut a 22" circle out of it, and then adjust that mockup for the hinge. Adjust the cuts in the cardboard until you are happy with the template, and then use that template to mark up the cuts you need on your table.
I assume you've lowered the bottom frame to adjust the height of the egg?
Ted -
Thanks,
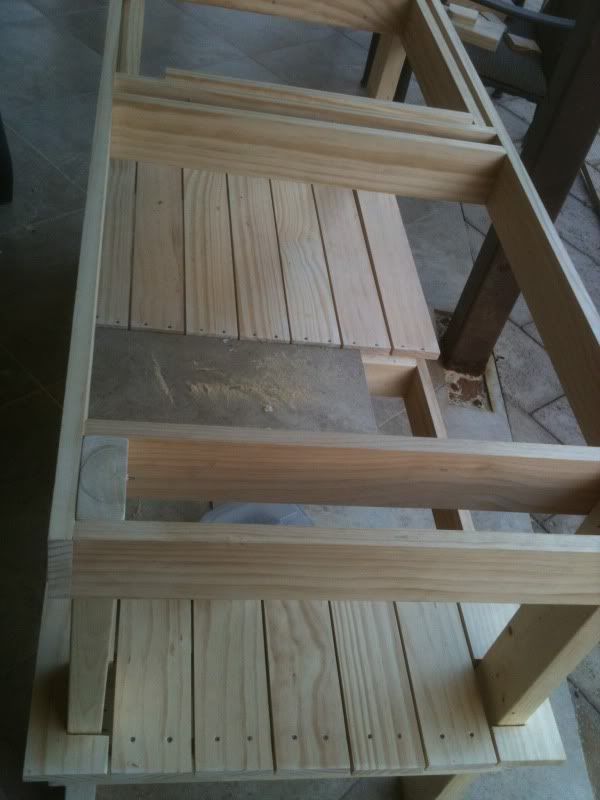
Due to the fact that the table will be out of the elements, on a covered patio and the HUGE price difference in wood here I went with pine. I looked at poplar and cedar, but the price would have been around $900 bucks for the supply. So I went with the pine and 5 coats (so far) of urethane. All purchased from Home Depot. -
Thanks, great idea about the mock up! Yes the lower shelf is set so that the egg "seam" will bee two inches above the upper surface. I figured if the notching doesn't work I will just add pavers under the base to raise it. I'm really hoping that it will work lower though.
-
I had a second thought on the mock up. You really only need to mock up the section around the back of the egg/hinge. I mean, the opening is a pretty close to perfect round circle. So if you take your cardboard, draw a circle to the right size, and then cut that in half, you can use that half circle to mock up the cut out for the rear. This will save you from having to fiddle with the egg while you perfect / test fit the mock up.
Good luck,
Ted -
More Progress:
I purchased the Large Egg today and it is to be delivered tomorrow so I got to working on finishing it up.e\
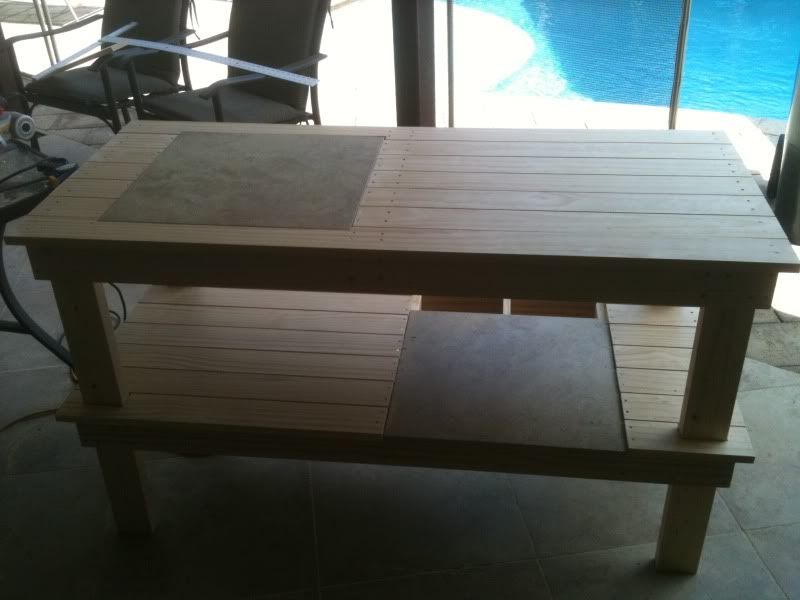
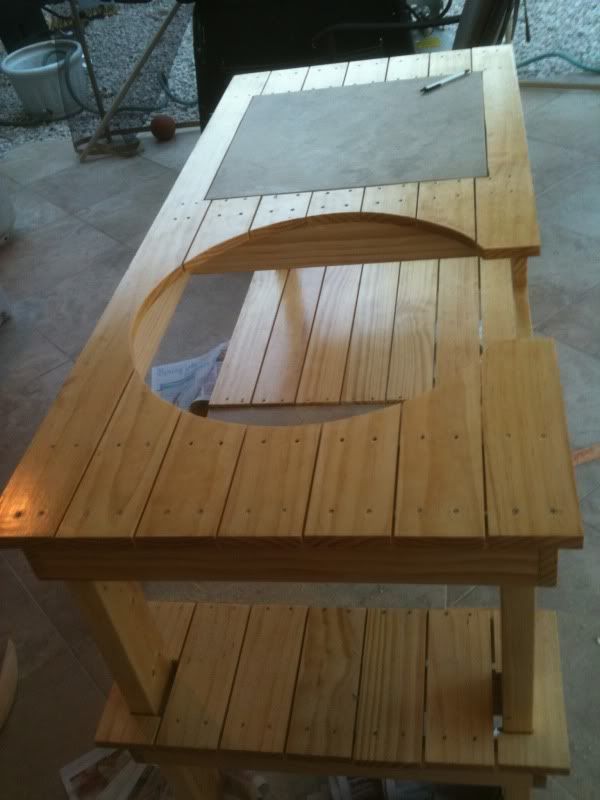
Here's the table after 5 coats of urethane. Not sure why, but I wanted to put the finish on before cutting the hole.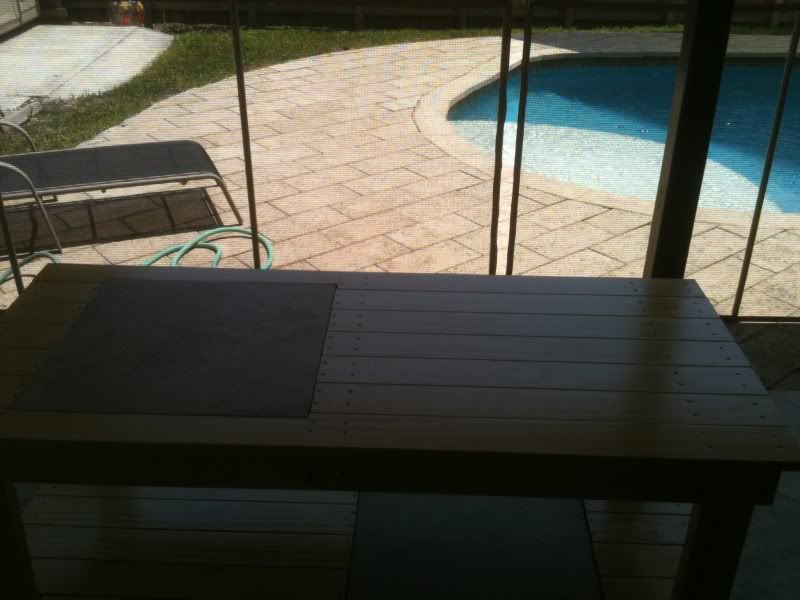
It's time to cut the hole. I taped the surface to protect the finish.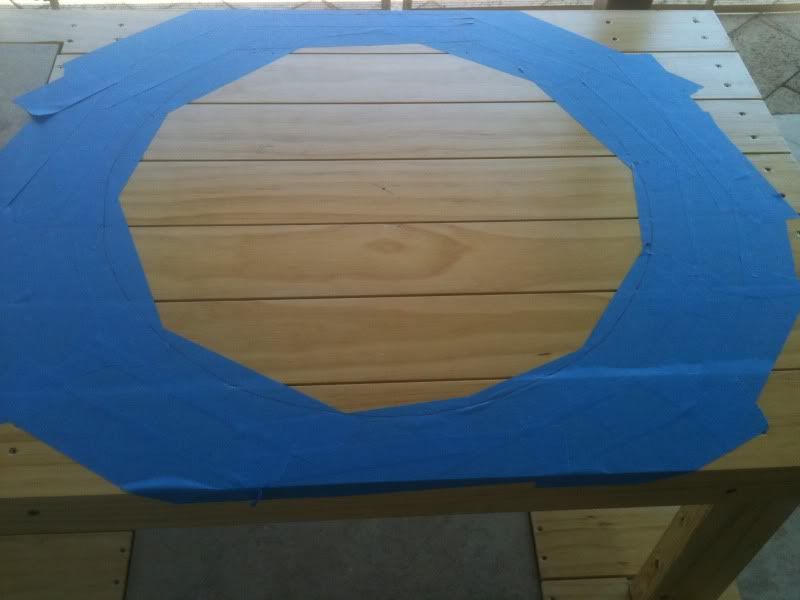

Now, remember I wanted the egg to sit a little lower in reference to the table top. Here is my solution: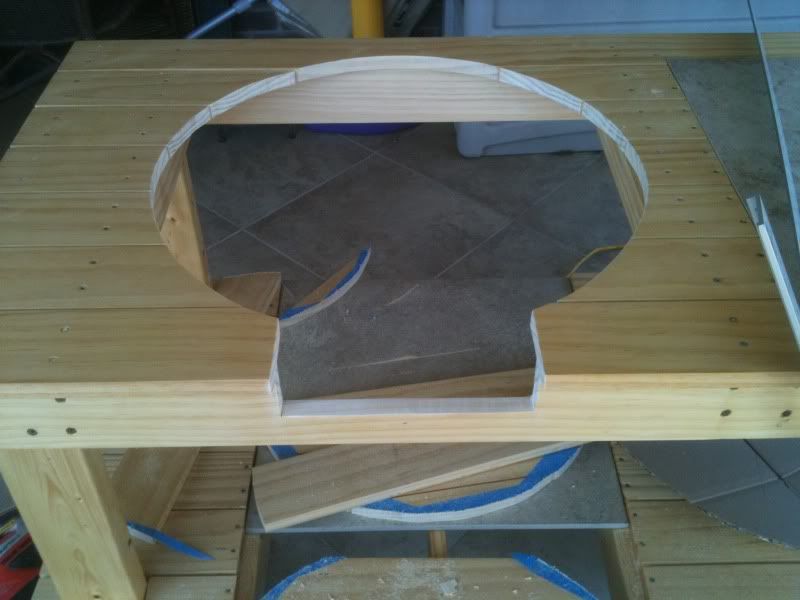
And the last thing I did was to put a coat of epoxy on the bottom of the legs. Since this is pine I want to limit the exposure to water as much as possible.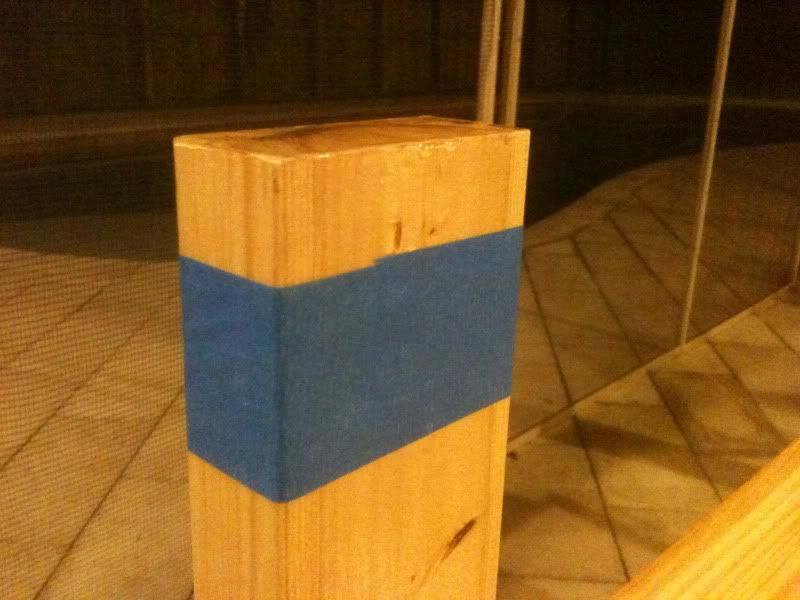
Egg is due tomorrow afternoon and the table will be anxiously waiting. -
Table looks good!
Please post pics once you have the egg in. I'm interested in seeing how it works being set lower. All I keep thinking about is having the handle too close to the table... -
Man, that Pine looks really good. I could have saved a bundle if I'd gone with the pine. :S
Table looks great.
With your recessed approach you've cut that rear board by more that 50%. I'd like to see a bit more material back there. I'm wondering if you can double up/sister a piece of wood on the inside of that rear upper piece in the back.
You should have enough room to put another piece of wood in there. Maybe you'll be fine. I'm just a paranoid fool. :huh:
Ted -
The handle position is not a problem. Upon installation of the egg I found that I 1) made a miscalculation and 2)didn't consider something that needed some consideration.
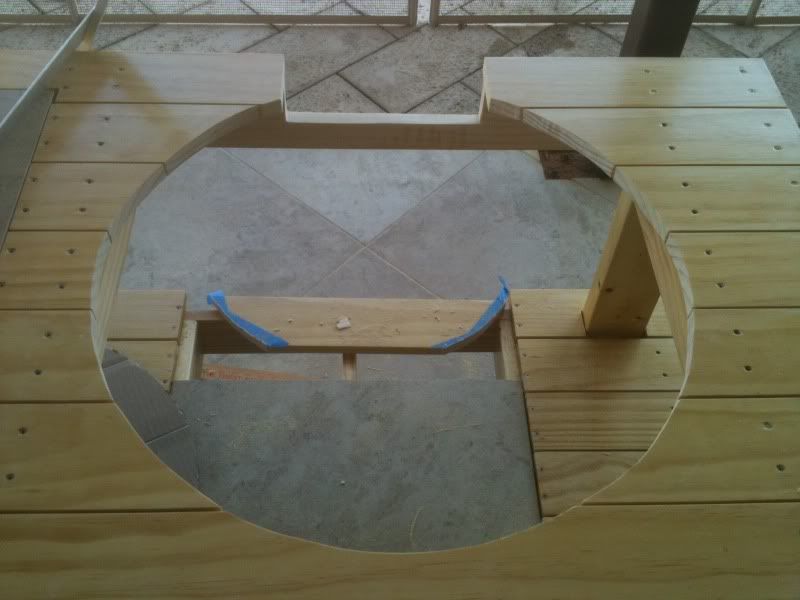
First my miscalculation was that I changed the size of the "pad" that the egg would sit on. I wanted to use extra tiles that I had laying around. When I made the cutout the tile would sit in I made a mistake and the egg does not sit in the center of the tile. Oh well, I'm not going to worry about it.
The thing I did not consider is that the egg sitting lower would require a larger hole do to the larger diameter cross section of the egg at that level. So as the egg was lowered in it contacted the table top first before it contacted the base on the tile. I had to add the third tile to alleviate this.
Anyway, here's a couple of pictures that show the handle. I know the picture make it look like there is very little room between the egg and the table surface and there isn't that much room but there is more than it looks. The dealer that delivered the egg thinks it is OK.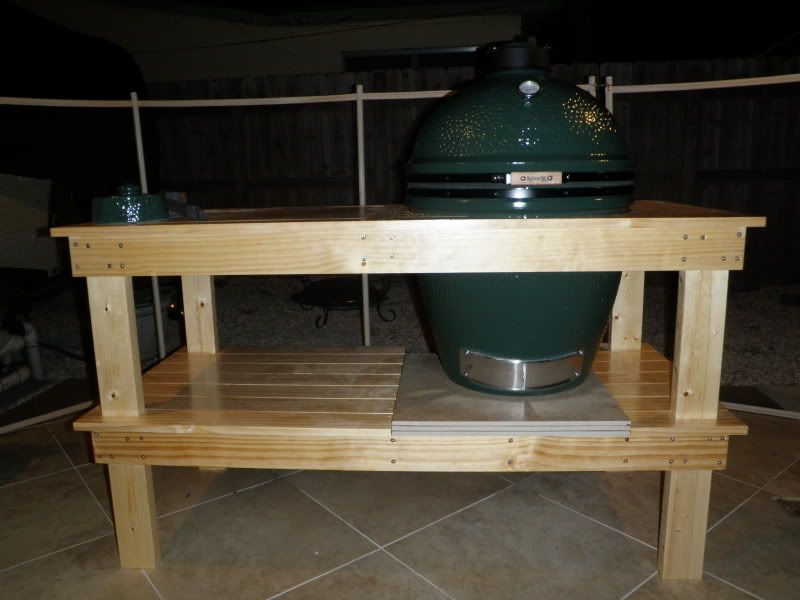

-
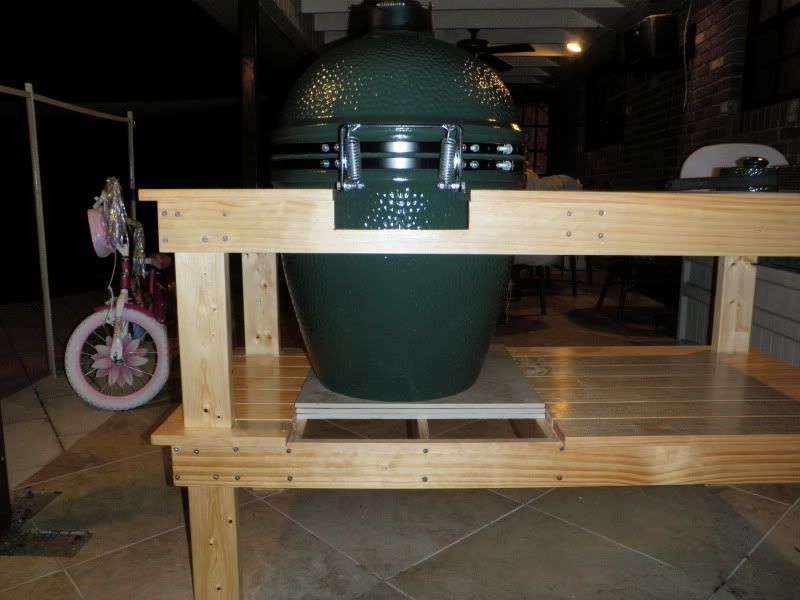
Here's a picture of the table with egg from the back. Yes, more than 50% of that runner is notched out. I had given it consideration and think that it is structurally sufficient. The top level is not load bearing. I have seen designs where the back of the top level are not connected at all. If you read my response to DrugCoder you'll see that I wanted to have the egg about 1/4" lower, but due to a missing thought I had to raise it with an extra tile. So, the notch is deeper than it needs to be. I still need to fill the void of the pad with cut tiles.
-
Looks good! I see the handle isn't a problem. I guess I had it in my head that you wanted the gasket closer to the table than that.
I don't think you'll have to worry about the cutout on the back. Just don't go having a few too many and start jumping up and down on your table...
Great job! -
Aloha eggtopia,
This table looks great :-) I was wondering if you could post up a mock up of the layout you used including size :-) I would like to give this a try as well ;-)
Thanks,
supertechhawaii -
It's basically the Naked Whiz table with a few modifications to make the egg sit the way I wanted it to. You can get the plans from the site : http://www.nakedwhiz.com/cart.htm
-
It's basically the Naked Whiz table with a few modifications to make the egg sit the way I wanted it to. You can get the plans from the site : http://www.nakedwhiz.com/cart.htm


Categories
- All Categories
- 182.7K EggHead Forum
- 15.7K Forum List
- 459 EGGtoberfest
- 1.9K Forum Feedback
- 10.3K Off Topic
- 2.2K EGG Table Forum
- 1 Rules & Disclaimer
- 9K Cookbook
- 12 Valentines Day
- 91 Holiday Recipes
- 223 Appetizers
- 516 Baking
- 2.4K Beef
- 88 Desserts
- 163 Lamb
- 2.4K Pork
- 1.5K Poultry
- 30 Salads and Dressings
- 320 Sauces, Rubs, Marinades
- 543 Seafood
- 175 Sides
- 121 Soups, Stews, Chilis
- 35 Vegetarian
- 100 Vegetables
- 312 Health
- 292 Weight Loss Forum