Welcome to the EGGhead Forum - a great place to visit and packed with tips and EGGspert advice! You can also join the conversation and get more information and amazing kamado recipes by following Big Green Egg to Experience our World of Flavor™ at:
Want to see how the EGG is made? Click to Watch
Facebook | Twitter | Instagram | Pinterest | Youtube | Vimeo
Share your photos by tagging us and using the hashtag #BigGreenEgg.
Share your photos by tagging us and using the hashtag #BigGreenEgg.
Want to see how the EGG is made? Click to Watch
Nomex weekend
Options

Davekatz
Posts: 763
After burning off my second felt gasket, I decided to give Nomex a try.
I've watched Fred's video. I've got the gasket, a cold and rainy weekend, a couple of different scrapers, Acetone, 3M adhesive, and some adult beverages.
I think I'm good to go, but any hints or tips or good mojo would sure be appreciated.
Thanks,
Dave
I've watched Fred's video. I've got the gasket, a cold and rainy weekend, a couple of different scrapers, Acetone, 3M adhesive, and some adult beverages.
I think I'm good to go, but any hints or tips or good mojo would sure be appreciated.
Thanks,
Dave
Food & Fire - The carnivorous ramblings of a gluten-free grill geek.
Comments
-
I just installed a Nomex gasket.
I took masking tape and newspaper to completely cover the interior of the egg from glue overspray.
I walked around the egg spraying the 3M 77 towards the center of the egg to prevent getting any glue on the exterior of the egg.
Make sure any overhang of the gasket is on the exterior and not the interior of the egg. -
Not too bad, but just knocked my EGG out of commission for a bit.
Greg -
I sprayed my glue into a disposable cup and brushed it on.
Greg -
I haven't watched Fred's video since he announced the the Nomex will shrink if you don't run it through a dryer on high heet for maybe 15-20 minutes.aka marysvilleksegghead
Lrg 2008
mini 2009
XL 2021 (sold 8/24/23)
Henny Youngman:
I said to my wife, 'Where do you want to go for our anniversary?' She said, 'I want to go somewhere I've never been before.' I said, 'Try the kitchen.'
Bob Hope: When I wake up in the morning, I don’t feel anything until noon, and then it’s time for my nap -
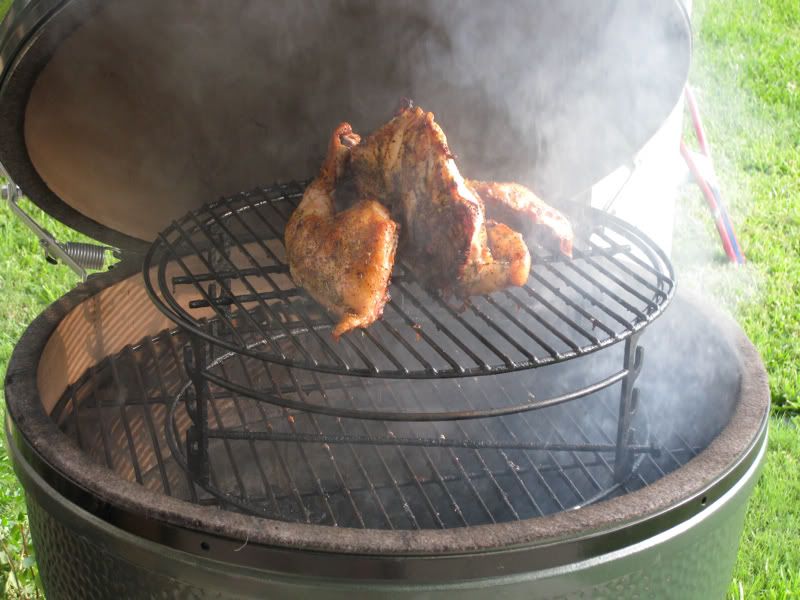
Installed mine earlier in the week--has been sitting on the table now for a few days. Opened it up after getting the upper band tightened and saw that the alignment was a bit off, so I fixed that and tightened it down. Dollar bill test passed with no problems.
I'm going to fire it up for a brisket this weekend to see how it does, as well as some chicken. No pizzas, thank you. XL is still on standby while I proof the Nomex installation. If it doesn't work out, I may go with a Rutland across the bottom only. I really like the cooker shutting down after I close the vents and put the rain cap on. I know that it will cook just fine without a gasket, I just don't want to keep burning lump longer than I have to because I re-use what doesn't burn for the next cook.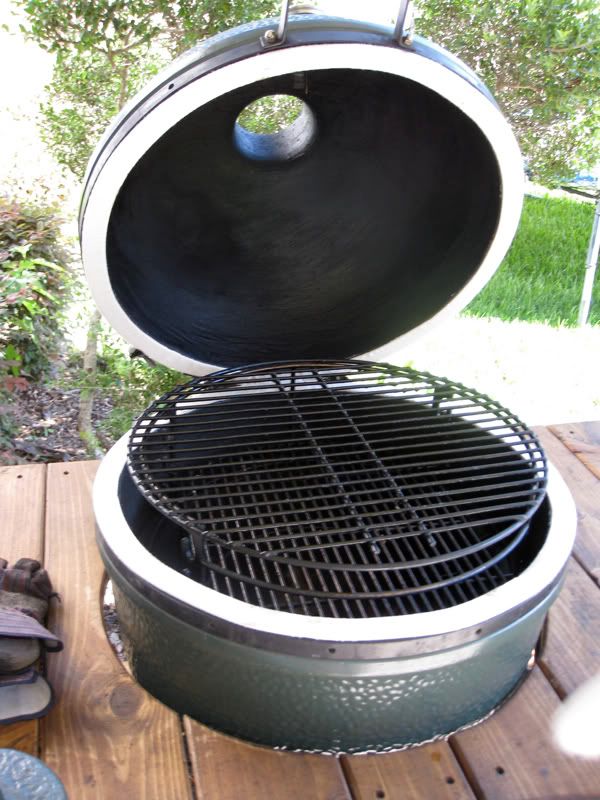
Good luck with your gasket installation. I just sprayed the Super 77 into a disposable cup instead of doing the masking. Much easier to deal with. -
Mike, Do you use the ADJUSTABLE RIG on the Xl ? I know it is for a LARGE and there isn't one for the XL.
Thanks.
Gary
5 Coats of Urethane and 3 - 5 more to go. -
Why yes, I do:
-
Dave,
You will eliminate a lot of headache with a few modifications to the video.
1. Use 91% alcohol instead of acetone.
MAPP torch helps also but then you are working with warm/hot surfaces.
2. Do not follow the assistant's method of applying the cleaner. The way he does the clean is just sloppy and slow going. It will make the process hard.
After rough scraping the old gasket material off then work in 8 to 10 inch sections.
Get some of the auto shop paper towles - the blue ones.
Soak a section and let the alcohol sit on the surface and have time to soften the adhesive. While you are waiting soak the next section and using the paper towel wipe up the first section. Soak again the first section and wipe off the second section.
While the second section is soaking it's first soak, soak the third section and final wipe down the first section.
Repeat the process around the entire surface. Don't panic if some alcohol runs down the inside or outside of the egg it will not be a problem.
Using this process the dome and base of an egg can be completely cleaned to white or almost white in 15 to 20 minutes.
I have now cleaned and changed 9 gaskets - it works.
What I have not tried yet is using a torch to remove the gasket. That might also be a good method.
Have a good weekend.
Kent -
Interested to hear how things went with the install - I have mine to do this weekend.
Do you guys spray both sides (egg & gasket) (as in Freds notice above the video http://www.fredsmusicandbbq.com/category_s/474.htm)
Thanks,
Jim


Categories
- All Categories
- 182.7K EggHead Forum
- 15.7K Forum List
- 459 EGGtoberfest
- 1.9K Forum Feedback
- 10.3K Off Topic
- 2.2K EGG Table Forum
- 1 Rules & Disclaimer
- 9K Cookbook
- 12 Valentines Day
- 91 Holiday Recipes
- 223 Appetizers
- 516 Baking
- 2.4K Beef
- 88 Desserts
- 163 Lamb
- 2.4K Pork
- 1.5K Poultry
- 30 Salads and Dressings
- 320 Sauces, Rubs, Marinades
- 543 Seafood
- 175 Sides
- 121 Soups, Stews, Chilis
- 35 Vegetarian
- 100 Vegetables
- 312 Health
- 292 Weight Loss Forum