Share your photos by tagging us and using the hashtag #BigGreenEgg.
Want to see how the EGG is made? Click to Watch
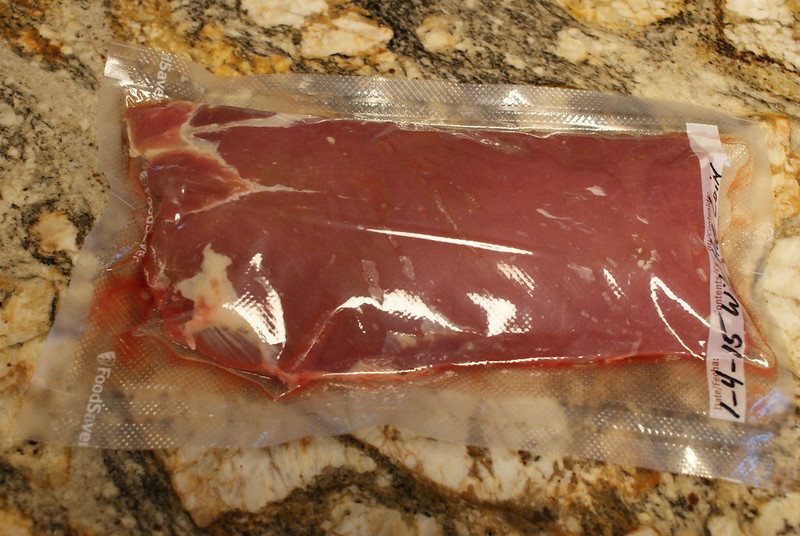
Cooked That Wild Hog Backstrap Today

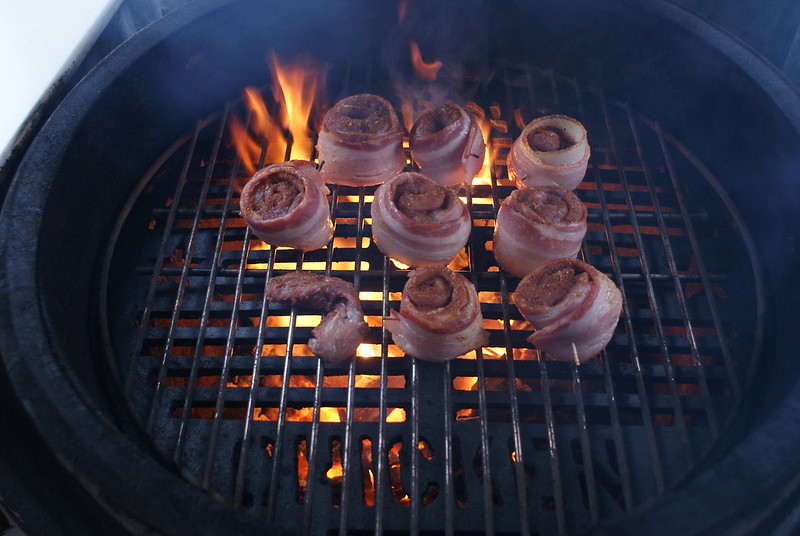
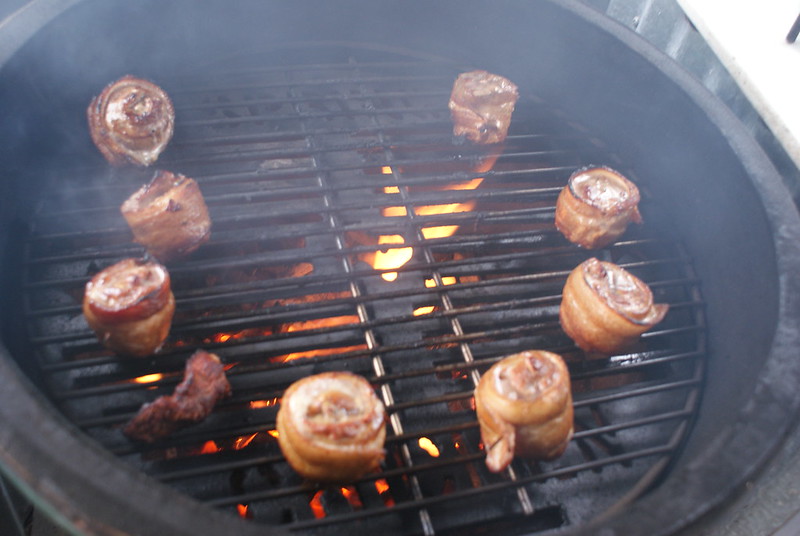
I used Cluck & Squeal on it after I rolled it up, and cooked it direct. But I had to move them off to the side because of the bacon grease flair-ups.
I cooked them all to between 140° and 147° internal.
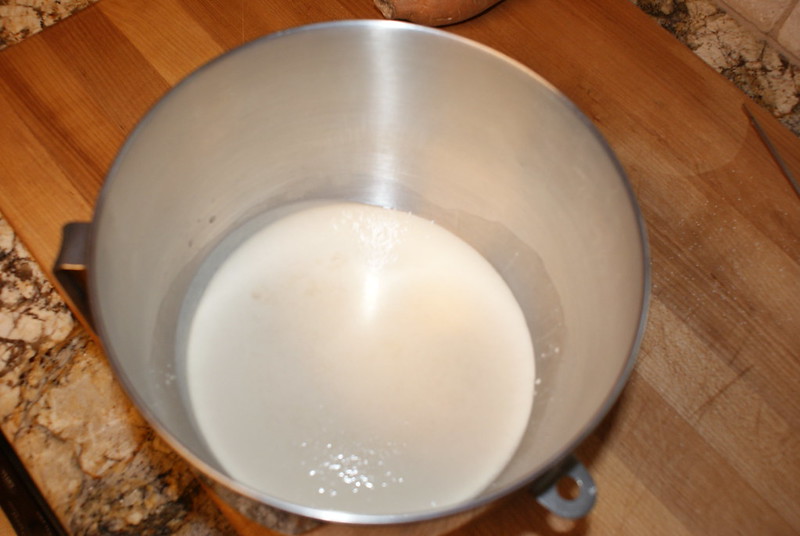
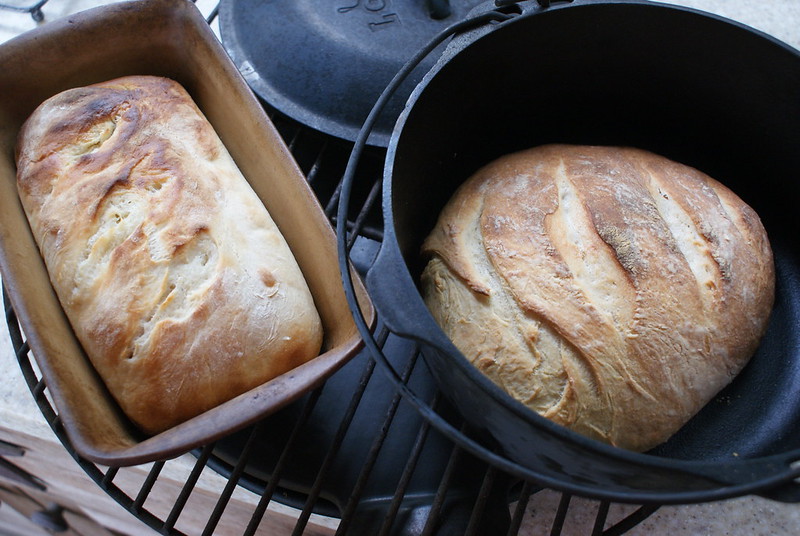
While I was in cooking mode I also decided to make that Dutch Oven Bread again using the same recipe but this time splitting the dough between a smaller Dutch Oven and a stoneware bread pan. This time it was much better, and I think its because I went to the store to get some fresher yeast, and I used filtered water from my frig. The reason I say that is in ten minutes I had a lot of yeast foam in the bowl.
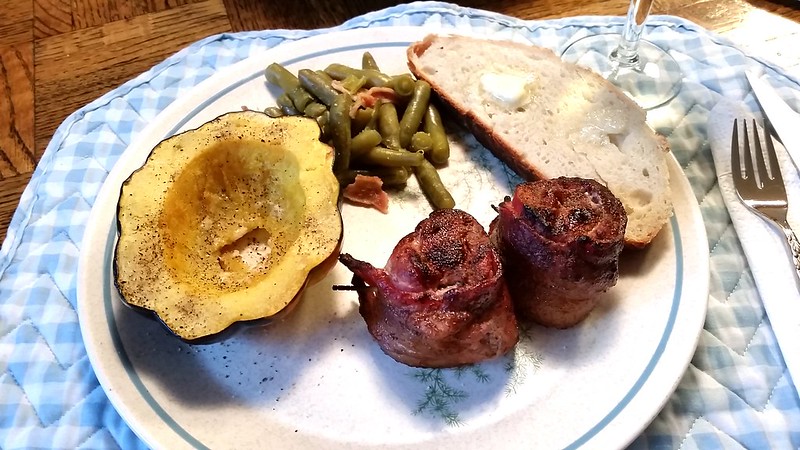
I also decided to cook some acorn squash and a couple of small Banquet Pies on the Egg. The Squash was wonderful with just some butter and salt and pepper. Won't know about the pies until later.
An inexpensive bottle of Riesling added a nice touch.
I took the rest to the neighbor to see what he thought about it. He laughed and said it was better than his. I think he was just being nice.
I took a lot of photos but these should give you some idea of how it turned out.
The wild hog backstrap
 DSC02807 by springchickentexas, on Flickr
 The yeast after 10 minutes
 DSC02808 by springchickentexas, on Flickr
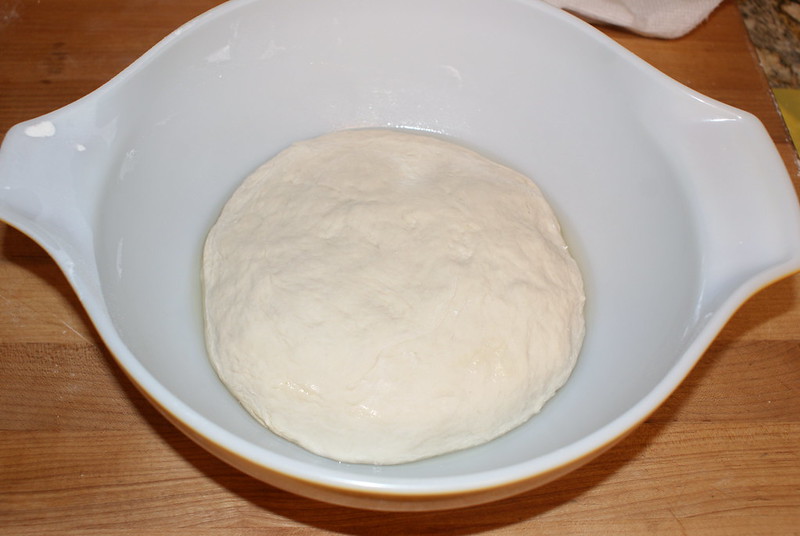
 The dough for bread
 DSC02811 by springchickentexas, on Flickr
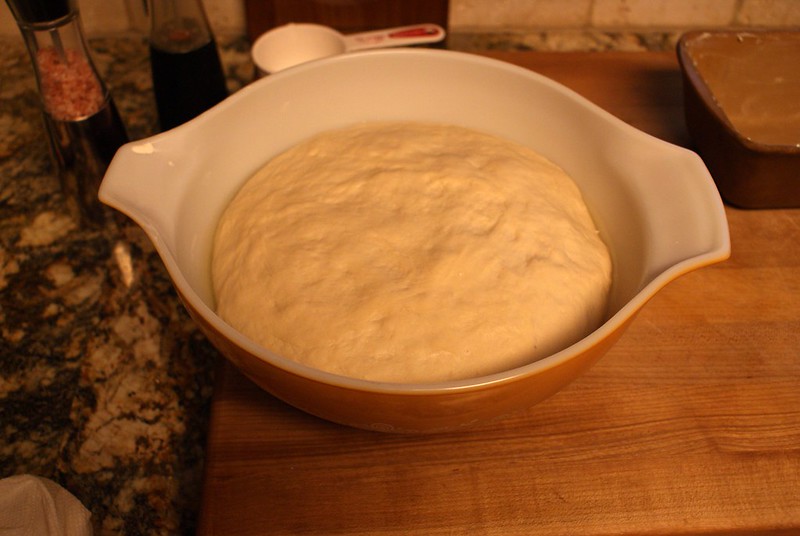
 The dough after 20 minutes rise time
 DSC02816 by springchickentexas, on Flickr
 The bread just out of the Egg.
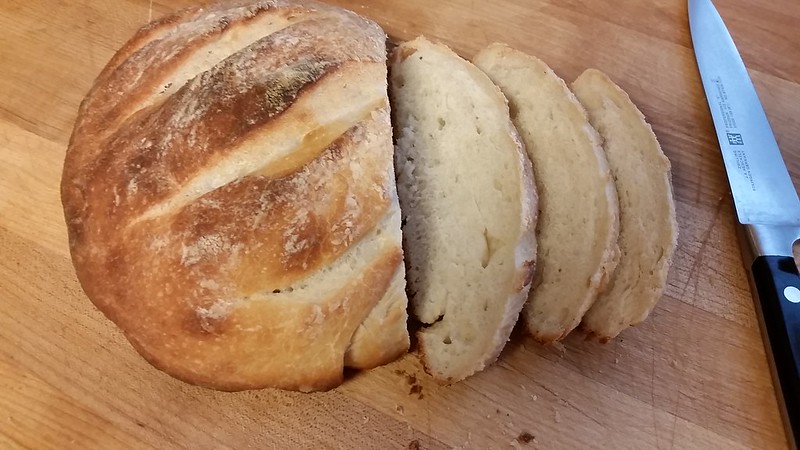
 DSC02819 by springchickentexas, on Flickr
 The Bread sliced.
 20150109_153704 by springchickentexas, on Flickr
 The hog on the Egg direct.
 DSC02824 by springchickentexas, on Flickr
 Moved off to the side due to flare-ups
 DSC02825 by springchickentexas, on Flickr
 On my plate.
 20150109_154311 by springchickentexas, on Flickr
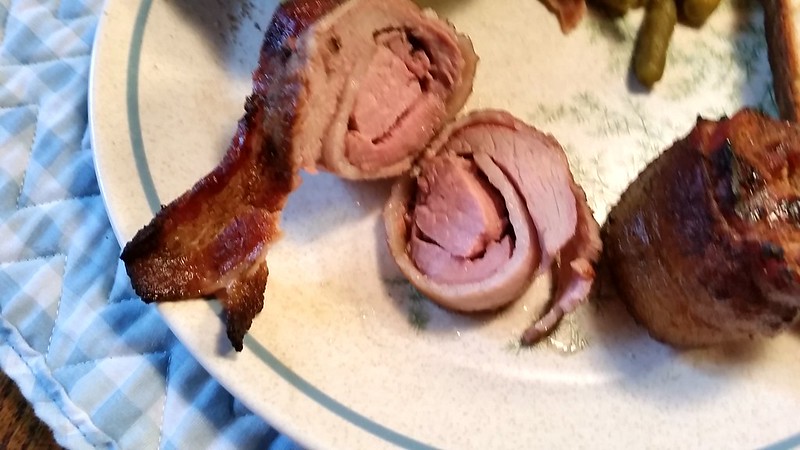
 Nice pink with good hickory flavor.
 20150109_154446 by springchickentexas, on Flickr
 Will do again if he brings more.
I think this was a very nice surprise. I had always heard that wild hog meat was notoriously tough and bad tasting. I learned that it can be but it can also be an excellent piece of meat.
Don't hesitate to accept it if you have a friendly neighbor who hunts them.
Spring "Wild Man Tamed" Chicken
Spring Texas USA
Comments
-
That looks and sounds like it was a great cook!We have killed many wild hogs here, but I have never cooked one.
 Louisville, GA - 2 Large BGE's
 -
Dear spring chicken. ..I hate you.
Love,
Henapple.Green egg, dead animal and alcohol. The "Boro".. TN -
Looks like a winner to me =D>
Location- Just "this side" of Biloxi, Ms.
Status- Standing by.
The greatest barrier against all wisdom, the stronghold against knowledge itself, is the single thought, in ones mind, that they already have it all figured out. -
-
You're absolutely killing me with the bread cooks.
Steve
XL, Mini Max, and a 22" Blackstone in Cincinnati, Ohio -
I'll take a plate like that here, please.#1 LBGE December 2012 • #2 SBGE February 2013 • #3 Mini May 2013A happy BGE family in Houston, TX.
-
All around great meal. Two thumbs up :-bdSteven
Mini Max with Woo stone combo, LBGE, iGrill 2, Plate Setter,
two cotton pot holders to handle PS
Banner, Wyoming -
Very nice! I'm sure you enjoyed that meal. Can you share the recipe for that bread or a link? Just got a Dutch oven from Santa!!Kennesaw Ga. XL Egg. Cheers, Kevin
-
Great post..Gotta love that bread..All looks awesome. =D>Greensboro North Carolina
When in doubt Accelerate.... -
Fine looking eats right there.
Large Egg with adjustable rig, Kick Ash Basket, Minimax and various Weber's.
Floyd Va -
Thanks StillSomken.
Congratulations on the Dutch Oven. You will love Dutch Oven cooking on the Egg. Everything from breads, roasts, soups, gumbo's and chili, to beans and greens, and anything else you can imagine.
Here's the recipe for the bread I just cooked. It worked for me when other recipes didn't.
Spring "Irish, Scotch And Now Dutch DNA" Chicken
-
Ooops, got a message saying my post was too long. Try this:
Dutch Oven Artisan Bread
adapted to cooking on a Big Green Egg
Ingredients
4-4 1/2 cups bread flour
2 Tablespoons yeast
2 Tablespoons sugar
2 cups warm water
1 1/2 Tablespoons salt
Proof yeast by combining the yeast and the sugar in the bottom of the bowl of a stand mixer and then pour the warm water (mine was 114°) over it. Whisk it by hand lightly. Let it rest for 10 minutes until it is foamy.
In a separate bowl mix 3 cups of the flour with the salt.
Add the flour mixture one cup at a time to the yeast mixture in the stand mixer attached with the dough hook. The dough will start to come together, but still be sticky.
Add the remaining flour in 1/2 cup increments until the dough completely comes together in a ball. Let the mixer knead the dough for a few minutes. Then dump the dough onto the counter and continue to hand-knead for about five minutes, or until the dough is smooth.
Place the dough in a greased bowl and cover the top with a lightly damp kitchen towel. Let it rise for 20-30 minutes.
Preheat Big Green Egg to 400° set up for indirect cooking, raised grid with the both the Dutch oven and lid inside.
Do not punch down the dough.
Simply take out the ball of dough, that should have risen and expanded to half again in size.
Lightly coat both the bottom and the top of the loaf with flour. Carefully drop the dough in the center of the Dutch oven. Cut three slits in the top of the loaf, then replace lid. The cuts will give it that artisan top.
Cook for 30 minutes covered. Then take off the lid and cook for another 7-10 minutes, until the top is golden and crunchy looking. Use a Thermapen to see if bread's interior is over 200° and the probe comes out clean. (Mine got to 205° before the probe came out clean)
Remove bread from the Dutch oven onto a cooling rack. Let it cool for a few minutes before serving.
Note: Next time I will divide the dough into two balls and cook individually, or freeze the second ball for a future date.
Also, spray a little cooking spray on your knife before slashing the top. The blade will be less likely to stick to the dough.


Categories
- All Categories
- 182.7K EggHead Forum
- 15.7K Forum List
- 459 EGGtoberfest
- 1.9K Forum Feedback
- 10.3K Off Topic
- 2.2K EGG Table Forum
- 1 Rules & Disclaimer
- 9K Cookbook
- 12 Valentines Day
- 91 Holiday Recipes
- 223 Appetizers
- 516 Baking
- 2.4K Beef
- 88 Desserts
- 163 Lamb
- 2.4K Pork
- 1.5K Poultry
- 30 Salads and Dressings
- 320 Sauces, Rubs, Marinades
- 543 Seafood
- 175 Sides
- 121 Soups, Stews, Chilis
- 35 Vegetarian
- 100 Vegetables
- 312 Health
- 292 Weight Loss Forum